Posted: Tue Jun 16, 2009 2:47 am Post subject: Adjusting infinity on Rubinar 300/4.5 Posted: Tue Jun 16, 2009 2:47 am Post subject: Adjusting infinity on Rubinar 300/4.5 |
 |
|
Farside wrote:
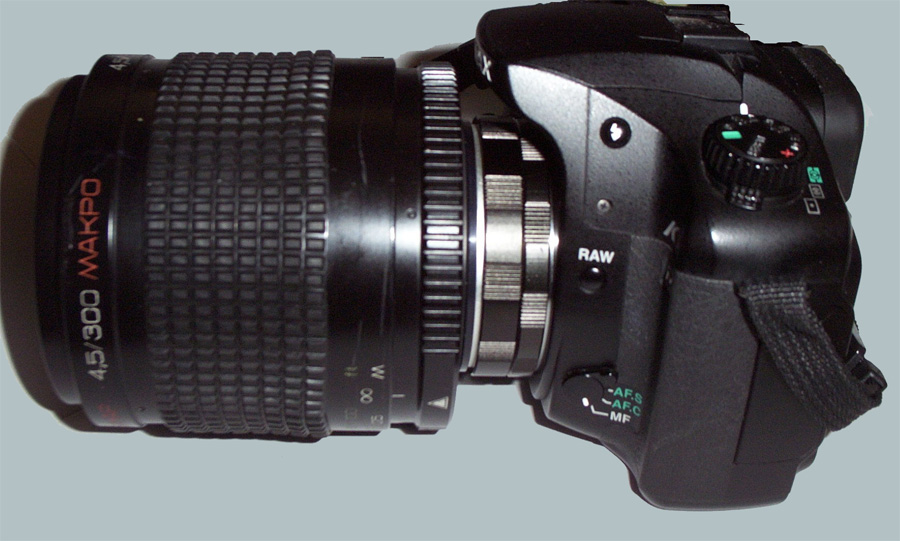
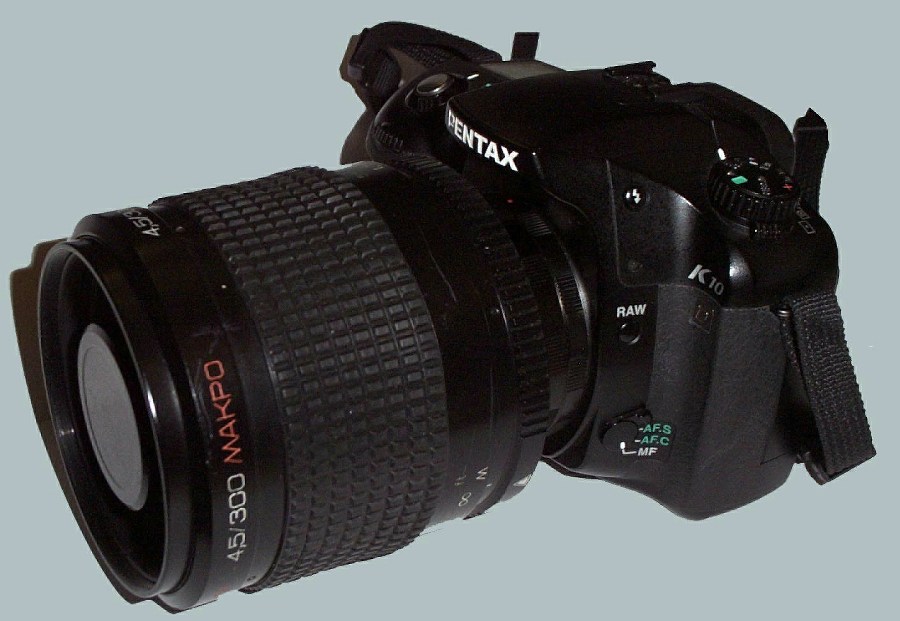
I recently bought this lens from no-x but couldn't really get the use of it on the K10D because of the flash overhang. This is a common problem with these mirror lenses, but on the Rubinar is easily sorted.
At first, I tried it out by using a 2X teleconverter as a spacer, but obviously I wasn't seeing the lens for itself.
I bought a set of cheapy K-mount extensions from evilbay and used the shortest one, around 16mm, as a permanent addition to the lens - there's a cheapy M42 >K adapter in there too, but it struck me I can replace the entire rear mount of the lens with a K bayonet cannibalised from another cheap extension set.
------------------------------
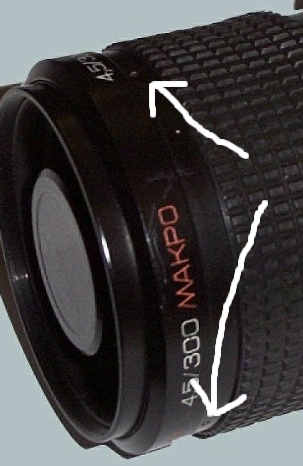
First step is to pull the rubber focusing grip back, by slipping a thin long-bladed screwdriver under it and working it to the rear. You don't have to remove it, just enough to expose three tiny equidistant screws, arrowed below.
----------------------------
Next, undo the screws a couple of turns and remove the focus collar entirely - it just pulls off to the front, exposing the barrel.
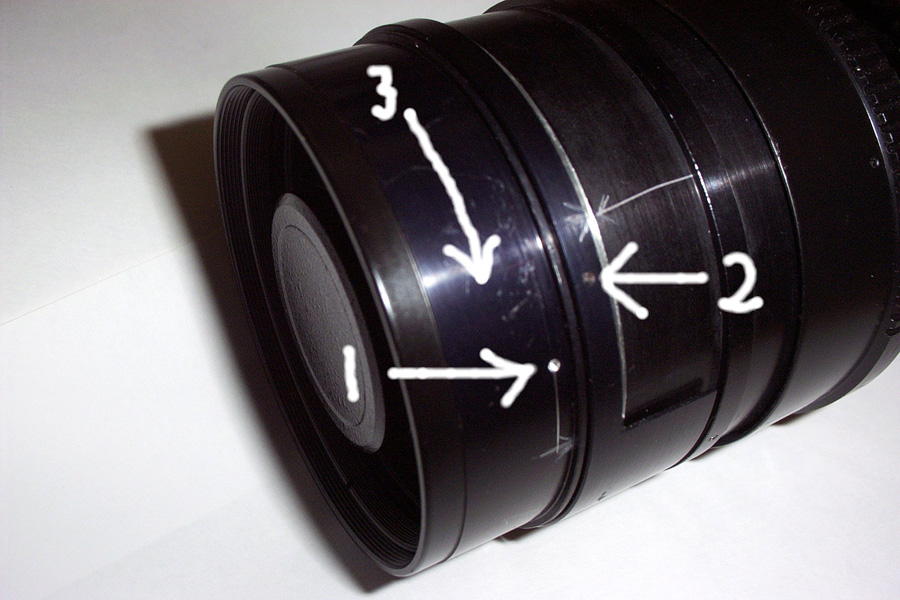
Arrow 1 points to where the focus collar screws locate in, arrow 2 points to the next set of screws to loosen, and arrow 3 shows the direction of rotation towards infinity.
Loosen the three equidistant screws as highlighted by arrow 2. They don't need to come right out, just enough to still be a sliding fit on the metal underneath.

---------------------------------
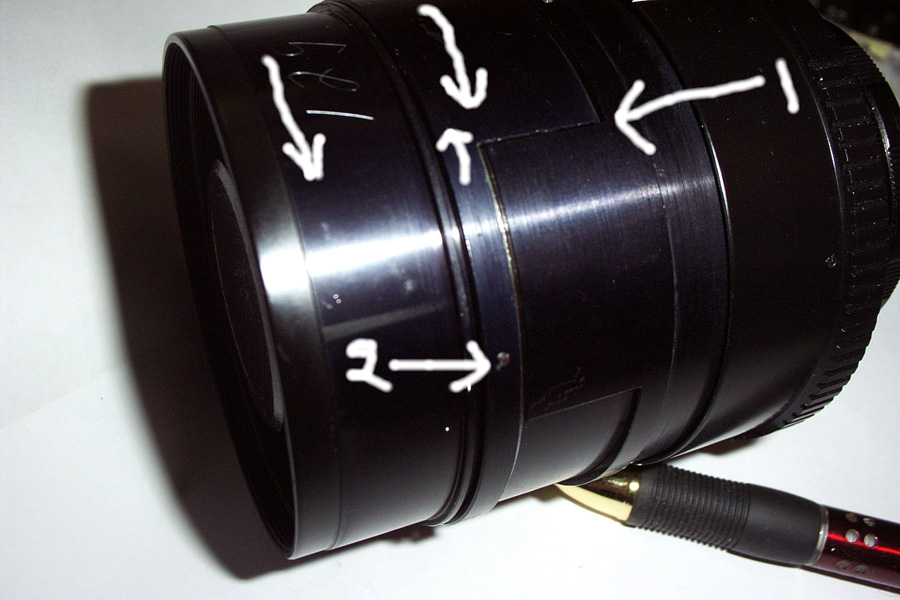
Right, next is the most interesting bit. The two parallel arrows show the parts that move in tandem, but are now free to move independently because the securing screws (No 2) have been loosened. The small arrow illustrates the adjusting movement you give to the inner collar against the main movement of the front collar. The infinity stop itself is pointed at by arrow 1.

What needs to happen now, is to put the camera and lens on a tripod and focus on something that's so far away it's definitely at infinity. You then slightly move the front collar against the inner collar until it give you focus, but without quite bumping up against the infinity stop. If it does, you move the smaller collar back a bit and fiddle about.
It's an easy thing to do, really.
---------------------------------------
Once that's done, you tighten up the inner screws, put back the focus collar and grip and use the thing.
---------------------------------
This shed in the middle of the pic is about 300m away.
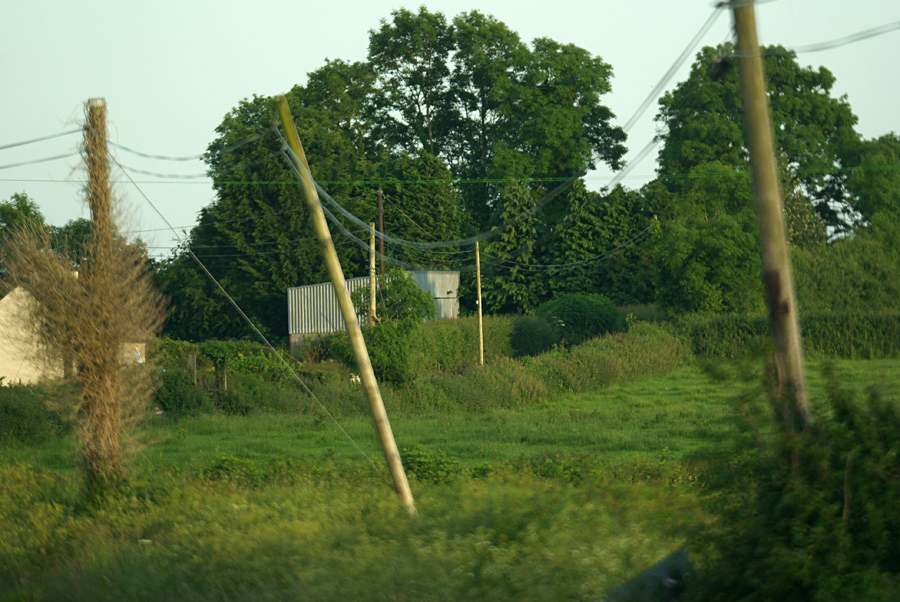
100pc crop

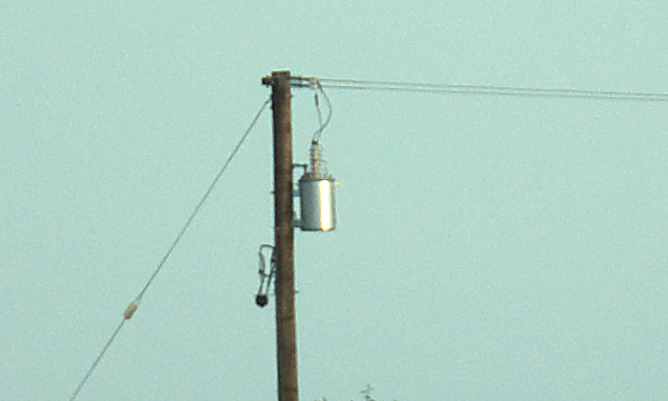
This power pole is a similar distance off.
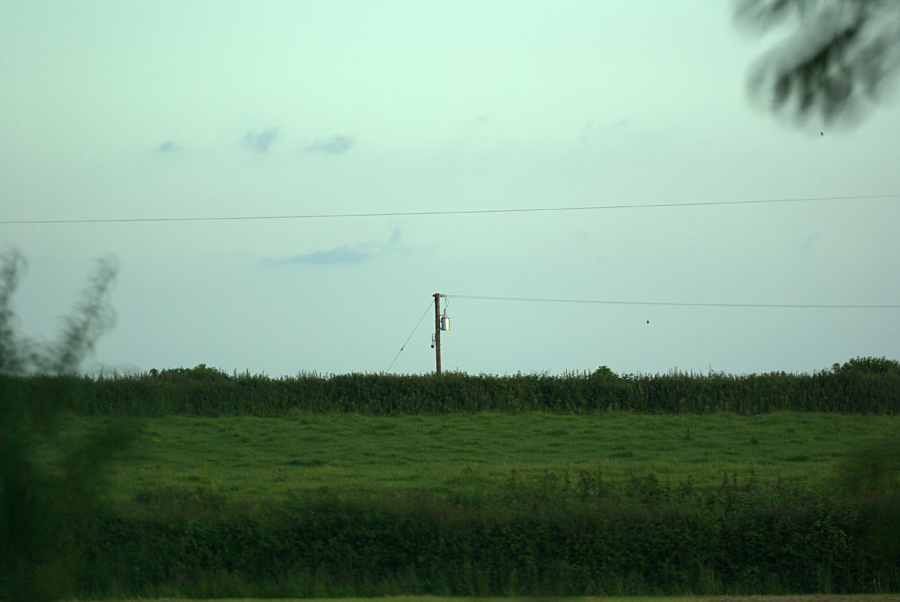
100pc crop

At first, I wasn't too impressed by the quality of the crops, then I realised it was the end of a very hot afternoon and heat haze was undoubtedly playing a part, plus I was being critical of a very small part of the image area.
I've no doubt that if I was using this lens for something like a frame-filling bird, the detail would be perfectly ok, so all in all, I'm quite happy with it. Further testing will continue 
_________________
Dave - Moderator
Camera Fiend and Biograph Operator
If I wanted soot and whitewash I'd be a chimney sweep and house painter.
The Lenses of Farside (click)
BUY FRESH FOMAPAN TO HELP KEEP THE FACTORY ALIVE ---
Foma Campaign topic -
http://forum.mflenses.com/foma-campaign-t55443.html
FOMAPAN on forum -
http://www.mflenses.com/fs.php?sw=Fomapan
Webshop Norway
http://www.fomafoto.com/
Webshop Czech
https://fomaobchod.cz/inshop/scripts/shop.aspx?action=DoChangeLanguage&LangID=4 |