Posted: Wed May 20, 2009 9:19 am Post subject: Vario shutter lens repair Posted: Wed May 20, 2009 9:19 am Post subject: Vario shutter lens repair |
 |
|
PaulC wrote:
There aren't many sources of info about shutter repairs on the net, especially not the cheap but common small-size Vario, so maybe this info about removing all the lenses for cleaning (or the front one to grease the helical) will be useful to someone.
After removing the shutter from the camera and taking off the back lens to clean out fungus, I accidentally pushed the middle lens forward, dislodging the clip that held it. The only way to get it back in place was to remove the front lens. Despite my misgivings (I am no handyman), it turned out to be a very easy repair. Here are some photos illustrating the process:
1) The infinity stop screw on the side of the lens must be loosened enough to allow the front element to screw past it. It is best to do this without completely removing the screw as it is tiny and very fiddly to get back in place, but be aware that it may fall out so work over a surface where it won't get lost.
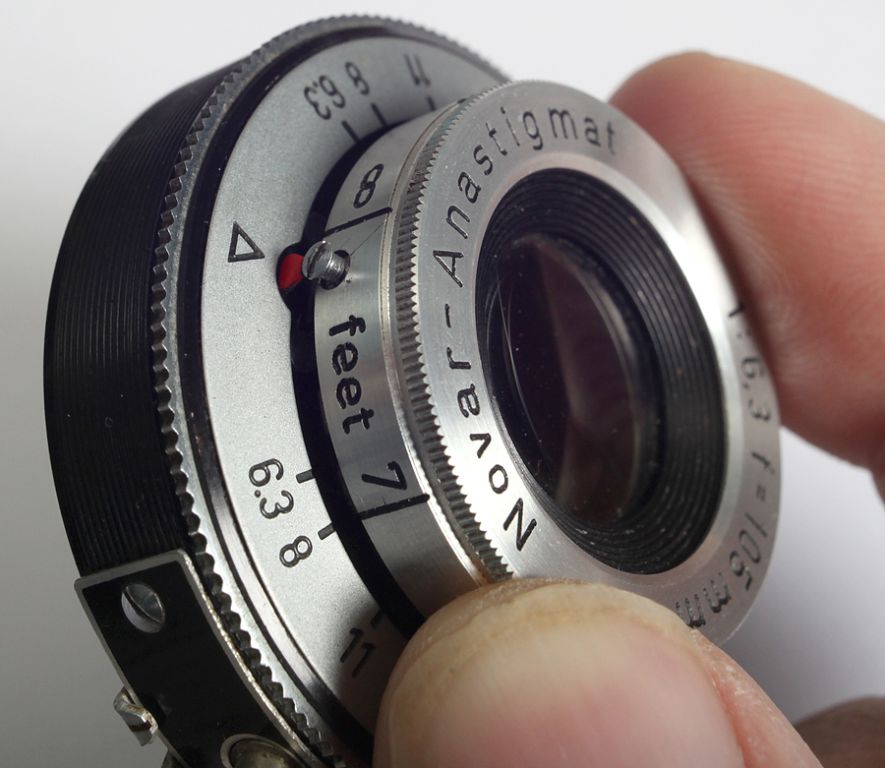
Here it has been unscrewed just enough to allow the lens to unscrew. When you remove the front element, note the point where it comes free. There seem to be three or four positions you can screw it back on from but only one of them will give the correct focus.
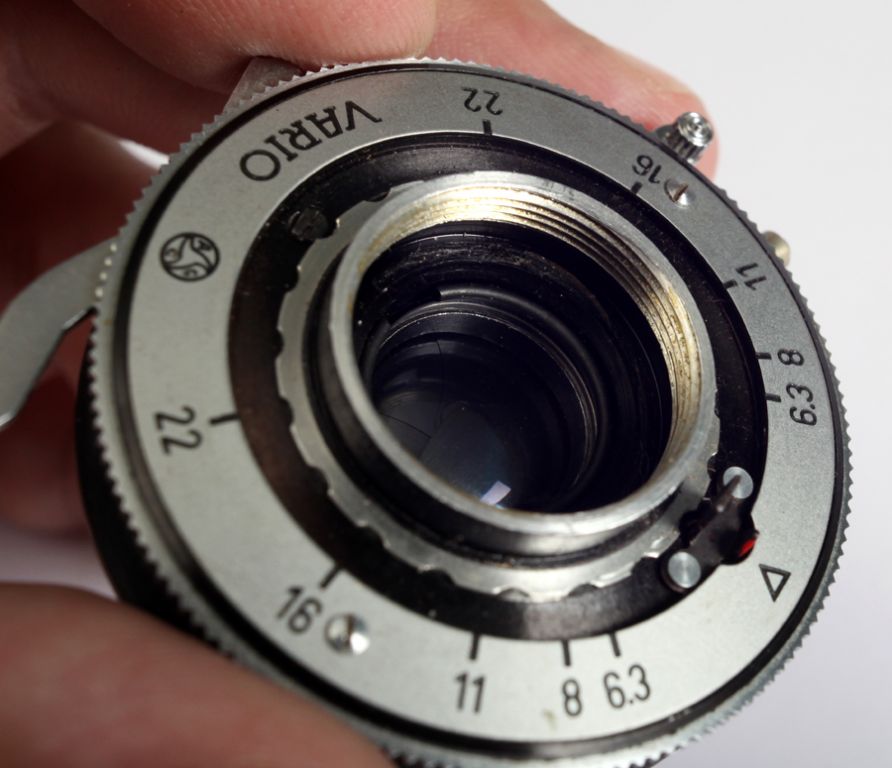
2) With the front of the lens removed, it is possible to see the retaining spring in front of the middle element (though I read that some Varios have retaining rings that screw out, instead of springs). If you need to remove the element (which you probably don't, because you can clean it from behind by holding the lens open on B) you ease the spring out. and once it is removed the middle lens just falls out.
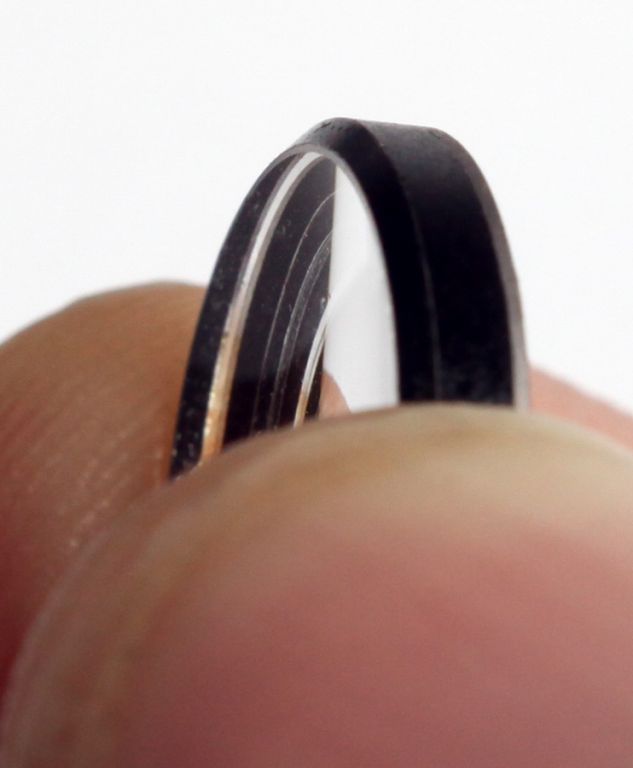
3) Here is the middle lens of the triplet. If you take it out, note which way up it goes. I don't know if the lens is symmetrical, but the setting isn't: the more obviously bevelled edge (on the left) seems to be designed to accomodate the retaining spring. .... yes, I forgot to check which way up it was, but it works the way I put it back.
And here is the disassembled lens, with the spring clip
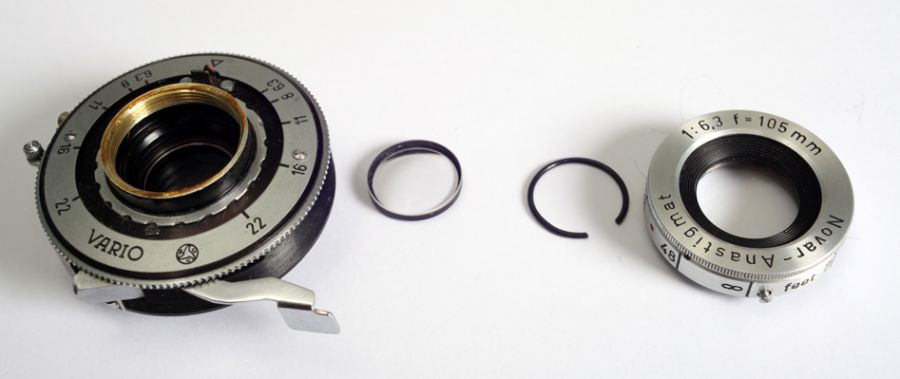
Putting it back together is just: lens in right way up, clip manoevred down tight over it, front element screwed on from the right starting position, infinity screw screwed back firmly in place. Simple.
_________________
View or buy my photos at:
http://shutterstock.com/g/paulcowan |