| View previous topic :: View next topic |
| Author |
Message |
adent


Joined: 06 Oct 2011
Posts: 304
Location: United States
|
 Posted: Sun Nov 27, 2011 10:19 pm Post subject: "Scanning" film with DSLR Posted: Sun Nov 27, 2011 10:19 pm Post subject: "Scanning" film with DSLR |
 |
|
adent wrote:
OK due to some embarrassing improvisation I have produced the following. The question is : What do I do with it from here?
 |
|
| Back to top |
|
 |
peterqd


Joined: 28 Feb 2007
Posts: 7448
Location: near High Wycombe, UK
Expire: 2014-01-04
|
| Posted: Sun Nov 27, 2011 10:44 pm Post subject: |
|
|
peterqd wrote:
First you have to change it from negative to positive - called inverting.
Most simple picture viewers can manage this. I did this with the free viewer Irfanview.
That's generally all you need to do with B&W negs. Colour film has a blueish colour cast as you can see, and a more powerful program is far better for correcting this. It took just one click using the Curves function in Photoshop. I use an old version - CS3.

_________________
Peter - Moderator |
|
| Back to top |
|
|
berraneck


Joined: 24 May 2009
Posts: 972
Location: prague, czech republic
|
| Posted: Sun Nov 27, 2011 10:54 pm Post subject: |
|
|
berraneck wrote:
come on, what about searching a bit first? there are plenty of tutorials on net, UTFG 
http://www.computer-darkroom.com/tutorials/tutorial_6_1.htm
_________________
equipment doesn´t count, good photographs do |
|
| Back to top |
|
|
peterqd
Joined: 28 Feb 2007
Posts: 7448
Location: near High Wycombe, UK
Expire: 2014-01-04
|
| Posted: Sun Nov 27, 2011 11:02 pm Post subject: |
|
|
peterqd wrote:
What's UTFG? I only know RTFM
(PS You can use *** if you like!)
_________________
Peter - Moderator |
|
| Back to top |
|
|
adent
Joined: 06 Oct 2011
Posts: 304
Location: United States
|
| Posted: Mon Nov 28, 2011 1:23 am Post subject: |
|
|
adent wrote:
I kinda figured something out. It is in the other thread. |
|
| Back to top |
|
|
berraneck
Joined: 24 May 2009
Posts: 972
Location: prague, czech republic
|
| Posted: Mon Nov 28, 2011 9:21 am Post subject: |
|
|
berraneck wrote:
| peterqd wrote: |
What's UTFG? I only know RTFM
(PS You can use *** if you like!) |
http://www.google.com/search?q=utfg

@adent: well done! hope you achieve some nice photos on film
_________________
equipment doesn´t count, good photographs do |
|
| Back to top |
|
|
martinsmith99

Joined: 31 Aug 2008
Posts: 6950
Location: S Glos, UK
Expire: 2013-11-18
|
| Posted: Mon Nov 28, 2011 5:22 pm Post subject: |
|
|
martinsmith99 wrote:
What does it say about my mind that I understood this before the looking at the link? 
_________________
Casual attendance these days |
|
| Back to top |
|
|
visualopsins

Joined: 05 Mar 2009
Posts: 11053
Location: California
Expire: 2025-04-11
|
| Posted: Tue Nov 29, 2011 1:06 am Post subject: |
|
|
visualopsins wrote:
Question about PP program that does 'layers': can a layer, made by scanning blank developed film, be used to accurately remove the color cast caused by film orange mask?
_________________
☮☮☮☮☮☮☮☮☮☮☮☮☮☮☮☮☮☮☮☮☮☮☮☮☮☮☮☮☮☮☮☮ like attracts like! ☮☮☮☮☮☮☮☮☮☮☮☮☮☮☮☮☮☮☮☮☮☮☮☮☮☮☮☮☮☮☮☮
Cameras: Sony ILCE-7RM2, Spotmatics II, F, and ESII, Nikon P4
Lenses:
M42 Asahi Optical Co., Takumar 1:4 f=35mm, 1:2 f=58mm (Sonnar), 1:2.4 f=58mm (Heliar), 1:2.2 f=55mm (Gaussian), 1:2.8 f=105mm (Model I), 1:2.8/105 (Model II), 1:5.6/200, Tele-Takumar 1:5.6/200, 1:6.3/300, Macro-Takumar 1:4/50, Auto-Takumar 1:2.3 f=35, 1:1.8 f=55mm, 1:2.2 f=55mm, Super-TAKUMAR 1:3.5/28 (fat), 1:2/35 (Fat), 1:1.4/50 (8-element), Super-Multi-Coated Fisheye-TAKUMAR 1:4/17, Super-Multi-Coated TAKUMAR 1:4.5/20, 1:3.5/24, 1:3.5/28, 1:2/35, 1:3.5/35, 1:1.8/85, 1:1.9/85 1:2.8/105, 1:3.5/135, 1:2.5/135 (II), 1:4/150, 1:4/200, 1:4/300, 1:4.5/500, Super-Multi-Coated Macro-TAKUMAR 1:4/50, 1:4/100, Super-Multi-Coated Bellows-TAKUMAR 1:4/100, SMC TAKUMAR 1:1.4/50, 1:1.8/55
M42 Carl Zeiss Jena Flektogon 2.4/35
Contax Carl Zeiss Vario-Sonnar T* 28-70mm F3.5-4.5
Pentax K-mount SMC PENTAX-A ZOOM 1:3.5 35~105mm, SMC PENTAX ZOOM 1:4 45~125mm
Nikon Micro-NIKKOR-P-C Auto 1:3.5 f=55mm, NIKKOR-P Auto 105mm f/2.5 Pre-AI (Sonnar), Micro-NIKKOR 105mm 1:4 AI, NIKKOR AI-S 35-135mm f/3,5-4,5
Tamron SP 17mm f/3.5 (51B), Tamron SP 17mm f/3.5 (151B), SP 500mm f/8 (55BB), SP 70-210mm f/3.5 (19AH)
Vivitar 100mm 1:2.8 MC 1:1 Macro Telephoto (Kiron)
|
|
| Back to top |
|
|
adent
Joined: 06 Oct 2011
Posts: 304
Location: United States
|
| Posted: Tue Nov 29, 2011 1:33 am Post subject: |
|
|
adent wrote:
I don't know about that but I found that if you use ACR you can use the white balance tool on the orange part near one of the sprocket holes and it removes it pretty good. Photograph a little extra part of the negative and crop later. Still have to do some work on the red, green, and blue channels in levels in photoshop but it turns out pretty good. |
|
| Back to top |
|
|
adent
Joined: 06 Oct 2011
Posts: 304
Location: United States
|
| Posted: Tue Nov 29, 2011 2:02 am Post subject: |
|
|
adent wrote:
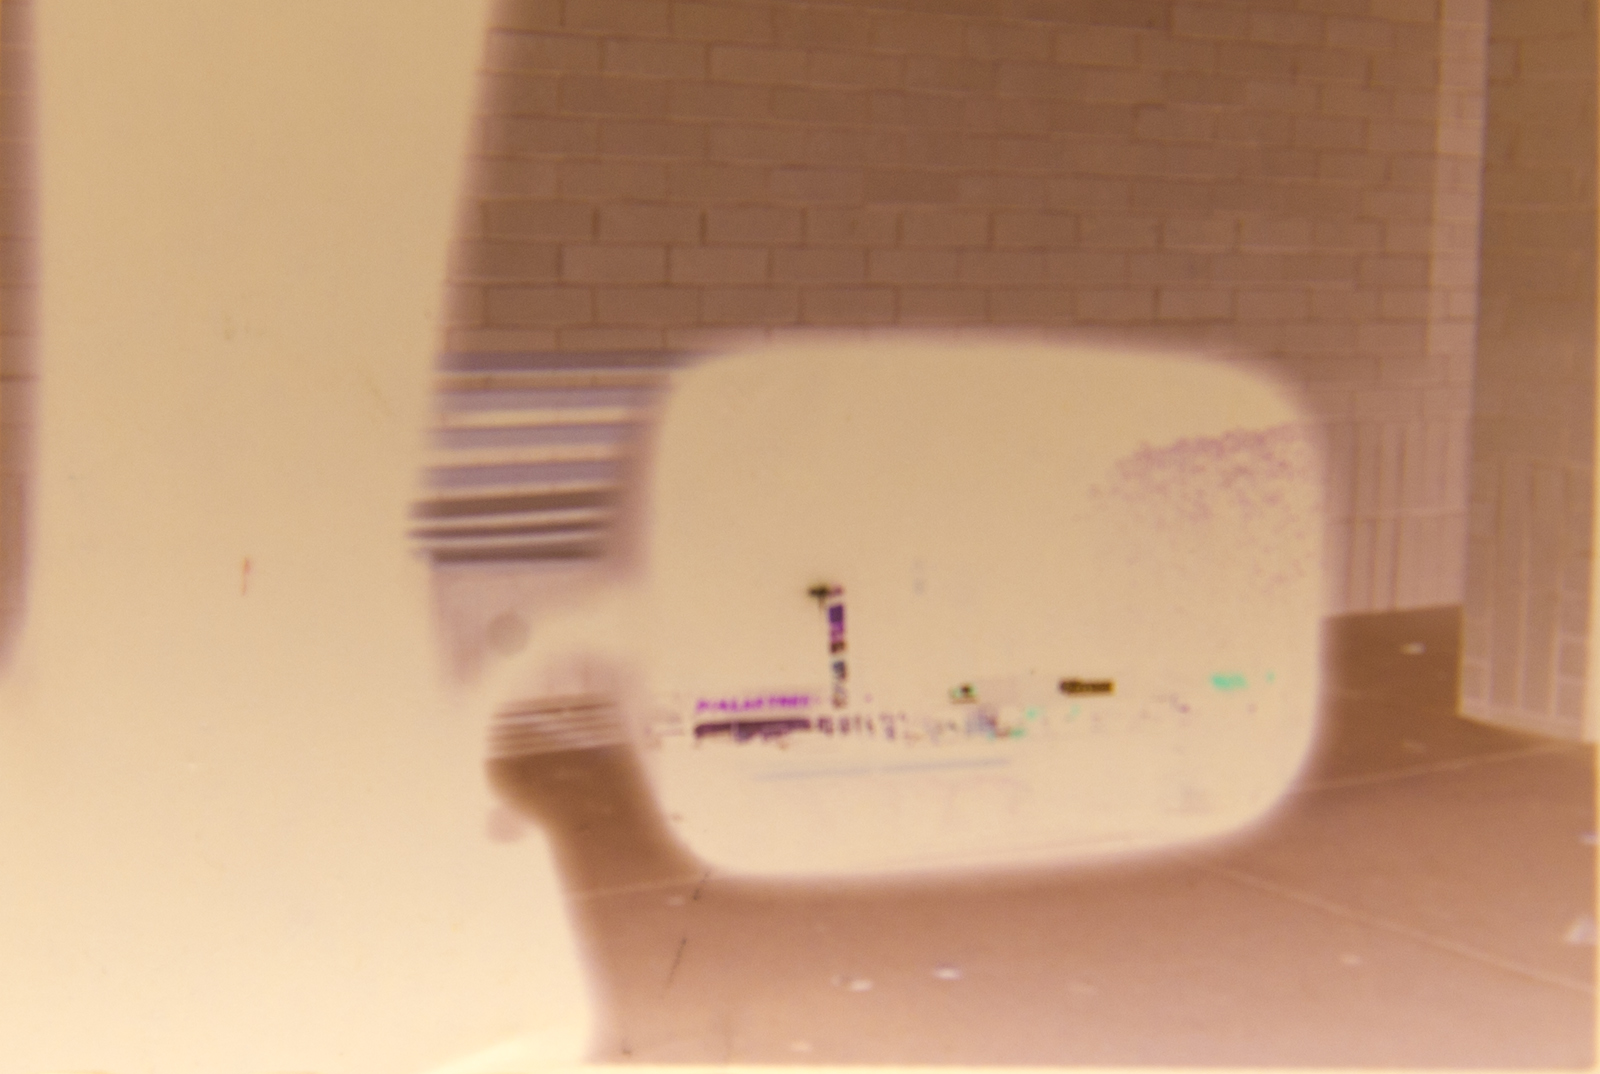
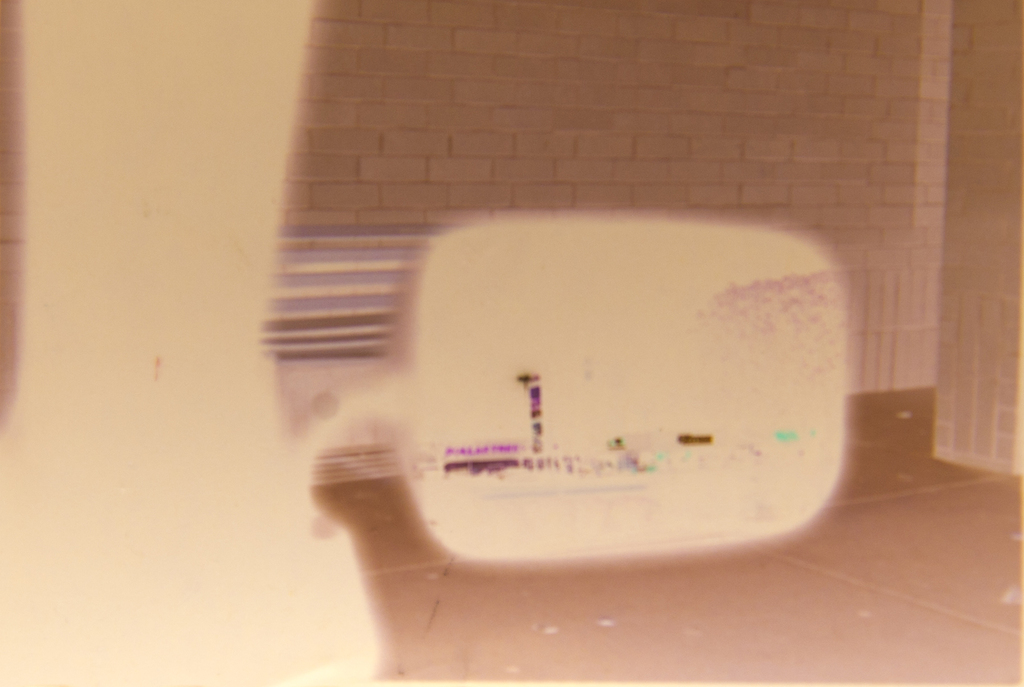
Here is how I have been doing it so far. Please keep in mine that I have not worked out a decent fixture for holding the negatives. I will try to improve on that part later. Also this negative is old and mistreated so not the best to start from. Just an experiment.
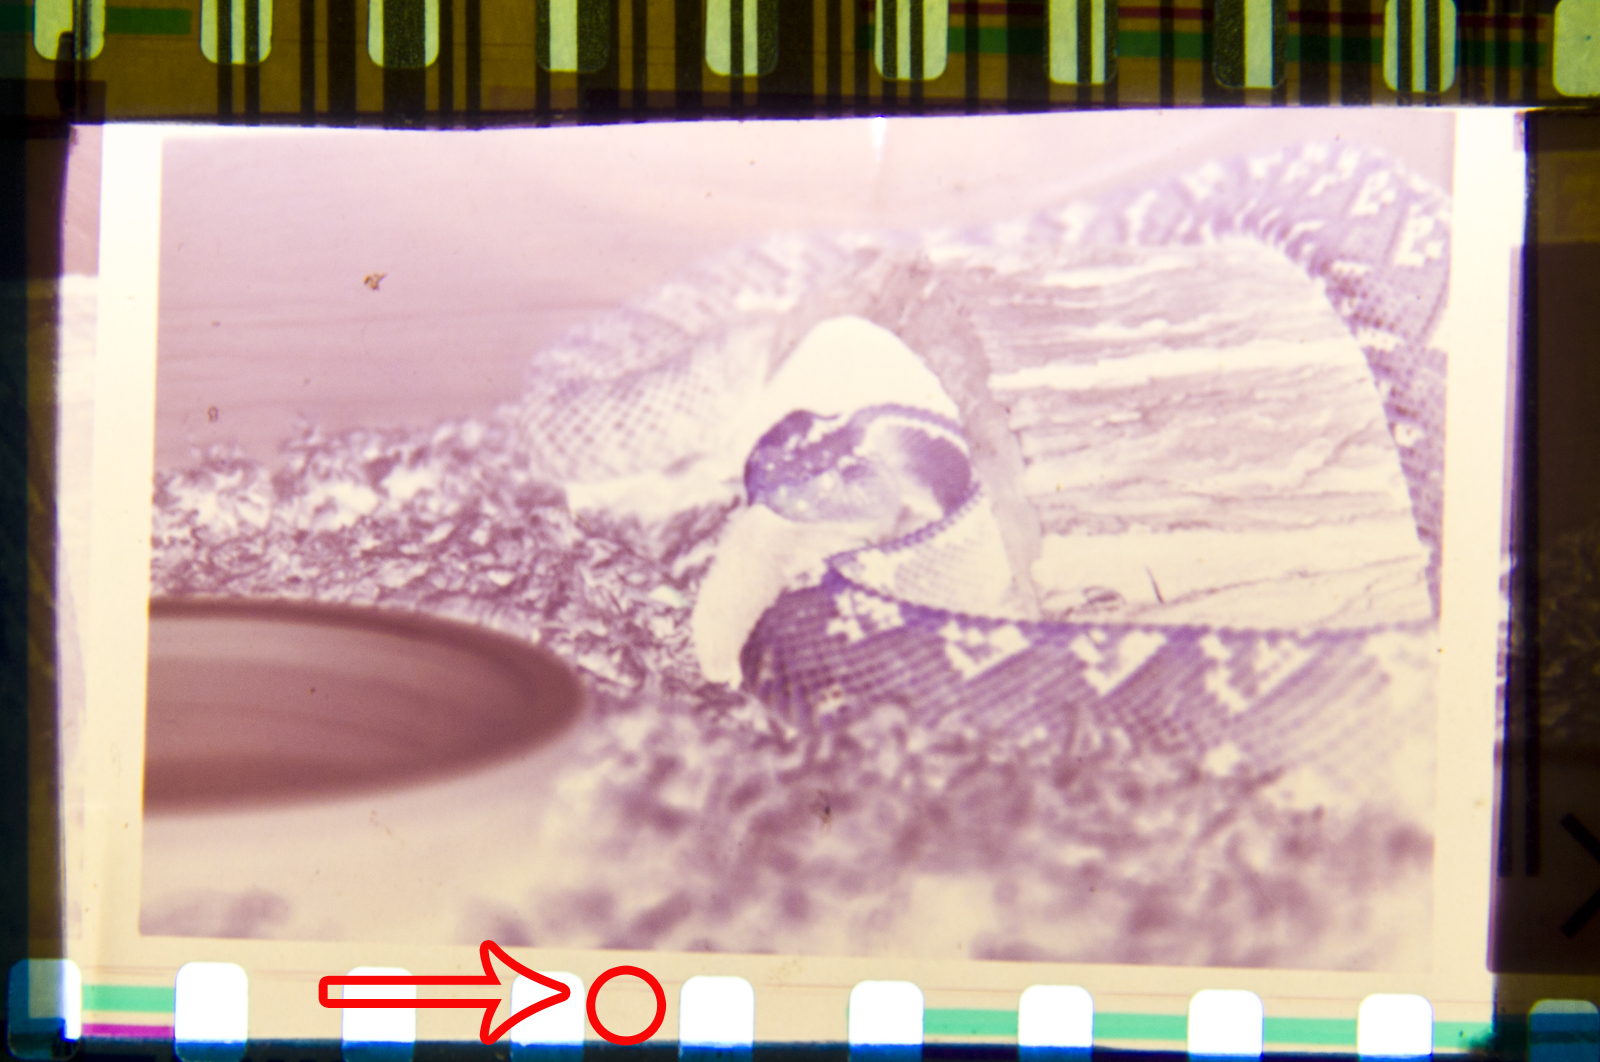
Original pic of negative (RAW) Circled area is where I used White balance tool.

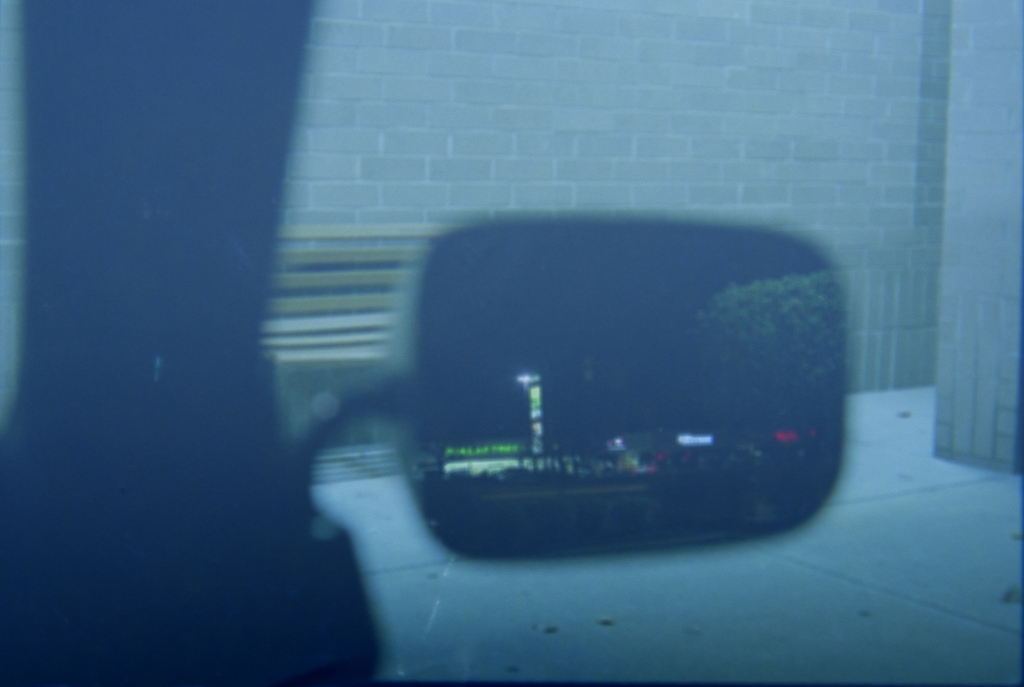
This is after White Balance.
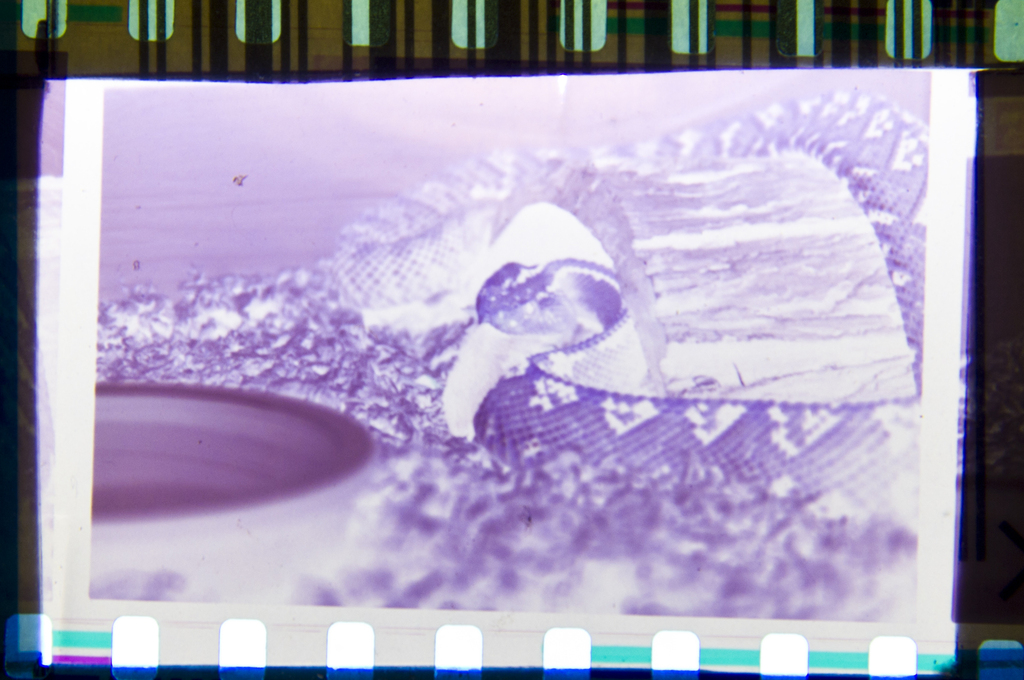
This is after inverting the image in Photoshop
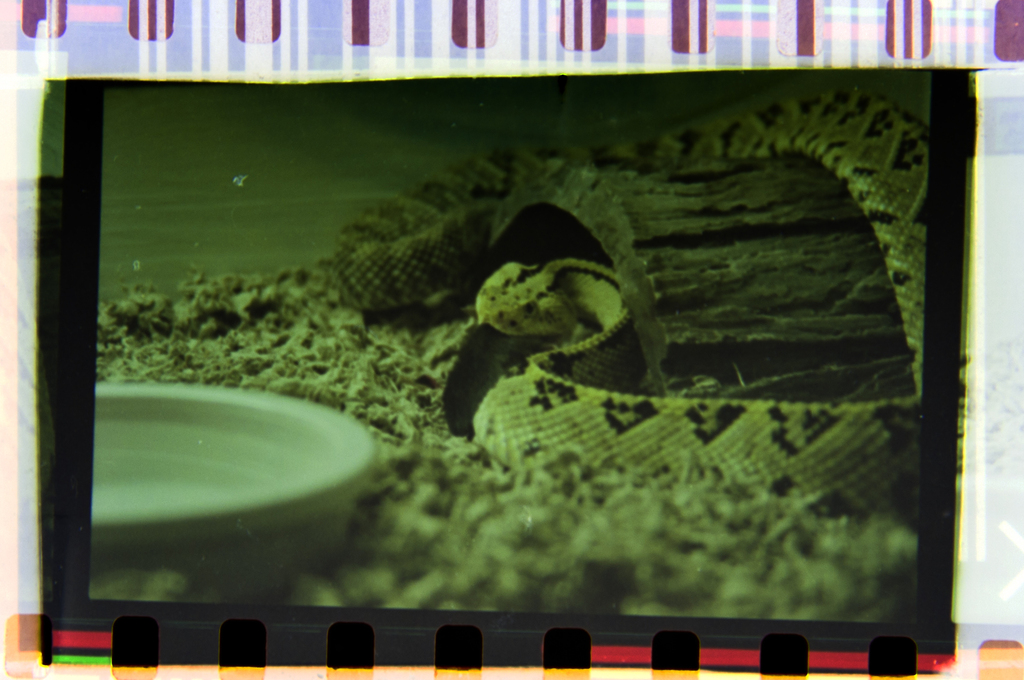
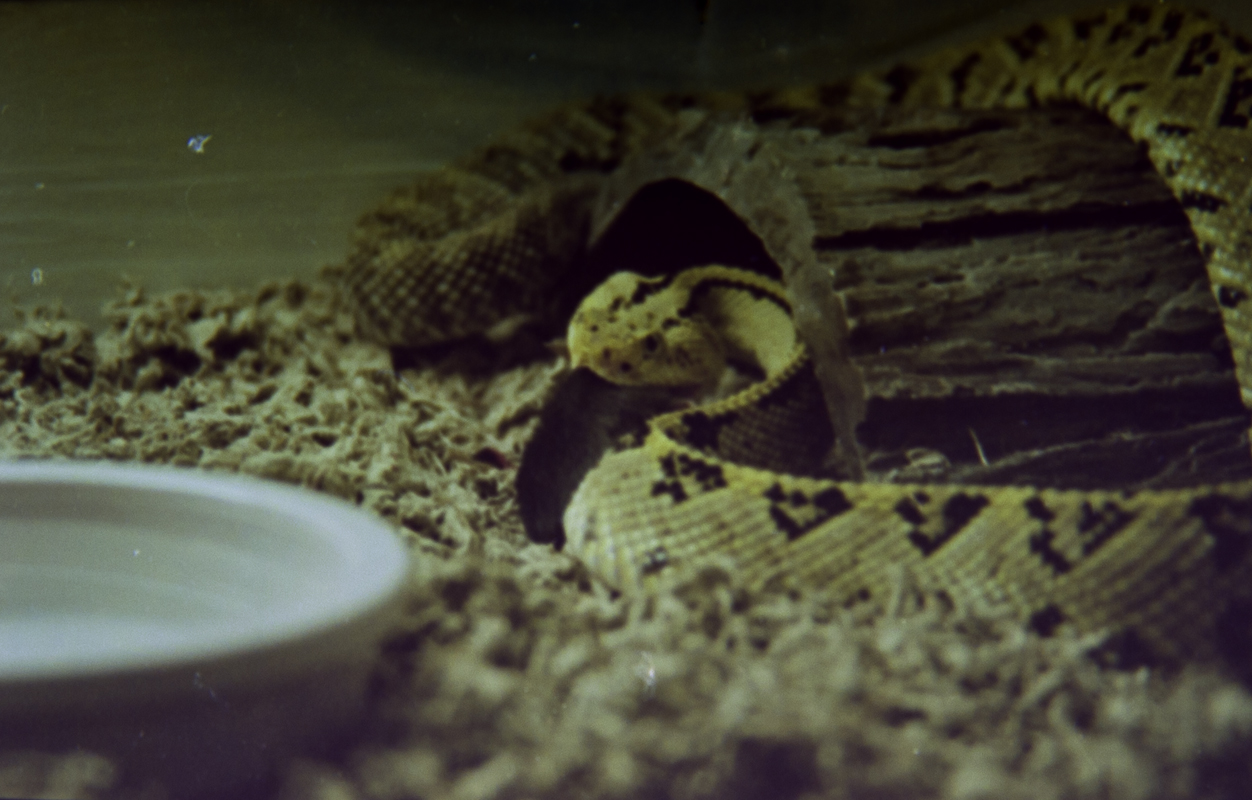
This is after adjusting the colors.
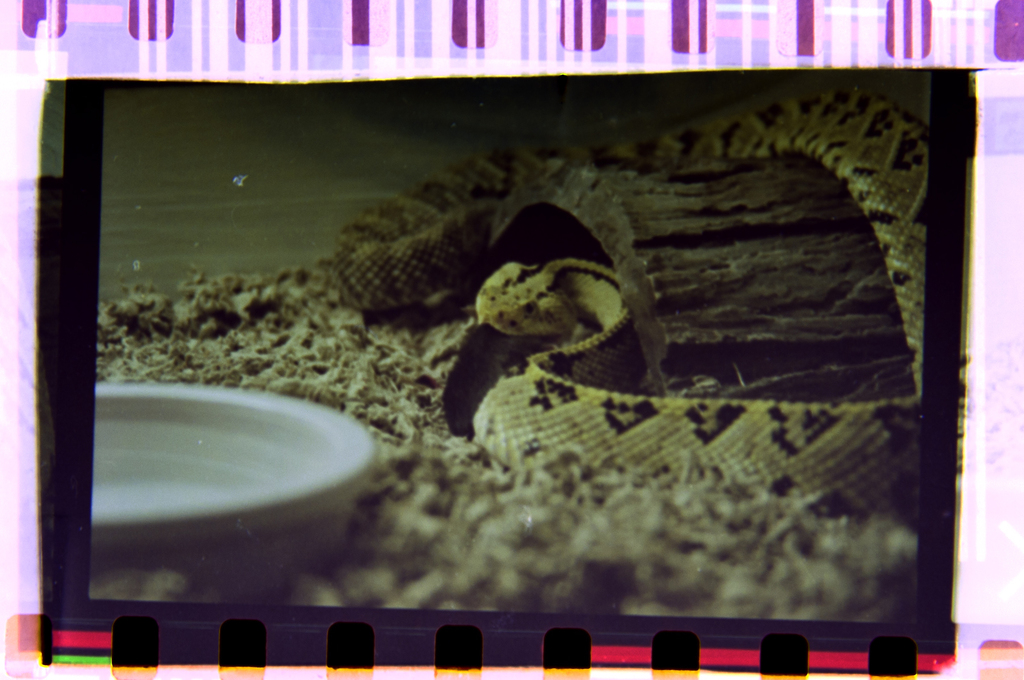
After cropping image.
 |
|
| Back to top |
|
|
peterqd
Joined: 28 Feb 2007
Posts: 7448
Location: near High Wycombe, UK
Expire: 2014-01-04
|
| Posted: Tue Nov 29, 2011 9:34 am Post subject: |
|
|
peterqd wrote:
| visualopsins wrote: |
| Question about PP program that does 'layers': can a layer, made by scanning blank developed film, be used to accurately remove the color cast caused by film orange mask? |
Firstly, a good scanning program will remove the colour cast automatically. Sometimes it needs adjusting, but not very often in my experience.
If you want to do it by hand in PP, yes you could make a separate layer for that and ensure you have both layers selected when you do the adjustments. But it's simpler to just include some blank film in the original scan area (the gap between frames is easiest) and use that for correction in the same layer and crop it out later.
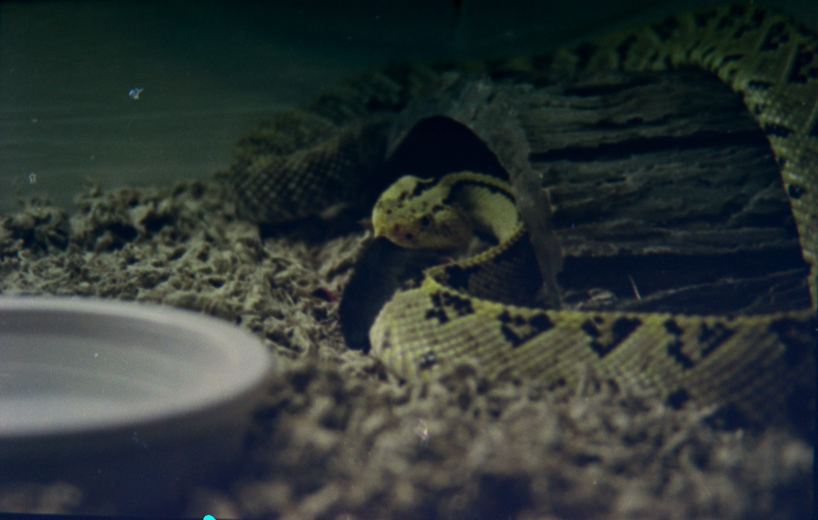
@adent: If you're "scanning" with a DSLR then you have a RAW file to work on. If you scan it with a scanner you only have a JPG or a TIF file to work on. So I do it all in Photoshop using the Curves tool. It would save you having to load two programs if you did it that way. There are three different ways of adjusting cast and colour correction after you've inverted the image, all with just one click, using the thre sampler tools - white, black and the grey one in the centre. I almost always use the grey tool as I find it gives the best colour adjustment. This colour is adjusted with just one click with the grey tool on the bowl:

_________________
Peter - Moderator |
|
| Back to top |
|
|
|
|
|
You cannot post new topics in this forum
You cannot reply to topics in this forum
You cannot edit your posts in this forum
You cannot delete your posts in this forum
You cannot vote in polls in this forum
|