| View previous topic :: View next topic |
| Author |
Message |
Greg_E
Joined: 19 Dec 2013
Posts: 18
|
 Posted: Tue May 19, 2015 3:33 pm Post subject: Canon FDn 35-105 f3.5 zoom disassembly? Posted: Tue May 19, 2015 3:33 pm Post subject: Canon FDn 35-105 f3.5 zoom disassembly? |
 |
|
Greg_E wrote:
I just got a Canon FDn 35-105 f 3.5 constant aperture zoom from ebay, didn't read carefully enough to note that there is some fungus inside. Got here today and now I find I need to clean the fungus off because it is in a bad spot and making everything soft (I think). It is center of an element just behind the focus group and I want to try cleaning that out to see if the IQ sharpens up a bit. What I need is dissassembly instructions/guide to get down inside this without wrecking it. I've been inside all my older LTM mount Serenar lenses for cleaning and lube, so I'm comfortable doing the work if I can figure out how to get down to the level I need.
It also seems to have a small back focus issue, but there is a thread on that topic so I should be fine correcting it.
TIA for any help, Greg. |
|
| Back to top |
|
 |
philslizzy


Joined: 07 Aug 2012
Posts: 4744
Location: Cheshire, England
|
| Posted: Wed May 20, 2015 7:52 am Post subject: |
|
|
philslizzy wrote:
I'll watch this topic as I have one the same. The front element has a slotted ring round the rim as many do but I cannot get this off at all. I've damaged the plastic trying.
_________________
Hero in the 'messin-with-cameras-for-the-hell-of-it department'. Official. |
|
| Back to top |
|
|
Greg_E
Joined: 19 Dec 2013
Posts: 18
|
| Posted: Wed May 20, 2015 5:39 pm Post subject: |
|
|
Greg_E wrote:
| philslizzy wrote: |
| The front element has a slotted ring round the rim as many do but I cannot get this off at all. I've damaged the plastic trying. |
Yup, did this last night. After looking more closely there must be a screw somewhere to unlock the front group. I pulled the rubber ring down and looked around and all I can see is the focus helical. Either mine is stuck really well, or there are set screws to lock it in place. Since the front ring is plastic I can't put much more force into it without shaving the cutout down to nothing. |
|
| Back to top |
|
|
Lloydy

Joined: 02 Sep 2009
Posts: 7771
Location: Ironbridge. UK.
Expire: 2022-01-01
|
| Posted: Wed May 20, 2015 11:31 pm Post subject: |
|
|
Lloydy wrote:
I think Canon use crappy plastic trim rings, and then glue them in. I don't think I've got one out without wrecking it. The one trick I have used on plastic rings is to just prise them out by using a strip of harder - stiffer plastic such as a bit of old credit card pushed between the glass and the ring, and then a steel rule with the sharp corners taken off. It's a bit brutal, but if the ring is flexible enough it works.
_________________
LENSES & CAMERAS FOR SALE.....
I have loads of stuff that I have to get rid of, if you see me commenting about something I have got and you want one, ask me.
My Flickr https://www.flickr.com/photos/mudplugga/
My ipernity -
http://www.ipernity.com/home/294337 |
|
| Back to top |
|
|
Greg_E
Joined: 19 Dec 2013
Posts: 18
|
| Posted: Thu May 21, 2015 3:07 am Post subject: |
|
|
Greg_E wrote:
Think I wrecked mine. That ring is indeed supposed to unscrew, this gets you the front element out, each element under that has a large metal C clip/band holding it in.
The filter thread appears to just push on over a large spring C clip, I just finally forced mine down past that ring.
But none of this got me down to where I needed to be. Looks like I may need to remove the focus stops, and unscrew the helical. Just below the stop is a small Phillips screw, and two more spaced 120 degrees, not sure what they hold yet but that might get me down where I need to be. Not much left to loose on this lens. |
|
| Back to top |
|
|
cooltouch

Joined: 15 Jan 2009
Posts: 9098
Location: Houston, Texas
|
| Posted: Thu May 21, 2015 4:57 am Post subject: |
|
|
cooltouch wrote:
Greg, I have this lens, but I don't have it in front of me, so I don't recall -- is it internal focusing or not? If it is an IF lens, then I do not recommend that you attempt to dismantle it. Repairing a Canon IF lens is generally beyond the scope of a typical DIY. The elements in the focusing group require special tools to make sure they're correctly aligned when they are reassembled.
This is a great lens, and not really uncommon so it's possible to still find one on eBay often for a reasonable price. It would probably be cheaper going that route than having your lens repaired. If you want to have the repair done, though, the acknowledged guru on everything Canon FD is Ken Oikawa. He's old school -- doesn't have an email address, but here's his contact info:
Ken Oikawa
28288 West Worcester Rd.
Sun City CA 92586
Ph: 951-246-9136
_________________
Michael
My Gear List: http://michaelmcbroom.com/photo/gear.html
My Gallery: http://michaelmcbroom.com/gallery3/index.php/
My Flickr Page: https://www.flickr.com/photos/11308754@N08/albums
My Music: https://soundcloud.com/michaelmcbroom/albums
My Blog: http://michaelmcbroom.com/blogistan/ |
|
| Back to top |
|
|
Greg_E
Joined: 19 Dec 2013
Posts: 18
|
| Posted: Thu May 21, 2015 11:00 am Post subject: |
|
|
Greg_E wrote:
Think I may pick up a cheap one and see if I can make two into one. |
|
| Back to top |
|
|
Gardener

Joined: 22 Sep 2013
Posts: 950
Location: USA
|
| Posted: Thu May 28, 2015 4:36 pm Post subject: |
|
|
Gardener wrote:
I have a half-disassembled 35-105 on my shelf. There's a bit of fungus under the front element and I just can't get to it. It's like the thing is welded together. I've pretty much written it off. |
|
| Back to top |
|
|
Greg_E
Joined: 19 Dec 2013
Posts: 18
|
| Posted: Thu May 28, 2015 8:52 pm Post subject: |
|
|
Greg_E wrote:
The solvents in the plastic must evaporate over time and cause that plastic ring to shrink. There are 3 cuts made in the threads, if the plastic shrinks it then forms a block that can not turn. Once I got mine pried off, there were no signs of glue on the threads.
Some gentle heat might help to loosen the ring retaining the front element, not sure how hot you would want to get though. |
|
| Back to top |
|
|
Herbert
Joined: 07 Sep 2023
Posts: 26
|
| Posted: Thu Sep 07, 2023 10:13 am Post subject: |
|
|
Herbert wrote:
Hello to all!
Excavating this thread: I would like to change front glass of a Canon FD 35-105 /f3.5
from a scratched to a mint one (from a non working sample of course).
Will there be any alignment in the Y/Y and Z axis be needed?
Many thanks, all the best. Herbert |
|
| Back to top |
|
|
Herbert
Joined: 07 Sep 2023
Posts: 26
|
| Posted: Fri Apr 05, 2024 6:10 pm Post subject: NOW I have a problem... |
|
|
Herbert wrote:
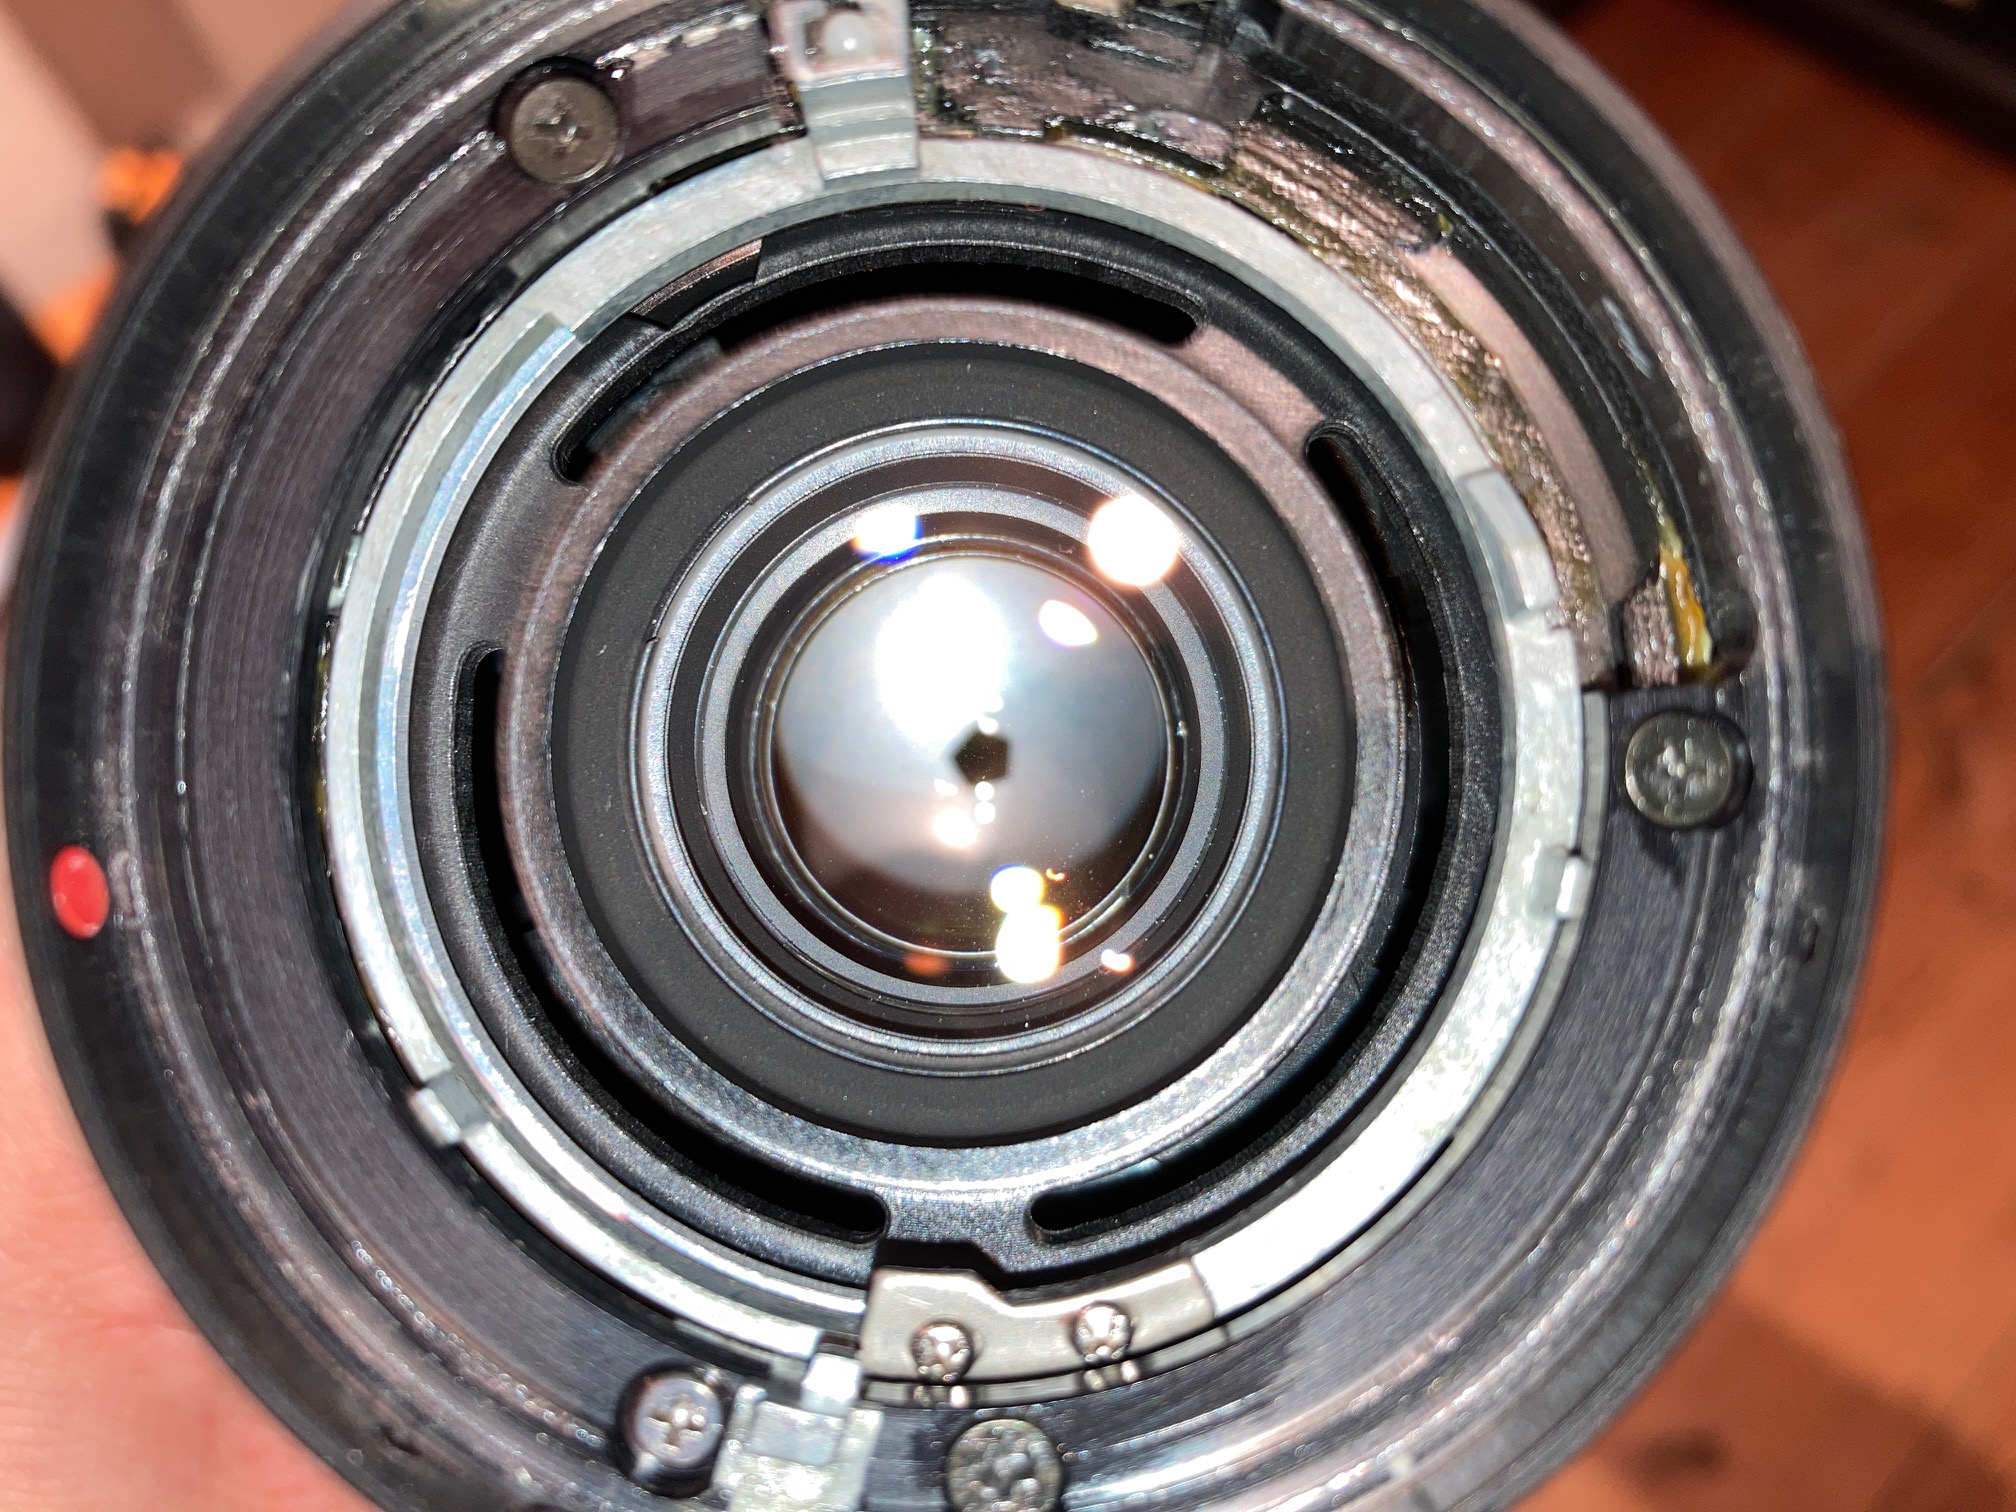
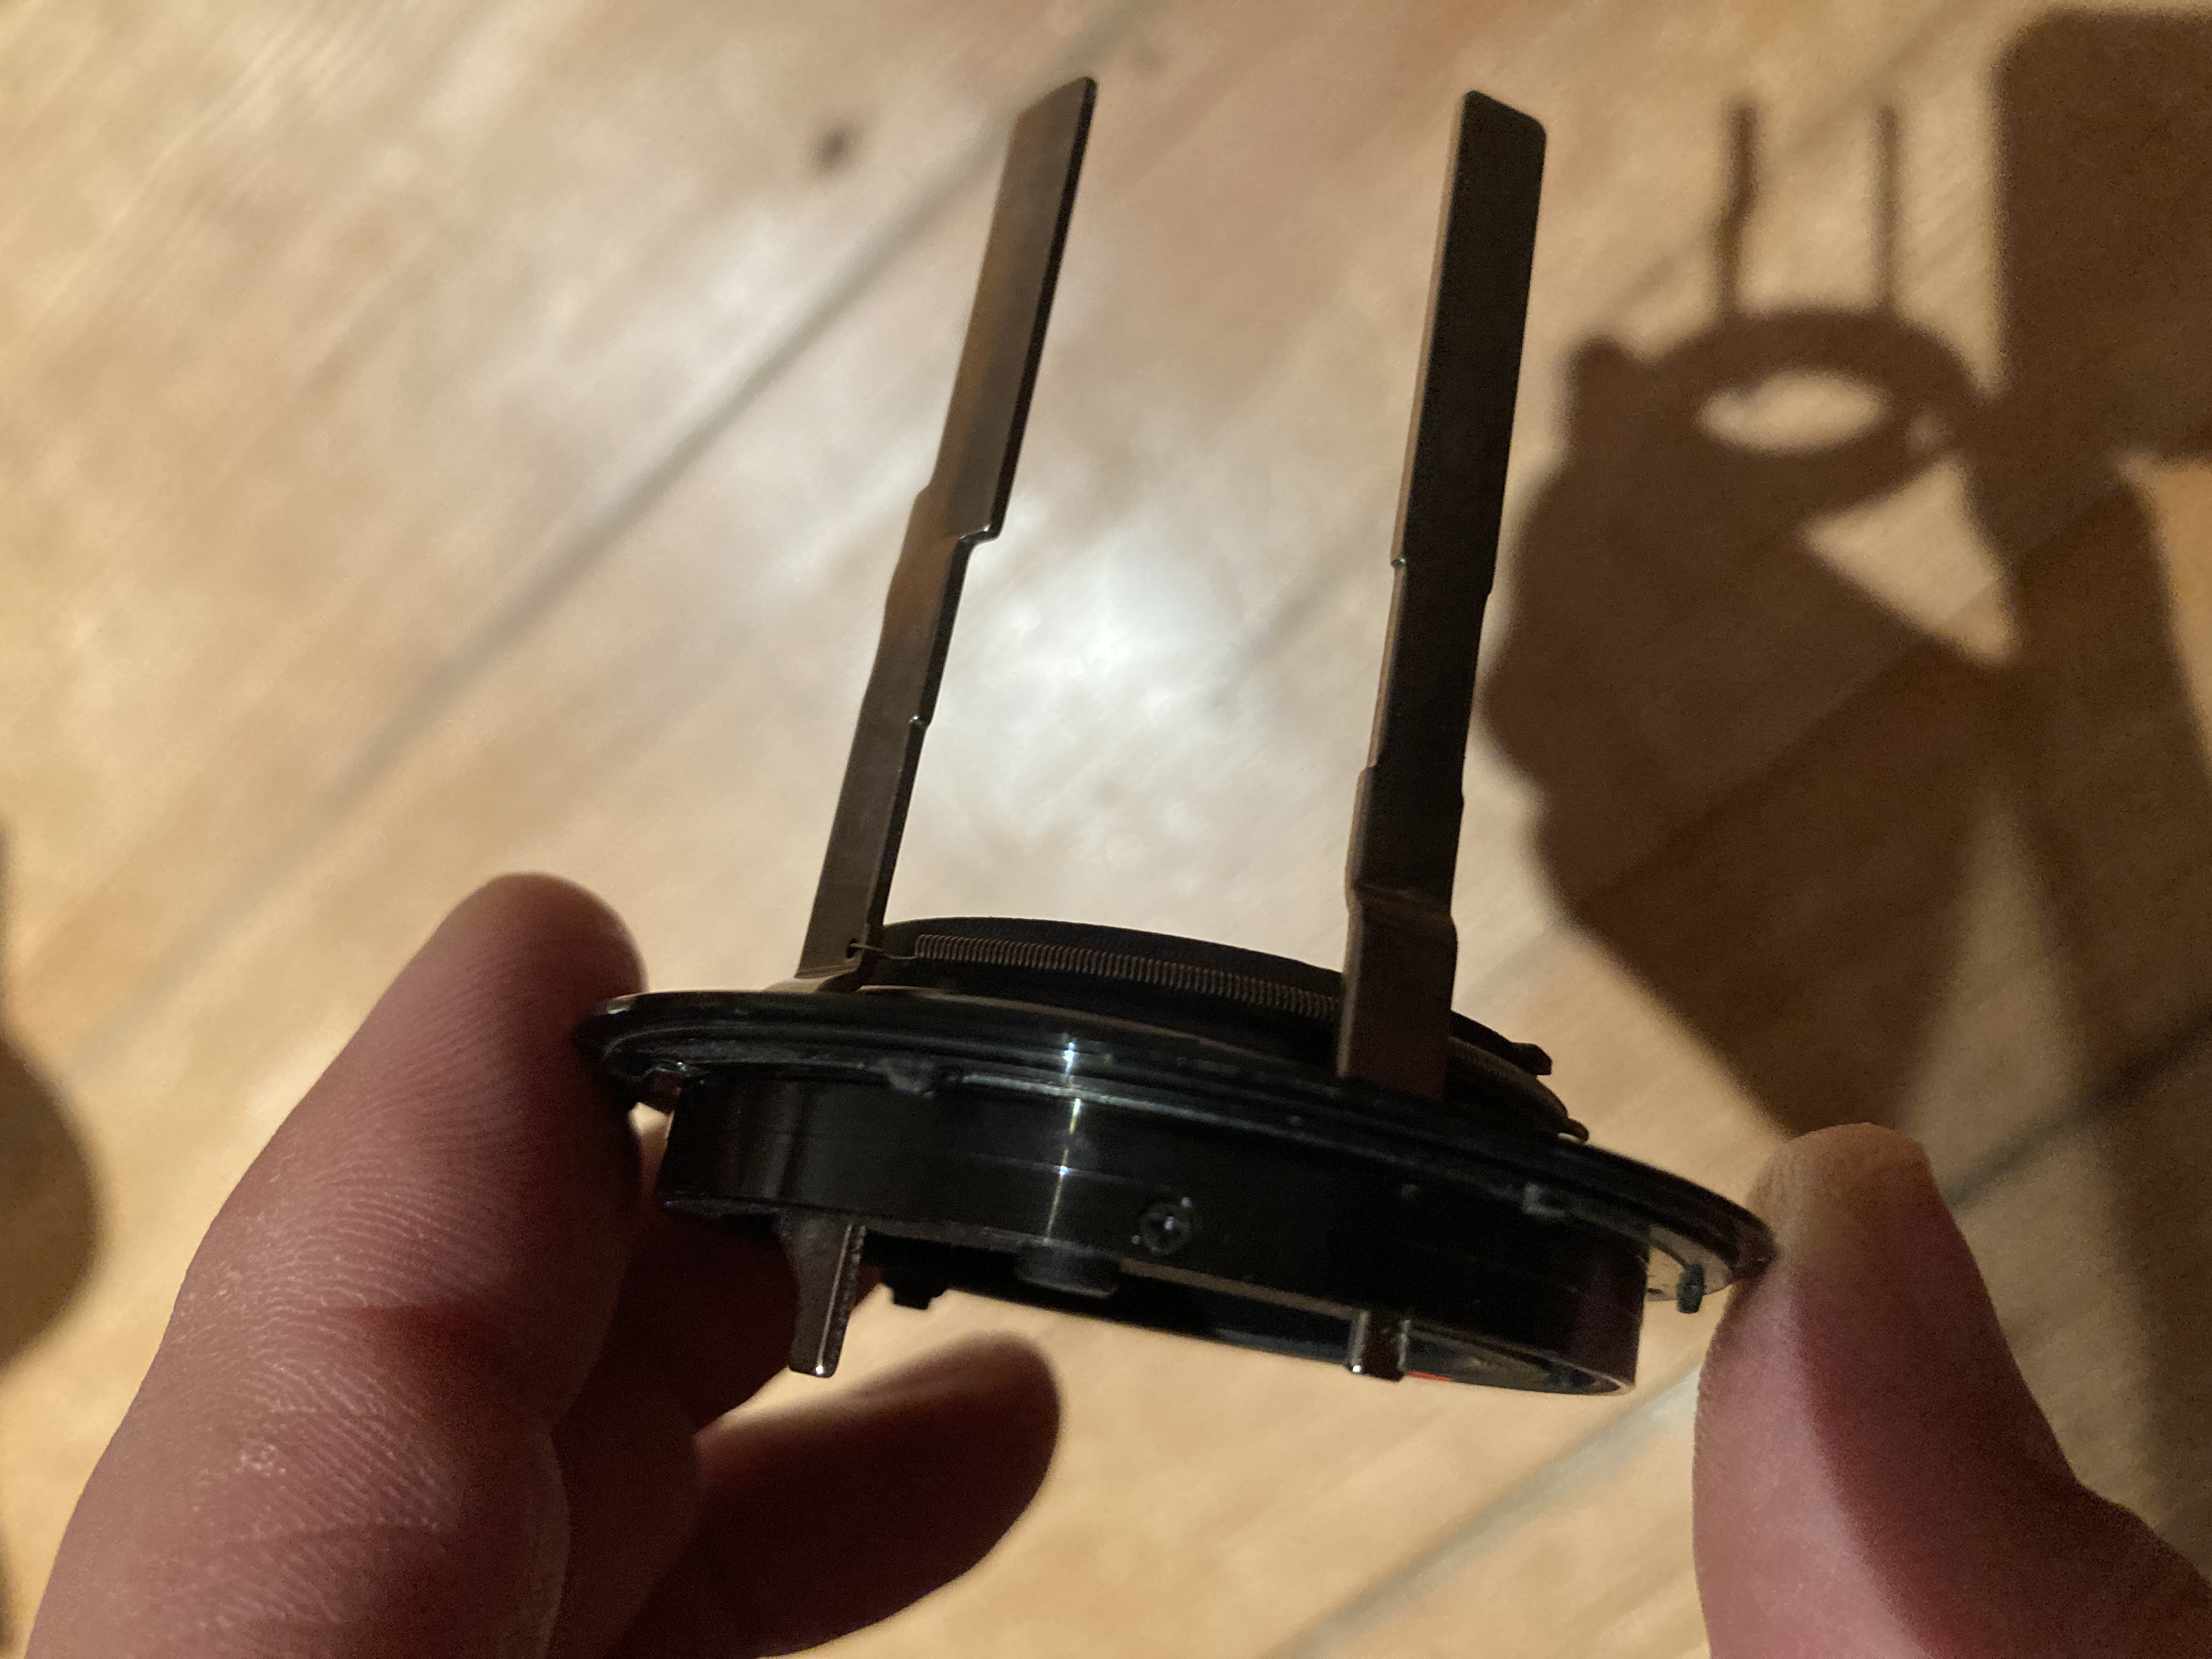
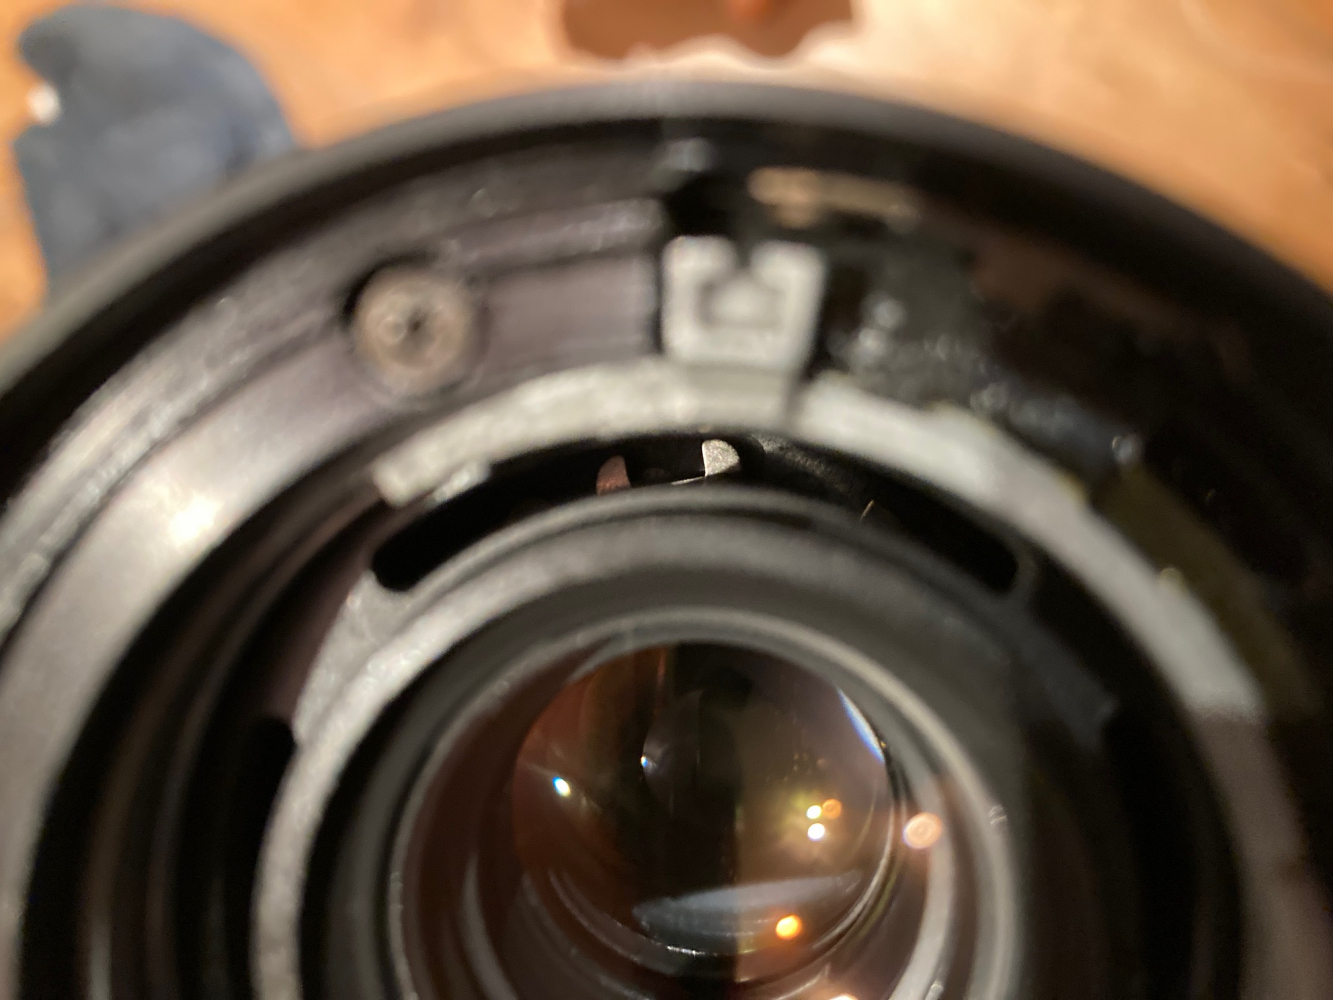
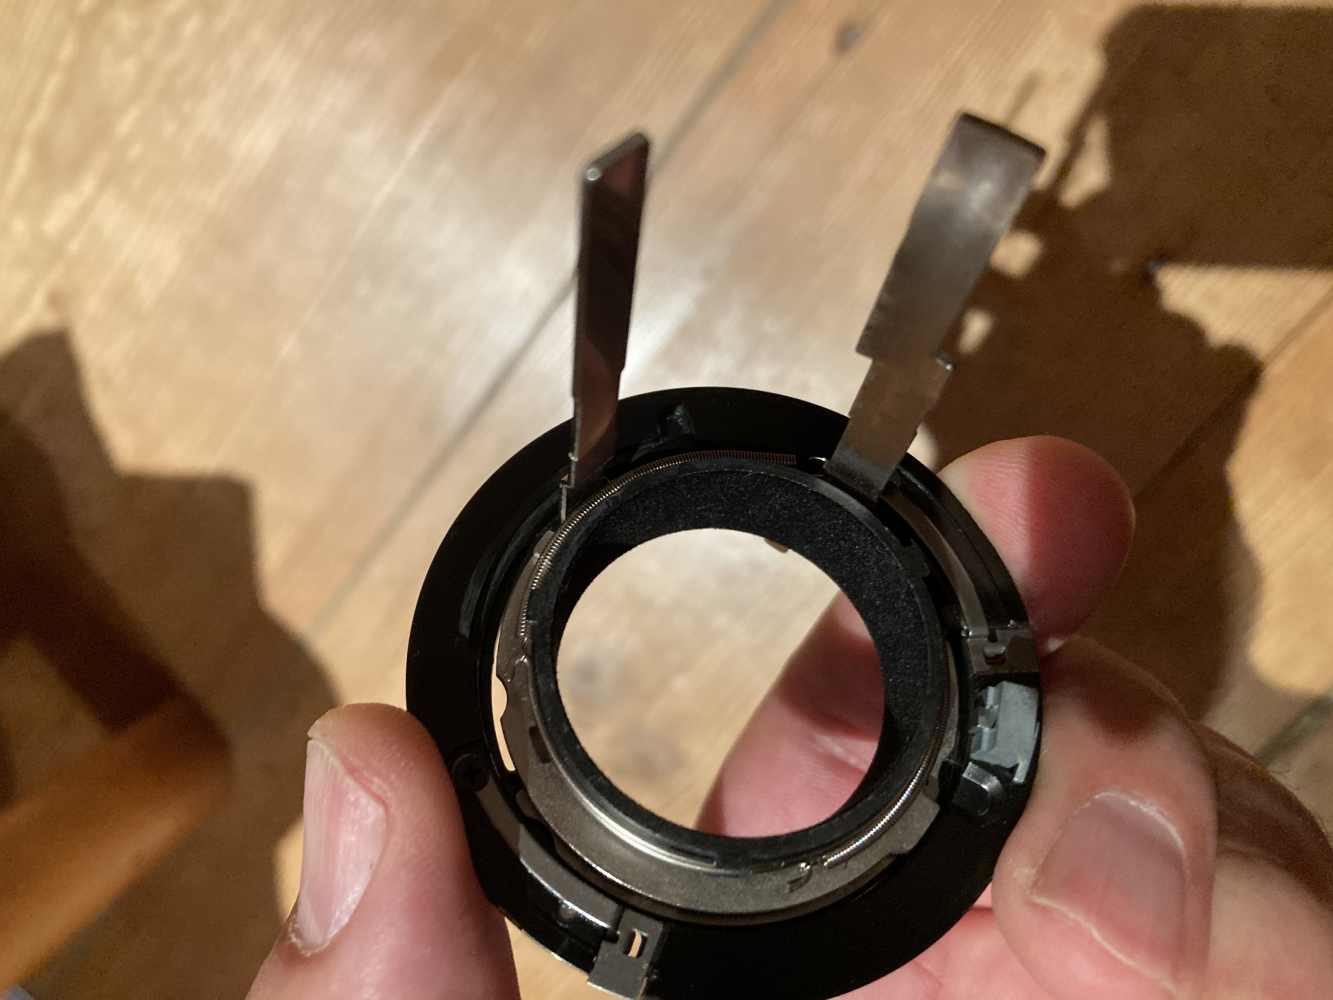
Dear friends, while declicking the aperture of the 35-105 f3.5 for video work, someting went wrong. There are two very long flat rods from the back mount that reach deep into the lens assembly.
They independently control the aperture.
One rod pushes from one side to a lever clockwise. A spring pulls the lever back to f22. This rod is easy to align while reassembling.
But the other rod "grabs" into a U - shaped part, looks a little bit like a fork. The rod needs to sit within the "U", so that the aperture can be moved clockwise and counter clockwise.
At first I thought everything went fine while reassembling, but I must have missed the U-shaped part.
As a result, the aperture-"fork"was moved too far by the pin clockwise and went over a stopper. Can`t get it back to the original position, carefully using a long, very small screwdriver. The stopper can't also not be moved out of the way, though it looks like a moving part.
So I guess I need to disassemble the 35-105 to get down to the aperture mechanism and fix it.
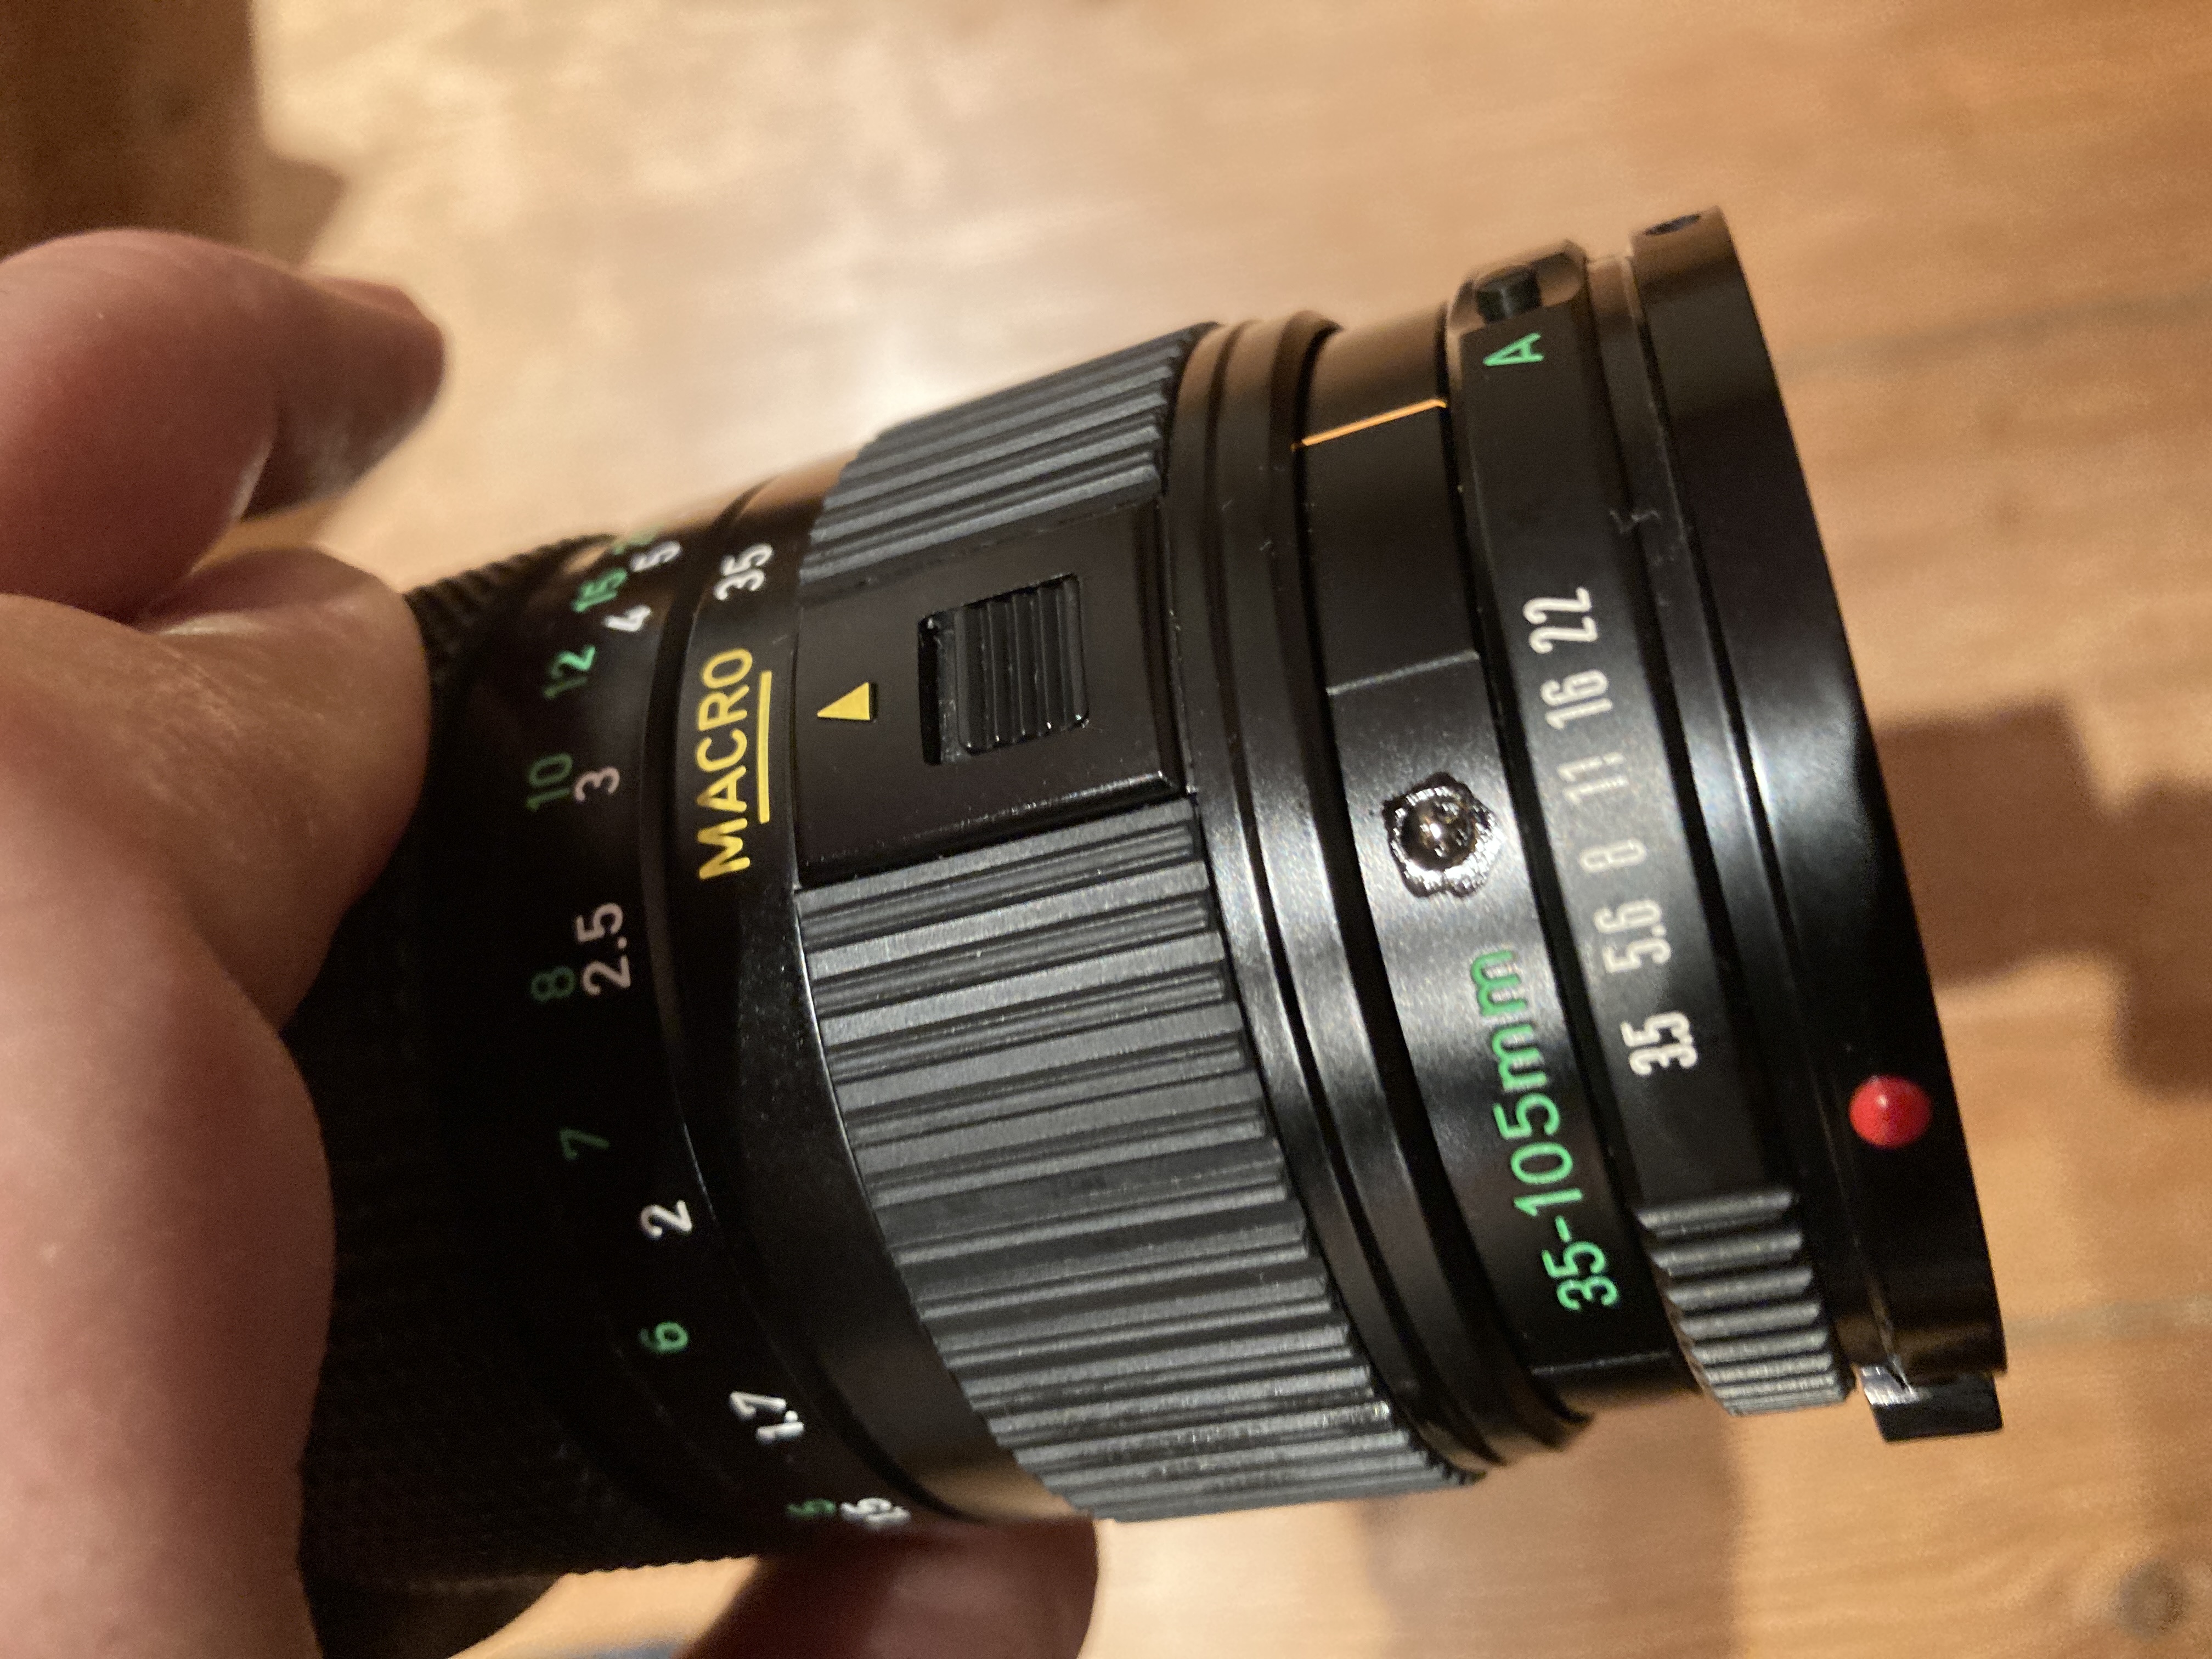
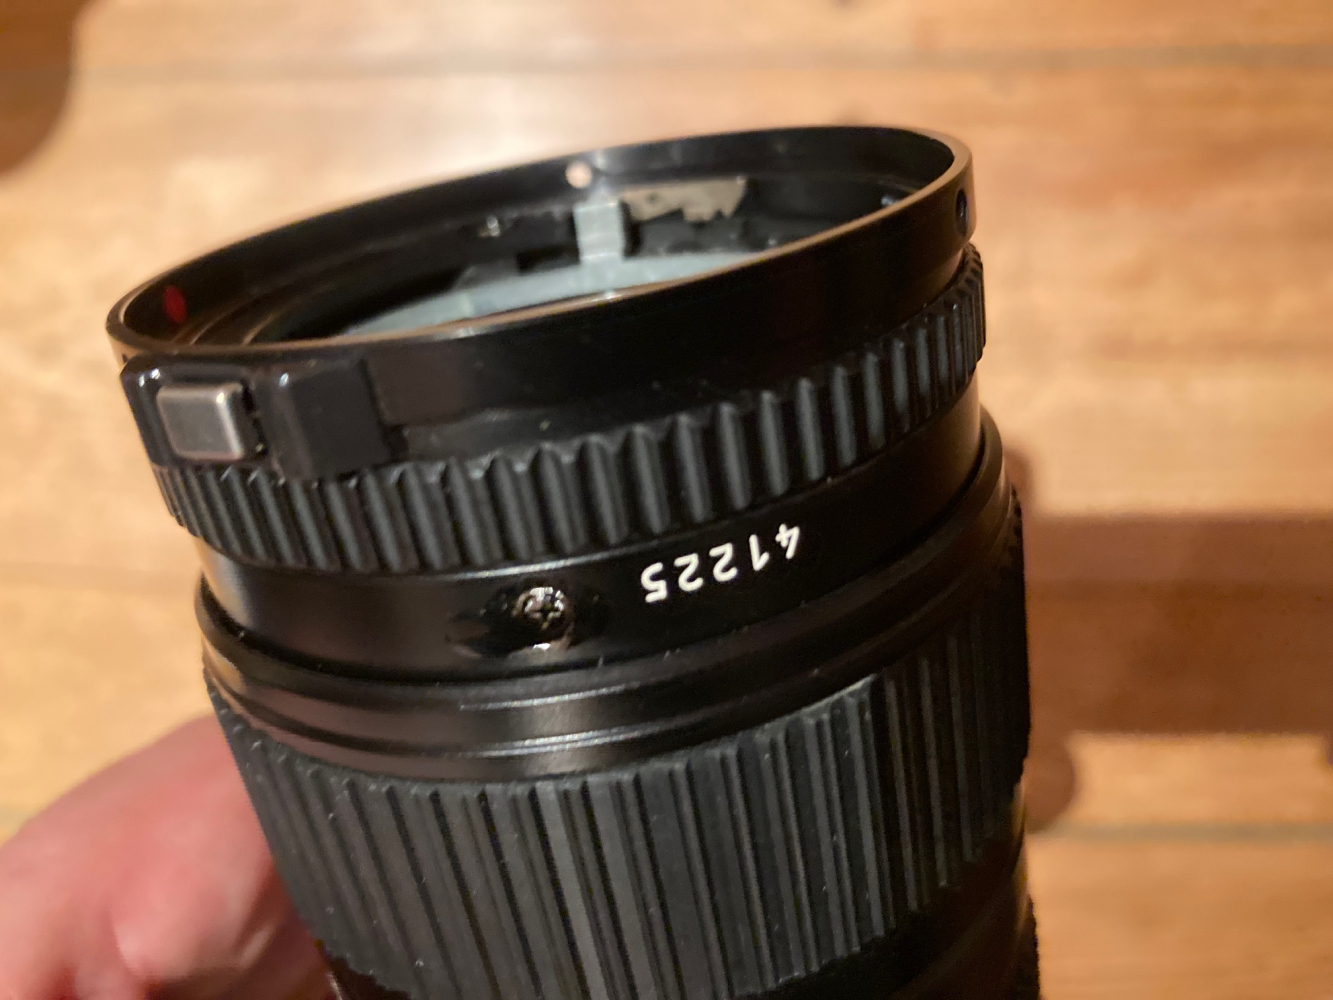
At the back of the lens, below the aperture ring, are 3 very tiny screws in a 120° angle.
They are located in the rim with the serial number.
When I remove those, will I be able to lift the back elements and access the aperture mechanism?
Would be logical if the whole back assembly could be removed without realignment
I hope the photos explain the mess. Don't be irritated by the stuff on the screws.
I applied tiny drops of WD40 on them before taking the photos, the screws sit very tight. And yes, I have JIS screwdrivers.
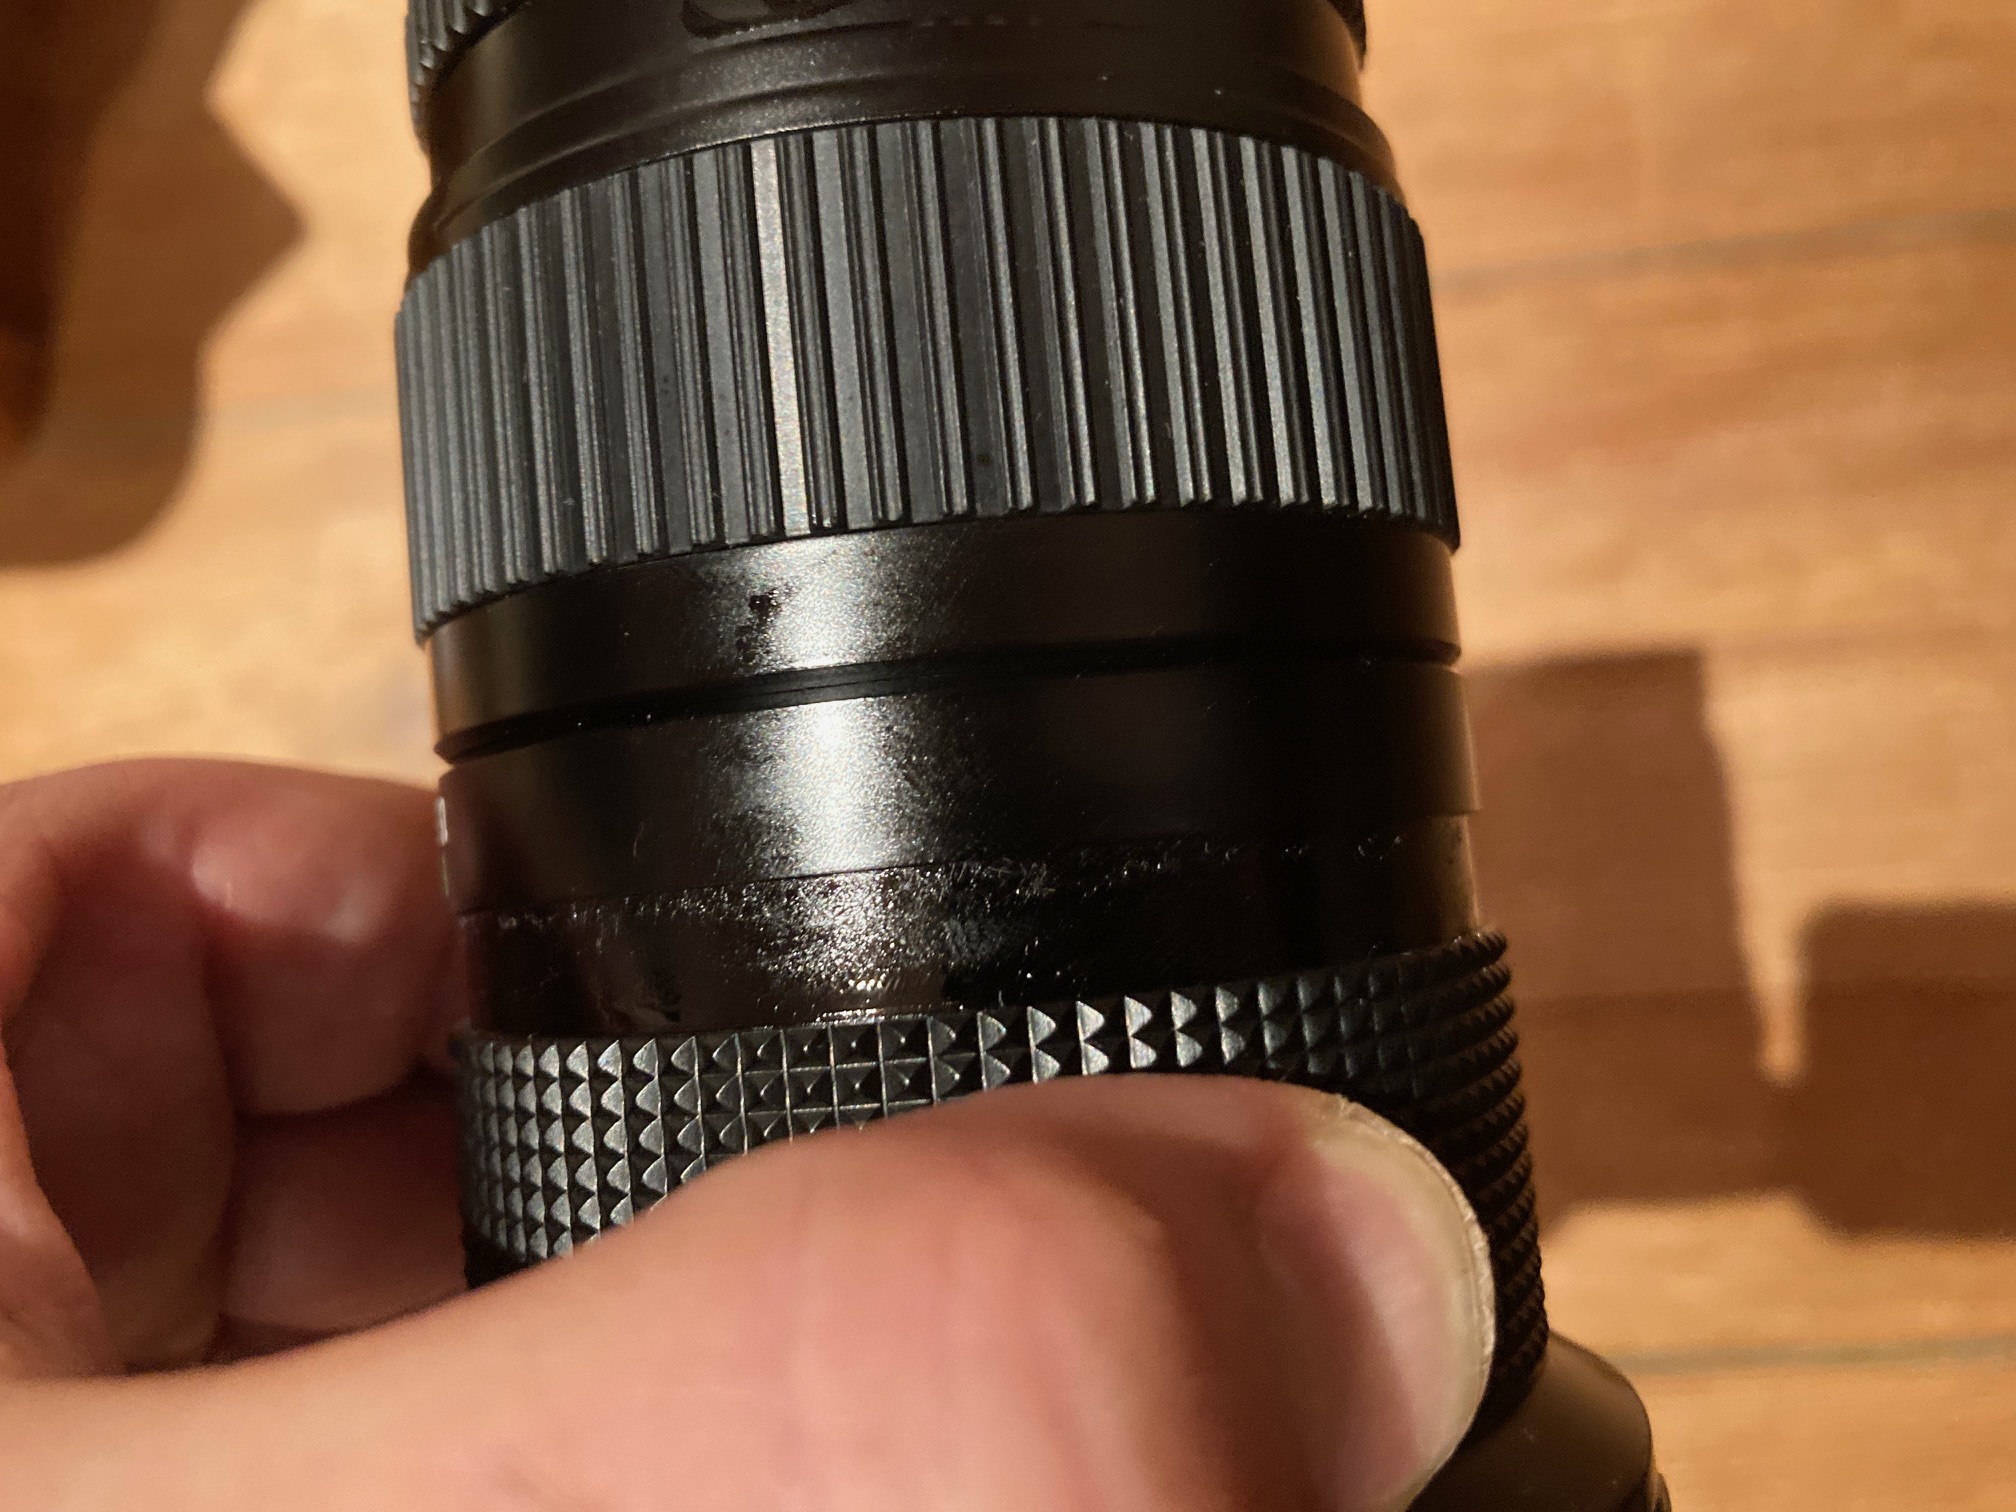
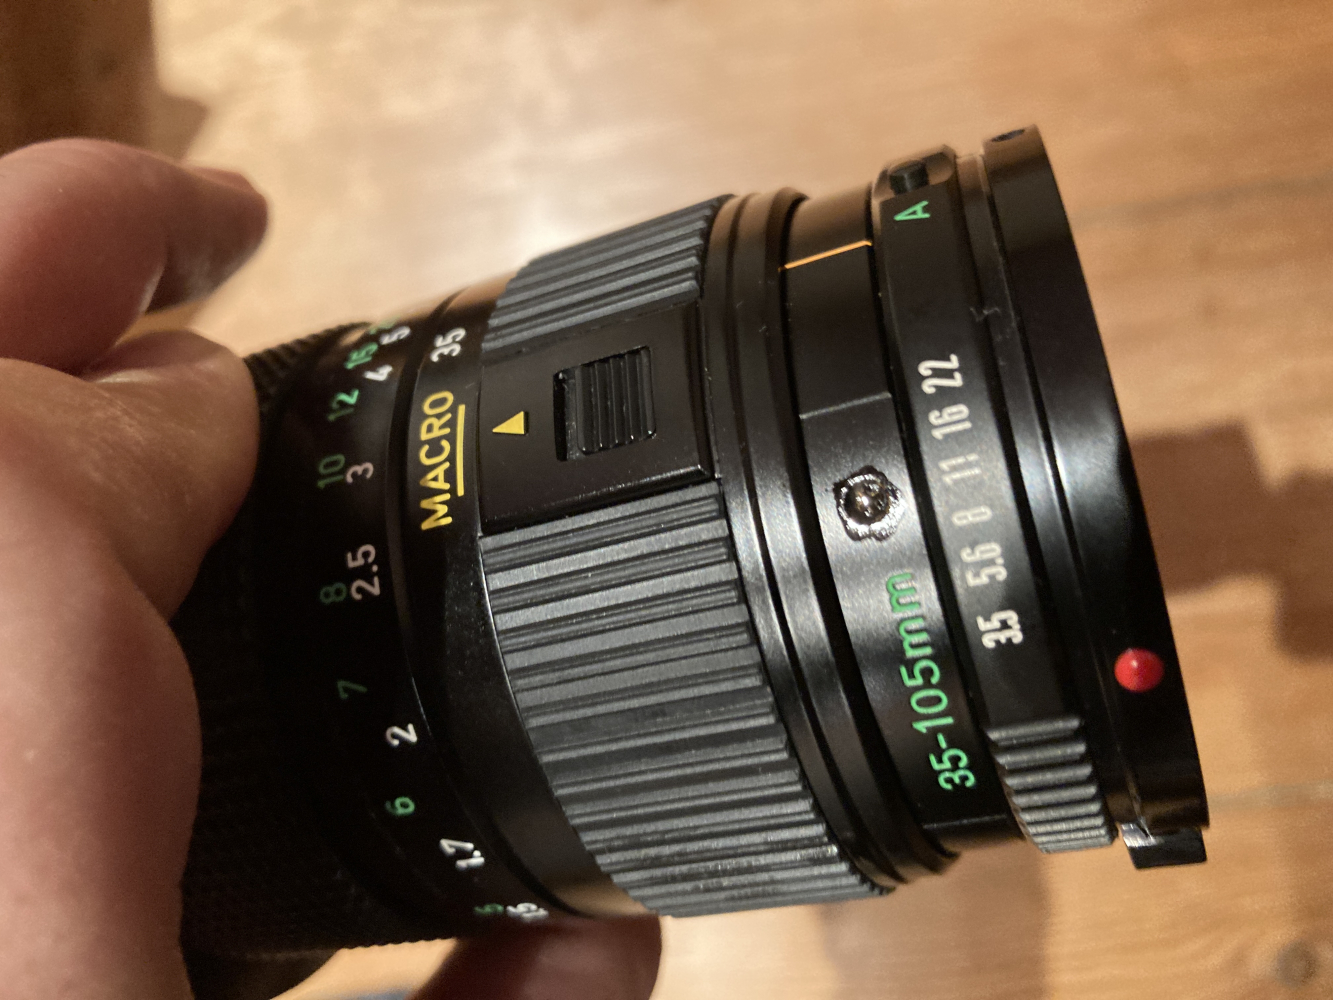
BTW, also annoying - the rubber ring for the focus shrinks, see last photo. I own the lens not for a long time and just the temperature
of my hands while working on it made it shrink...
All the best,
Herbert
#1
#2
#3

#4

#5
#6
#7

#8
 |
|
| Back to top |
|
|
Herbert
Joined: 07 Sep 2023
Posts: 26
|
| Posted: Sat Apr 06, 2024 1:58 pm Post subject: |
|
|
Herbert wrote:
I was able to fix the problem in the meantime. The lever that prevented to turn the aperture mechanism ring counterclockwise is explained in the following video, at 14:17
in the video, the mechanism is of a 50mm 1.8.
https://www.youtube.com/watch?v=DTXWp6HaO2Y
It was literally poking in the dark through the upper slots with two long watchmakers screwdrivers, one to pull the lever out of the way,
one to turn the ring until it controls the lever again.
Another finding:
Not the rubber of the focus barrel shrinks, the ring with the markings simply slipped off... |
|
| Back to top |
|
|
|
|
|
You cannot post new topics in this forum
You cannot reply to topics in this forum
You cannot edit your posts in this forum
You cannot delete your posts in this forum
You cannot vote in polls in this forum
|