xaprb

Joined: 28 Jan 2021
Posts: 168
|
 Posted: Wed May 25, 2022 12:48 pm Post subject: Two Variants of Konica Hexanon 57mm f1.4, Disassembly Posted: Wed May 25, 2022 12:48 pm Post subject: Two Variants of Konica Hexanon 57mm f1.4, Disassembly |
 |
|
xaprb wrote:
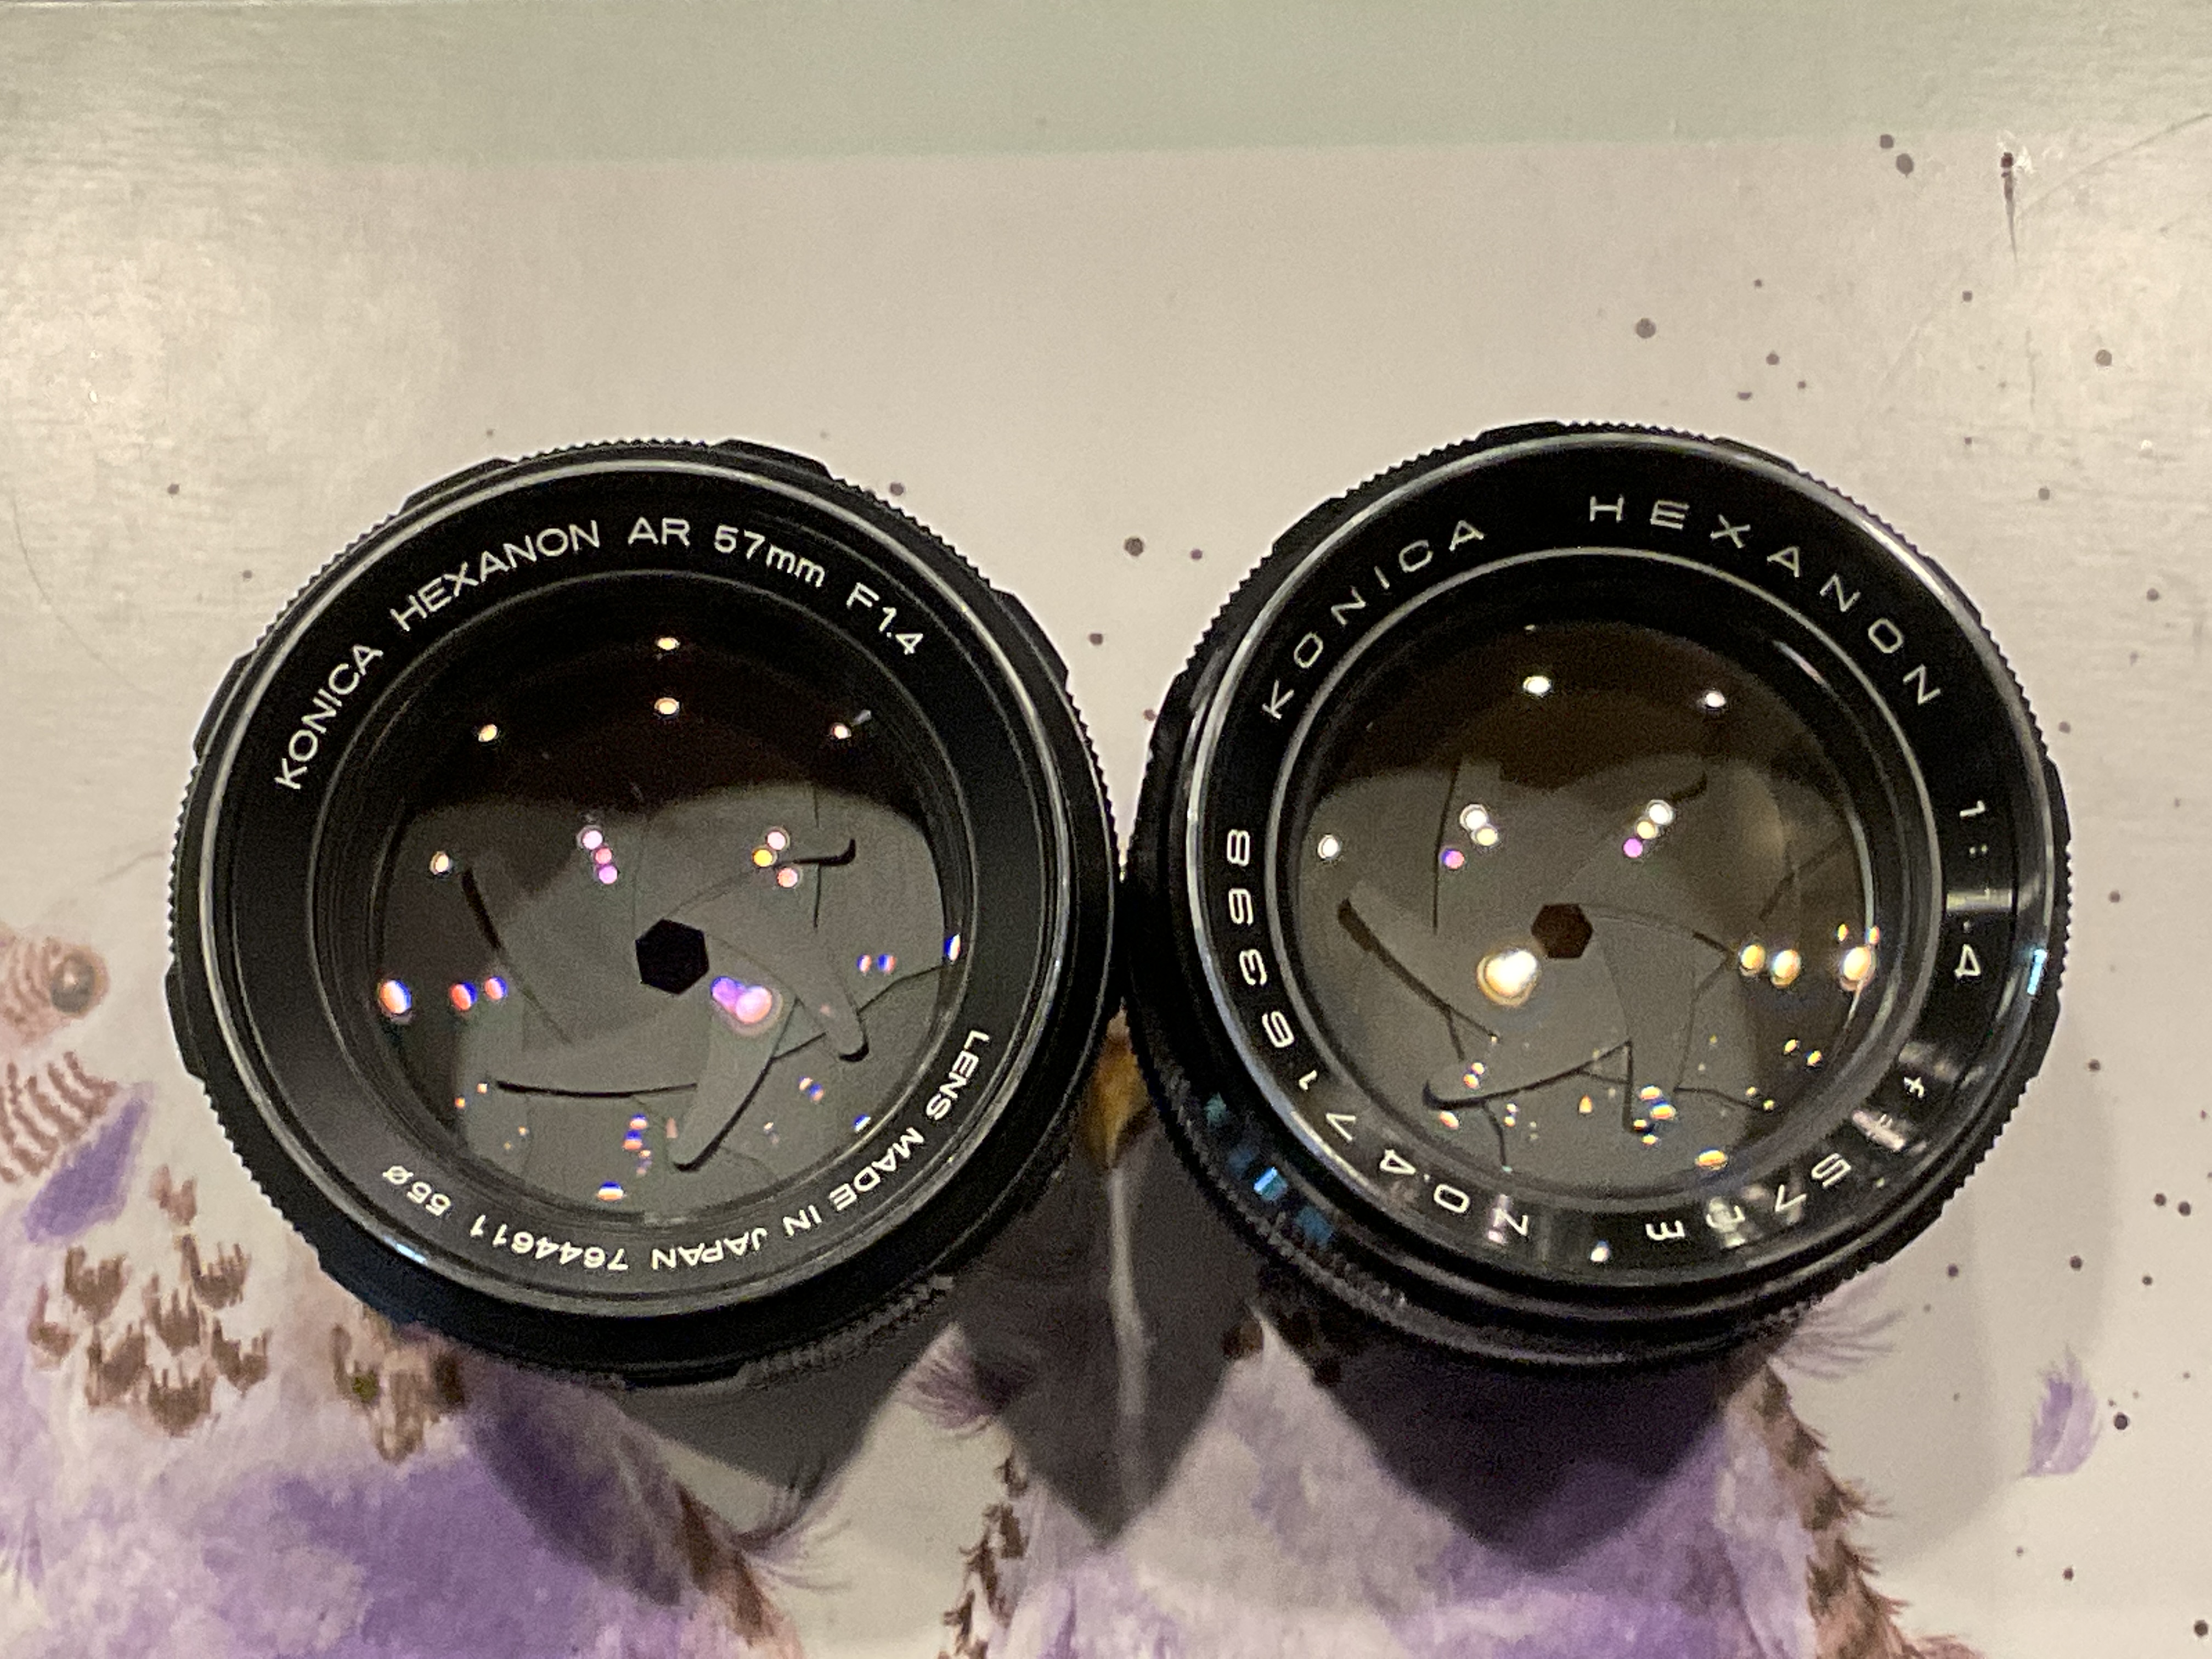
I acquired two copies of the Konica Hexanon 57mm f1.4, both with problems. I won’t go too deep into history of this lens, but the short version I’ve read on most Internet sources is that it was produced briefly and in only “one generation” during a kind of transitional period in Konica’s evolution, and as such all copies of it are metal-knurled. It was then replaced by a shorter focal length.
What I failed to realize is that this doesn’t mean all copies of this lens are the same. I know people classify lenses differently. Some draw distinctions based only on coarse groupings, others distinguish minor variations. My two copies are different in the following ways that I’ve noted externally:
Smaller and larger lettering on the brandplate; lack of AR on the brandplate

Many differences around the barrel:
1. Silver focus index and depth of field marking ring, versus black.
2. EE-lock button, versus none.
3. Focus scale marked in feet only, versus feet and meters.
4. Not as easy to notice, but the silver-ringed one has a focus grip that is held in place with three set screws located in the middle of the knurled areas.

Internal construction is very different. I found a disassembly guide that advised to extend the focus by focusing to minimum distance, grab the front/nose and twist counterclockwise and it would unscrew. That worked — on the all-black copy. The nose is a beauty ring that contains the brandplate and conceals the front (no need to remove the brandplate, leave it in place). From there, it’s quite straightforward to disassemble as far as desired; there’s a couple of obvious set screws and retainer rings that release the entire core of the lens and it simply slides forward out of the helicoids and aperture coupling grooves. That copy had oily aperture blades, apparently a very common problem. I fixed that easily by washing the blades in mineral spirits and reassembled without incident.
The copy with the silver ring seems to have the same optics, but otherwise is mostly different in construction. It showed some signs of being stored in humidity, and when the front didn’t unscrew, I thought it was seized, and applied more force as well as using a penetrating lubricant. When that didn’t work, I disassembled it from the rear, removing the mount and aperture ring, until I got as far as I could, then went back to the front and unscrewed the brandplate. This revealed that the retainer mechanism in the front is totally different. The nose isn’t a separate piece that screws off; it’s a single piece with the front portion of the helicoid. No amount of force or lubricant was going to unscrew it from itself :-)
To reiterate: on the all-black one, the front helicoid is the same thing as the focus grip, and a beauty ring screws into that from the front. On the silver-ringed one, the front helicoid is the same as the nose of the lens, and a separate focus grip slips over that and is held in place with set screws. If your lens’s focus grip has set screws in it, be suspicious that it’s the latter construction, although I’m not saying I know these are the only two ways this lens was constructed.
To disassemble this one, take the brandplate out, then unscrew the silver retainer ring revealed behind it, then you’re done. The core now slides forward. From there, the various retainer rings are obvious.
In both lens constructions, the core is essentially three subassemblies: a central part containing the aperture and its linkage, and two optical assemblies that can be unscrewed from it. Each of those assemblies — fore and aft of the aperture — can be further disassembled easily with just unscrewing retainer rings. But they don’t need to be, unless you have a reason to.
Tangential recommendation: I have become a huge fan of using a cleaning product called First Contact. It’s a kind of red-tinted polymer that you can brush on like nail polish, and then peel off after it dries. It’s pricey, but I love it, well worth it for my valuable lenses. It’s brilliant for cleaning — although beware, it has intensely strong surface tension and capillary action, so watch out and don’t get it into or near any tight spaces or it’ll penetrate instantly and then you’ve got a problem. But aside from cleaning, it’s equally brilliant for protecting elements while you’re working on them. Brush it on, let it dry, now you can handle the lens — still carefully, but with a much lower chance of damage due to handling, or even of any dirt, smudges, etc that later have to be cleaned off and just add risk of more damage. After you’re done working on the lens, take a small piece of unwaxed dental floss, place it near the edge of the area you’ve painted with First Contact, and dab another drop onto the floss and painted area; the solvent in the First Contact will soften the previously-dried stuff, and you can get the floss integrated into it and let it dry again. Now you can grab the floss and pull, and the whole thing comes off in a sheet, and your glass is almost literally clean to the molecular level, without any abrasion, rubbing, etc. (First Contact advertises that it IS that clean, but in practice I’ve found sometimes a single treatment of First Contact doesn’t always penetrate all the way to the glass and lift off every trace of dirt. Sometimes a second application is necessary. Still, it is a really impressive product.)
By extending the helicoids and applying force, I’d placed the helicoid slot tongue into a weakened position and then put a lot of leverage on it. It had deformed and I had to reshape it to get everything happy again. I would not recommend extending the helicoids as the website I found recommended; twisting while extended is too dangerous. To disassemble the helicoid, I would recommend removing this tongue; you can access the screws from the rear after removing the mount. Careful of the aperture detent springs and balls, as usual!
I am not in the mood to post entire disassembly guides with illustrations just now, but just wanted to put a note out there that there’s differences in construction that I didn’t expect, and if your lens doesn’t disassemble, maybe don’t try harder like I did :-)
Finally, have some poppies at f4 from a distance of a few meters (on Fujifilm APS-C, straight out of camera). I love this lens.
 |
|