| View previous topic :: View next topic |
| Author |
Message |
zahtar
Joined: 03 Apr 2017
Posts: 6
Location: Greece
|
 Posted: Mon Apr 03, 2017 11:29 pm Post subject: [SOLVED] Help needed with Jupiter 37AM (helicoid alignment) Posted: Mon Apr 03, 2017 11:29 pm Post subject: [SOLVED] Help needed with Jupiter 37AM (helicoid alignment) |
 |
|
zahtar wrote:
READ THIS FIRST: The problems discussed in this thread were caused from bad helicoid alignment and a smeared rear element. See posts 07Apr2017 (by BurstMox ) and 09Apr2017 (by me) for the solution.
---
Hello everyone!
First post here, lets make it interesting and useful!
I have a Jupiter 37AM 135/3,5 that has two issues, which unfortunately I caused both. I disassembled the lens in order to lubricate it and clean the elements. Lubrication went fine, but reassembly did not.
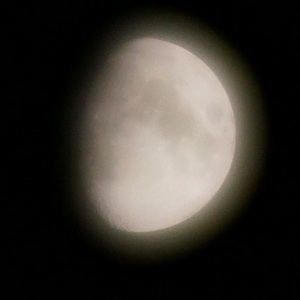
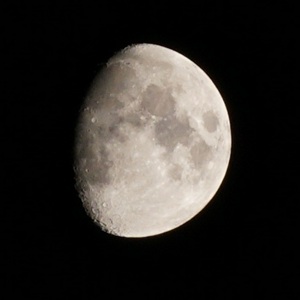
First, the focusing scale does not indicate the right distances, or therefore the correct depth of field. Short focusing works ok, narrow dof as expected, deviation from the focusing scale is small. Medium-long focusing works ok, much narrower dof than expected (namely at 20-30m dof is less than 30cm) and the scale indicates several meters less than correct. Infinity focusing works ok, cant really comment on the dof, and the infinity scale indicates 7m (I tried focusing in daylight on a distant mountain and during the night on the moon). The solution I thought (and did not work) was to focus at infinity (mountain or moon), secure the focusing ring with sticky tape, disassemble the lens without turning anything, take the focusing ring apart from the optical elements, turn it so it indicates infinity, and then reassemble. It didn't work, so I must be doing something wrong, or missing an important detail.
Second, I do not remember how to orient the rear element, like
a) subject (| camera, or like
b) subject |) camera ???
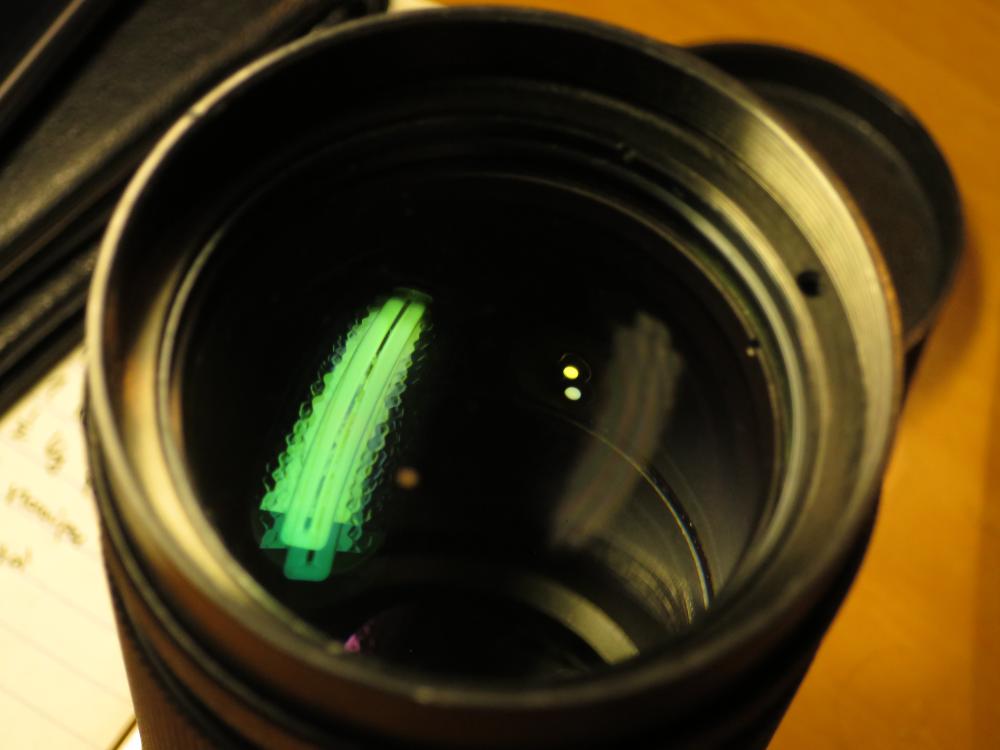
If anyone has its lens diagram, it would be really helpful, so I can be sure which way is ok. Or if you have the lens and can tell that which of the above is the correct. I also noticed the image quality deteriorate when wide open. I attach some pics so you can tell me if I need to bother further with further cleaning, as I can’t get any less dust on the elements during reassembly… 
#1 Rear
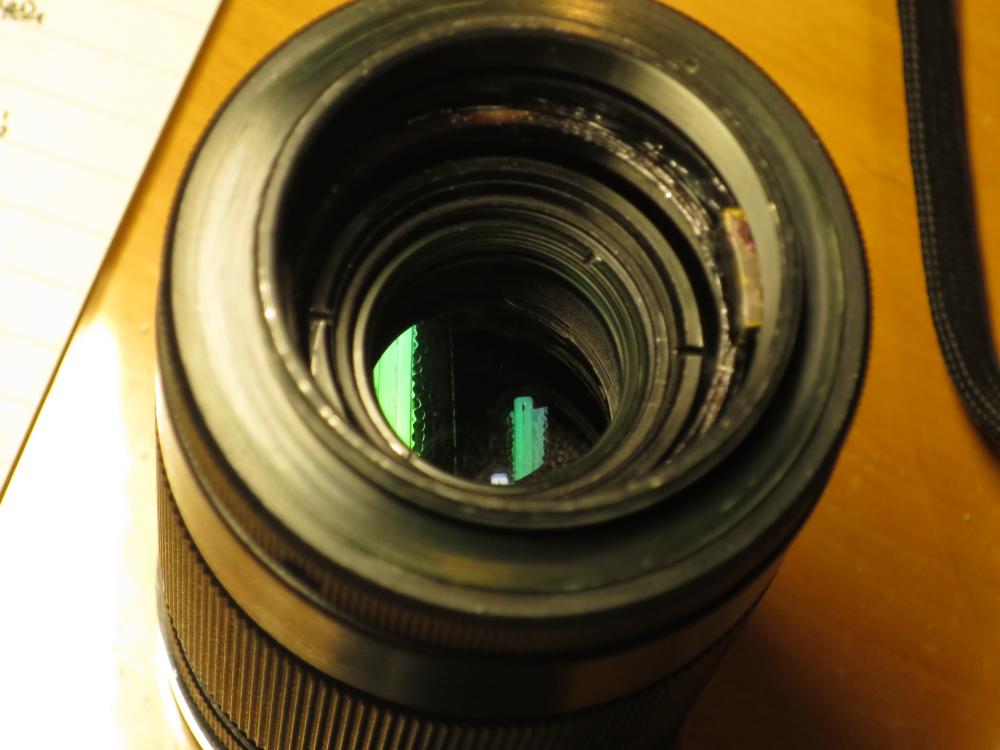
#2 Rear, lit through

#3 Front element

#4 Front element, lit through

Sorry if my post was too long, I’ll appreciate any input.
Thanks in advance!
Last edited by zahtar on Mon Apr 10, 2017 10:58 am; edited 3 times in total |
|
| Back to top |
|
 |
Lloydy


Joined: 02 Sep 2009
Posts: 7785
Location: Ironbridge. UK.
Expire: 2022-01-01
|
| Posted: Tue Apr 04, 2017 10:24 am Post subject: Re: Help needed with Jupiter 37AM |
|
|
Lloydy wrote:
| zahtar wrote: |
Hello everyone!
First post here, lets make it interesting and useful!
I have a Jupiter 37AM 135/3,5 that has two issues, which unfortunately I caused both. I disassembled the lens in order to lubricate it and clean the elements. Lubrication went fine, but reassembly did not.
First, the focusing scale does not indicate the right distances, or therefore the correct depth of field. Short focusing works ok, narrow dof as expected, deviation from the focusing scale is small. Medium-long focusing works ok, much narrower dof than expected (namely at 20-30m dof is less than 30cm) and the scale indicates several meters less than correct. Infinity focusing works ok, cant really comment on the dof, and the infinity scale indicates 7m (I tried focusing in daylight on a distant mountain and during the night on the moon). The solution I thought (and did not work) was to focus at infinity (mountain or moon), secure the focusing ring with sticky tape, disassemble the lens without turning anything, take the focusing ring apart from the optical elements, turn it so it indicates infinity, and then reassemble. It didn't work, so I must be doing something wrong, or missing an important detail.
Second, I do not remember how to orient the rear element, like
a) subject (| camera, or like
b) subject |) camera ???
If anyone has its lens diagram, it would be really helpful, so I can be sure which way is ok. Or if you have the lens and can tell that which of the above is the correct. I also noticed the image quality deteriorate when wide open. I attach some pics so you can tell me if I need to bother further with further cleaning, as I can’t get any less dust on the elements during reassembly…
#1 Rear
#2 Rear, lit through
#3 Front element
#4 Front element, lit through
Sorry if my post was too long, I’ll appreciate any input.
Thanks in advance! |
Reposted, first time posts don't show images as an anti spam measure.
_________________
LENSES & CAMERAS FOR SALE.....
I have loads of stuff that I have to get rid of, if you see me commenting about something I have got and you want one, ask me.
My Flickr https://www.flickr.com/photos/mudplugga/
My ipernity -
http://www.ipernity.com/home/294337 |
|
| Back to top |
|
|
tomasg

Joined: 01 Nov 2009
Posts: 1135
Expire: 2014-04-28
|
| Posted: Tue Apr 04, 2017 2:35 pm Post subject: |
|
|
tomasg wrote:
I never had this lens, so it s a long shot but: i think you didn t got the correct step on focusing helicoid, it s the tube with the big thread. Yes the markings show infinity and everything correct, this is because the ring that "travels" on this big helicoid is put togheter correctly, it s just that you probably missed the correct step on where you put this ring on the helicoid. To make it more simple, check my tutorial for the Trioplan, see how important is to place the focusing ring on the correct step of the helicoid. Again i never had this lens so it s just a guess, it may be of completely different construction.
http://forum.mflenses.com/meyer-optik-gorlitz-trioplan-100-f2-8-tutorial-cla-t76790.html
Tomas |
|
| Back to top |
|
|
zahtar
Joined: 03 Apr 2017
Posts: 6
Location: Greece
|
| Posted: Thu Apr 06, 2017 9:27 pm Post subject: |
|
|
zahtar wrote:
Lloydy,
Thanks a lot for the repost, I didn’t know things worked like this 
Tomasg,
Thank you for the reference, but my lens is a different design. I’ll keep the idea about measuring with a digital caliper. So far what I did was count turns from one end of the thread to the release point (ie 1turn+2/3, 1turn+1/4 etc).
I am attaching some 100% crop samples below, taken today (all equivalent exposures, taken on a tripod, countdown timer, no change in focus). I am surprised that I hadn’t noticed such a difference in quality between different apertures before. I keep thinking that I messed up while cleaning. Could such be the case?
f/3.5

f/4

f/5.6

f/8

f/11

f/16
f/22
 |
|
| Back to top |
|
|
BurstMox

Joined: 04 Dec 2011
Posts: 1998
Location: France
Expire: 2016-08-02
|
| Posted: Fri Apr 07, 2017 12:01 am Post subject: |
|
|
BurstMox wrote:
You made a mistake with the step, as said tomasg, you need to disassemble again and try to find the right step to assemble helicoid. It can be long, need patience!
IQ cleary show that something wrong optical also. About optical schema, here it is :

From : http://ussrlens.com/optika/long-range/jupiter-37a
Good luck!
_________________
Pierre
sovietlenses.fr
Soviet lenses Facebook group |
|
| Back to top |
|
|
zahtar
Joined: 03 Apr 2017
Posts: 6
Location: Greece
|
| Posted: Fri Apr 07, 2017 12:03 pm Post subject: |
|
|
zahtar wrote:
BurstMox thanks a lot for the diagram and for the link!
I’ve already spent many hours opening and closing the lens, but as you suggest I’ll need to go in there again. I’ve left the lens focused at infinity since yesterday, so I’ll play around with the steps until it comes to the correct one. I have the impression that there are only two steps, and the wrong one makes the aperture values end on the bottom side of the lens.
If I align everything correctly and still see low IQ, I’ll ask advice on cleaning the elements without leaving residues smears etc. So far the Lenspen seems to do the trick in the biggest part, I only have a reservation about the microfiber I wipe it with, I think it leaves tiny lint behind. But that’s a whole different story and not a current priority.
Thanks again for the info, merci beaucoup! |
|
| Back to top |
|
|
zahtar
Joined: 03 Apr 2017
Posts: 6
Location: Greece
|
| Posted: Sat Apr 08, 2017 10:37 pm Post subject: solved |
|
|
zahtar wrote:
Ok I managed to fix it 90%.
I have realigned the helicoid, after spending a few more hours on it. There are 12 steps on this lens, so I had to try one by one. I wouldn't have managed to do it, if I hadn't read tomasg's article (http://forum.mflenses.com/meyer-optik-gorlitz-trioplan-100-f2-8-tutorial-cla-t76790.html) where he mentioned using a digital caliper to measure the lens (the rest of the article didn't apply for my lens).
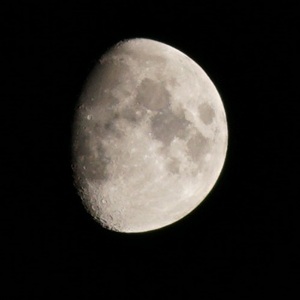
So I focused at infinity (the Moon) and measured the lens's length with the digital caliper. That was my guide through the entire process. I tried each step and after screwing the helix in, I measured until I found the step for which the scale indicated infinity and the lens's length was the same as measured in the beginning. After doing that, I checked the lens on my zenit and the focusing scale gave correct indications and focused to infinity! Then I connected the lens (via adapter) to my digicam and took some test shots. Still horrible quality...
After the above I realized that a cleaning was in order. I removed the rear element, used a lenspen and afterwards this technique (https://youtu.be/yH-N6-lzOgM), to get the glass as clean and clear as possible. Back into the lens, close, connect, and unable to focus 
The reason this happened is because I had, during a previous cla attempt, placed the rear element the wrong way according to BurstMox's post. Now after cleaning and installing it with the correct orientation, the helicoid needed a new alignment. I repeated the steps described above, and reached a point where the lens focuses close and far, but the scale is not totally correct (hence the 90% I mentioned earlier). I decided to leave it as is, I don't use hyperfocal distance with the lens anyway and I do not care that much about the dof approximation.
The only thing that remains, is taking a few shots tomorrow to verify everything works fine
Thanks again!
===================================================
EDIT: I tool some test pics, and they came out really nice, as I desired I therefore mark the tread as solved, so it can be of help for anyone with similar issues. |
|
| Back to top |
|
|
tomasg
Joined: 01 Nov 2009
Posts: 1135
Expire: 2014-04-28
|
| Posted: Mon Apr 10, 2017 11:59 am Post subject: |
|
|
tomasg wrote:
Even if your lens doesn t look similar to the Trioplan, the principle the focusing mechanism works is the same. The Trioplan way of doing it with two lateral pins is not that common, though.
Tomas |
|
| Back to top |
|
|
zahtar
Joined: 03 Apr 2017
Posts: 6
Location: Greece
|
| Posted: Mon Apr 10, 2017 3:24 pm Post subject: |
|
|
zahtar wrote:
Yes, exactly because the focusing principle is the same, your guess was 100% correct. It was the wrong step that I had threaded it and therefore the focusing scale was off.
Your brilliant idea to measure the lens’s length with the digital caliper gave me an easy reference point to work with! I just measured & compared the lens’s length for each thread step to verify if it was the correct one. Otherwise I would have needed to fully assemble/disassemble the lens, put in back on the zenit and check close/infinity focus + scale indication 12 times!
Thank you again for your help
 |
|
| Back to top |
|
|
tomasg
Joined: 01 Nov 2009
Posts: 1135
Expire: 2014-04-28
|
| Posted: Tue Apr 11, 2017 4:52 pm Post subject: |
|
|
tomasg wrote:
Please understand i didn t want to sound too pedantic it s just that from your posts i wasn t sure you understood the principle behind it. Now you can do your next lens with more confidence!
Tomas |
|
| Back to top |
|
|
zahtar
Joined: 03 Apr 2017
Posts: 6
Location: Greece
|
| Posted: Tue Apr 11, 2017 8:44 pm Post subject: |
|
|
zahtar wrote:
No problem my friend! When doing delicate work, attention to details is important. I didn’t know how choosing a wrong helicoid step would affect the final outcome, rather than the aperture scale being on the bottom side of the lens. You are correct about me not knowing the principle, so your post did point me to the right direction to work.
But all the above would have been nothing without the digital caliper! I would have abandoned the constant assembly/disassembly and gone to a professional. Now I was able to complete the process myself. Extra happy, satisfied and overexcited with the outcome, the lens works as nice as I’d like |
|
| Back to top |
|
|
|
|
|
You cannot post new topics in this forum
You cannot reply to topics in this forum
You cannot edit your posts in this forum
You cannot delete your posts in this forum
You cannot vote in polls in this forum
|