| View previous topic :: View next topic |
| Author |
Message |
magiarcher
Joined: 26 Apr 2023
Posts: 3
Location: HK
|
 Posted: Wed May 17, 2023 1:13 pm Post subject: Disassembly of lens Posted: Wed May 17, 2023 1:13 pm Post subject: Disassembly of lens |
 |
|
magiarcher wrote:
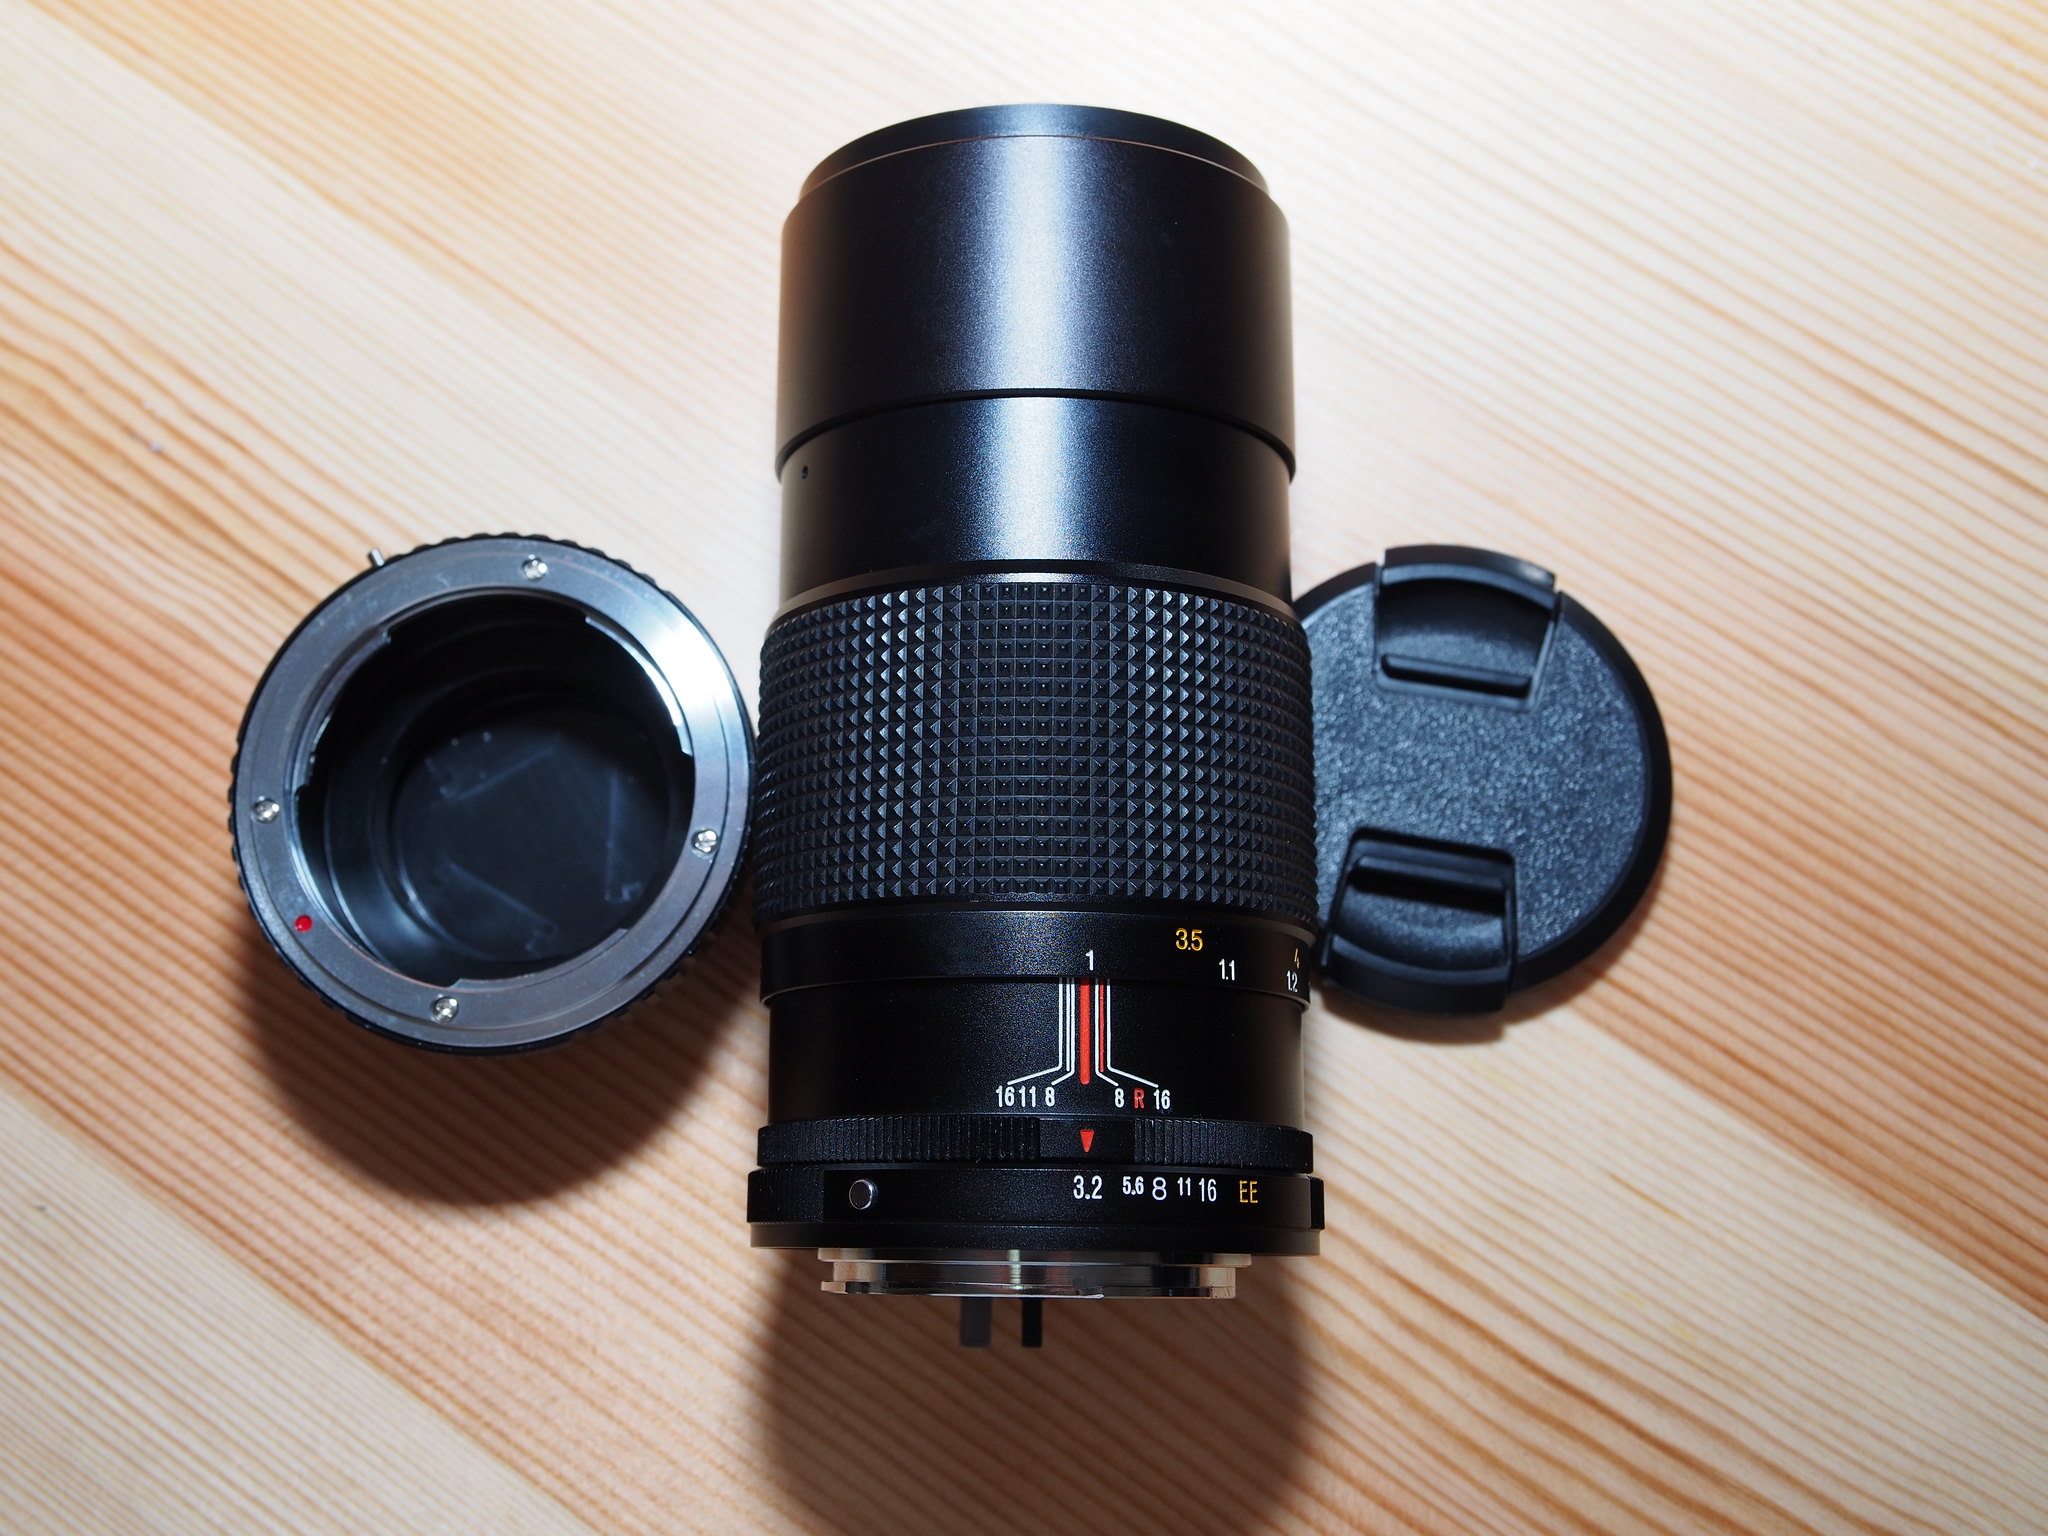
Hello everyone, I have a KONICA AR 135MM F/3.2, but the front lens group is moldy, is there a way to remove only the front lens group for cleaning? What type of tools do I need? Thanks

 |
|
| Back to top |
|
 |
kathala


Joined: 13 May 2022
Posts: 128
|
| Posted: Wed May 17, 2023 2:33 pm Post subject: Re: Disassembly of lens |
|
|
kathala wrote:
| magiarcher wrote: |
Hello everyone, I have a KONICA AR 135MM F/3.2, but the front lens group is moldy, is there a way to remove only the front lens group for cleaning? What type of tools do I need? Thanks
|
no konica expert, but looks like the front ring (with the white print) comes off if nicely persuaded. a soft, thick rubber (think vintage gherkin jar) around a round block of wood or similar should do, unless you want to buy a specialised rubber tool (lens opener/filter remover; 3o quid).
wear a mask when dealing with fungus.
_________________
Photography Reference Tables:
drive.google.com/drive/folders/1aJ5F8XM6t5AK4bydthcDoiwhsh5CUx3N
My Art and Books: ChristianSchnalzger.de
My Exploration of Panoramic Photographic Storytelling:
flickr.com/photos/hach_und_ueberhaupt/
The better you look, the more you see (B. E. Ellis) |
|
| Back to top |
|
|
marcusBMG

Joined: 07 Dec 2012
Posts: 1304
Location: Conwy N Wales
|
| Posted: Wed May 17, 2023 10:07 pm Post subject: |
|
|
marcusBMG wrote:
Hi magiarcher, welcome aboard.
135's are usually optically relatively simple: 4 or 5 elements is common. The front element or elements typically come out with the removal of the nameplate ring. This normally engages with the filter thread and may or may not have two notches in it. If it does then a lens spanner is the tool to use. Otherwise something which will grip the ring with sufficient friction to turn it. I use a piece of plastic pipe with a bit of double sided sticky tape over the shaped end - the pipe needs to be the right diameter, just a bit smaller than the filter thread diameter.
Once you have succeeeded in removing the nameplate ring then the front element(s) may just drop out, or may be a pretty snug fit in a housing. In the latter case, hold the lens upsidedown over a well padded table top and try tapping all around the perimeter. If the element starts moving but hangs at an angle, push it back a little till its straight again and drops down evenly. The moment its out, use a sharpie pen to mark its orientation with an arrow on the edge. Take care when re-inserting, you don't want to jam it at an angle, carefully ease it in as straight as possible (this is where rubber gloves are most useful to keep the element clean - good practice to wear gloves anyway) and make sure its properly seated all the way in (it's a good idea to make a scratch before removal marking its level so you can tell). In extremis, if problems removing/reseating, warming the lens to cause some slight expansion can work.
I use a little meths with a drop of household mildew and mould remover added, and some dried out cheap lens cleaning tissues, to clean off the fungus, you don't need anything special particularly for the light fungus on your lens, anything with a bit of detergent action will suffice. Use a blower to remove any flecks of lint, a good lens cleaning tissue or eg lens pen to clean off any smears.
Not a difficult one, this, I'm sure you can manage it.
_________________
pentax ME super (retired)
Pentax K3-ii; pentax K-S2; Samsung NX 20; Lumix G1 + adapters;
Adaptall collection (proliferating!) inc 200-500mm 31A, 300mm f2.8, 400mm f4.
Primes: takumar 55mm; smc 28mm, 50mm; kino/komine 28mm f2's, helios 58mm, Tamron Nestar 400mm, novoflex 400mm, Vivitar 135mm close focus, 105mm macro; Jupiter 11A; CZJ 135mm.
A classic zoom or two: VS1 (komine), Kiron Zoomlock... |
|
| Back to top |
|
|
jamaeolus


Joined: 19 Mar 2014
Posts: 2929
Location: Eugene
Expire: 2015-08-20
|
| Posted: Thu May 18, 2023 5:15 am Post subject: |
|
|
jamaeolus wrote:
The best thing is the rubber lens ring tools. But nearly as good is Blu-Tak. It's typically sold in the stationary section of mass merchandise stores like Target etc. It's used to hold up posters on the wall or small bits of paper up on a vertical surface for typing and that kind of thing. It's basically silly putty. It is formable, very grippy and comes off pretty clean. It will only cost a couple of dollars. Form a very small ring of the stuff and press firmly into the name ring (aka bezel). Try not to get on the glass or in the filter threads. Then using a jar to push into and turn the ring anticlockwise.
_________________
photos are moments frozen in time |
|
| Back to top |
|
|
Alsatian2017
Joined: 05 Mar 2018
Posts: 237
|
| Posted: Thu May 18, 2023 7:21 am Post subject: |
|
|
Alsatian2017 wrote:
Up to now, there is mostly generic advice to unscrew the name ring. While useful with lenses of other makers, Konica lenses are built in a slightly different way : first, you will have to extract the two tiny set screws holding the front barrel. Then, proceed to unscrew the front barrel. Next, unscrew the front lens assembly holding the first three lenses. Finally, loosen the retaining ring in the front to extract and clean the front lens (there is another ring retaining the third lens from the front.
_________________
Personal website : https://volkergilbertphoto.com
Classic lenses : https://volkergilbertphoto.com/objektive/
Instagram : https://www.instagram.com/volker.gilbert/ |
|
| Back to top |
|
|
Zamo
Joined: 08 Feb 2019
Posts: 163
|
| Posted: Thu May 18, 2023 8:49 am Post subject: |
|
|
Zamo wrote:
| Alsatian2017 wrote: |
| Up to now, there is mostly generic advice to unscrew the name ring. While useful with lenses of other makers, Konica lenses are built in a slightly different way : first, you will have to extract the two tiny set screws holding the front barrel. Then, proceed to unscrew the front barrel. Next, unscrew the front lens assembly holding the first three lenses. Finally, loosen the retaining ring in the front to extract and clean the front lens (there is another ring retaining the third lens from the front. |
Note: if I remember correctly, the screws holding the front barrel are on the sides under the hood, visible when it it fully extended.
Edit: maybe this helps a bit, http://forum.mflenses.com/konica-hexanon-ar-135mm-f-2-5-disassembly-t81863.html |
|
| Back to top |
|
|
Alsatian2017
Joined: 05 Mar 2018
Posts: 237
|
| Posted: Thu May 18, 2023 2:03 pm Post subject: |
|
|
Alsatian2017 wrote:
[quote="Zamo"]
Yes, that's pretty standard even with a lot of other makers lenses (Nikkor, Canon FD, etc.)...
_________________
Personal website : https://volkergilbertphoto.com
Classic lenses : https://volkergilbertphoto.com/objektive/
Instagram : https://www.instagram.com/volker.gilbert/ |
|
| Back to top |
|
|
KEO

Joined: 27 Sep 2018
Posts: 761
Location: USA
|
| Posted: Thu May 18, 2023 5:49 pm Post subject: |
|
|
KEO wrote:
My three tips to add:
1. Do as much research as you can on the design of the lens before you begin. Pay special attention to the diagram of the elements. The best thing is to find a tutorial or example by some one who has already opened the lens you're going to open.
2. Definitely wear gloves when handling the glass.
3. If you have any trouble replacing the front elements after you've cleaned them, try holding the lens upside down and inserting them from underneath.
Good luck! |
|
| Back to top |
|
|
|
|
|
You cannot post new topics in this forum
You cannot reply to topics in this forum
You cannot edit your posts in this forum
You cannot delete your posts in this forum
You cannot vote in polls in this forum
|


