landstrykere


Joined: 10 Feb 2018
Posts: 51
Location: Norge
|
 Posted: Sun Jan 13, 2019 11:46 pm Post subject: Tamron adaptall M39 adapter Posted: Sun Jan 13, 2019 11:46 pm Post subject: Tamron adaptall M39 adapter |
 |
|
landstrykere wrote:
I haven't find on the net something similar. Either i didn't search good enough or people who have done it haven't posted their solutions online. I am curious how others have done it.
Here a very simple, crude, DIY Tamron-M39. I used usual home tools, basically a minimal dremel kit, sanding paper and 2-components epoxy glue. This is not exactly a general receipt, as it's done with random parts I had around, but it was quite simple. I had preferred to assemble parts with screws instead of the all epoxy solution. But a correctly, carefully mixed two-components epoxy used in small contact gaps between parts with some edge filling where possible, should hold.
Ideally I should contact some machinist that could produce from brass or aluminium what I did make here.
why?
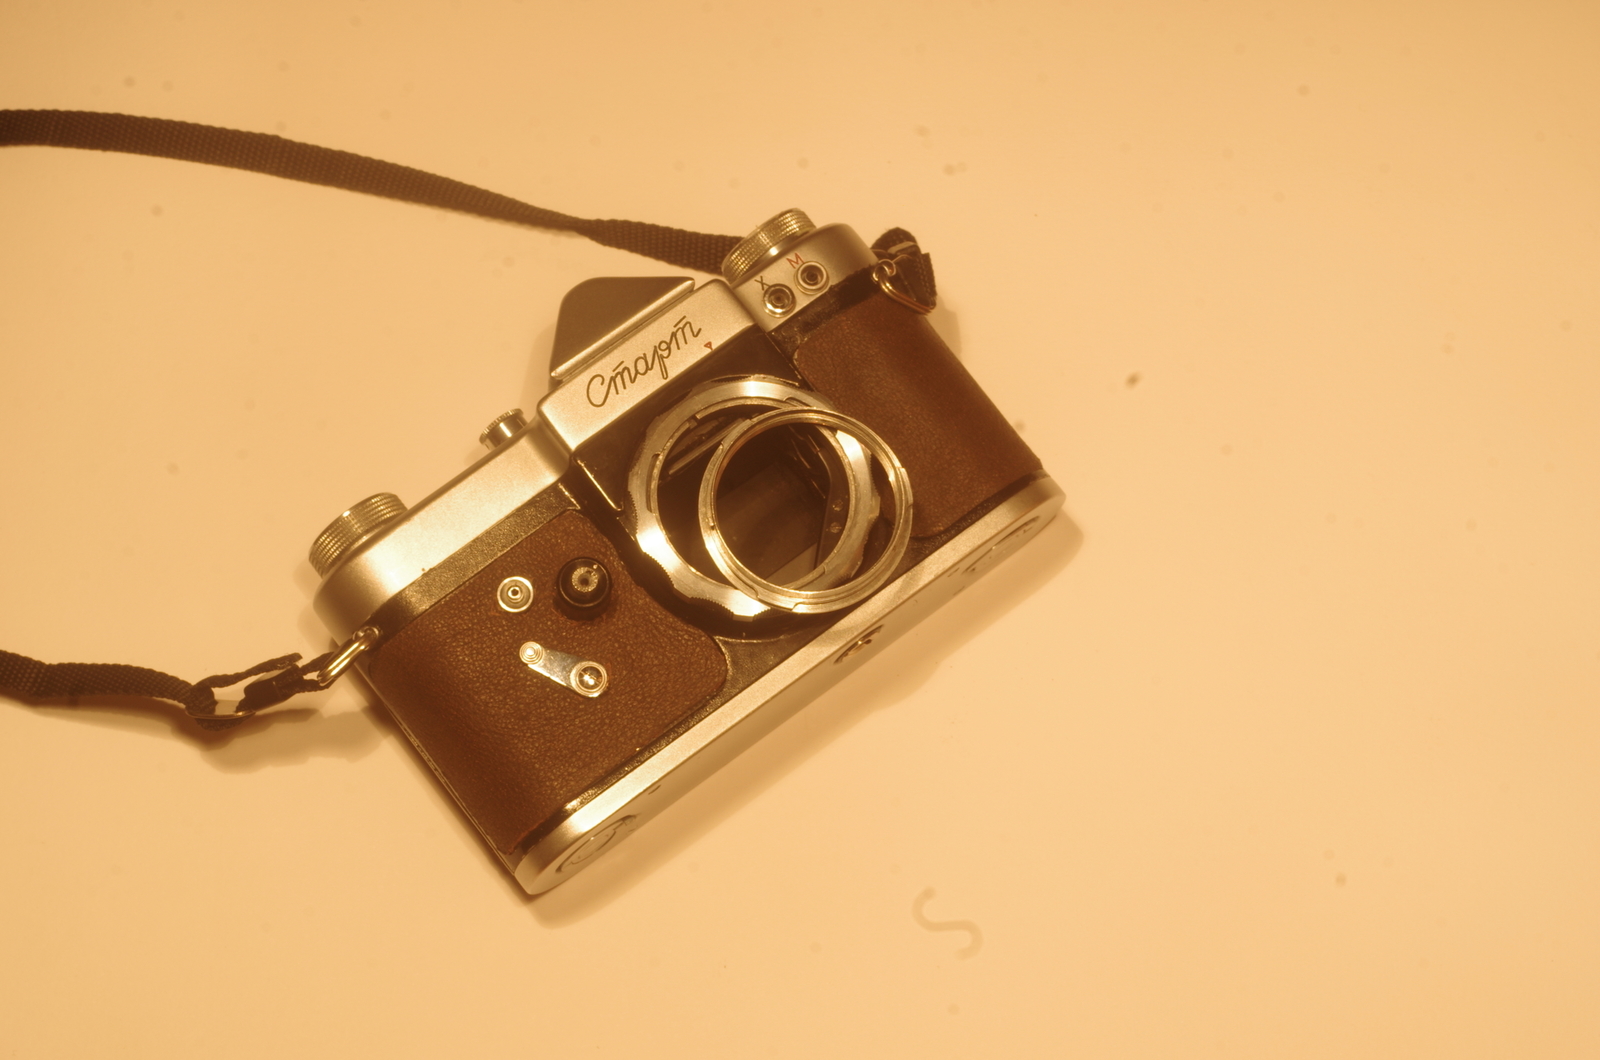
i have some SLRs in (Zenit) M39 mount, Zenit-3, Zenit-3M and I use the M39 adapter ring of my KMZ Start SLR. For 35mm I use only purely manual SLR (no need of battery for the shutter). Old Zenit are nice but somewhat limiting speeds (B, 1/30, 1/60, 1/125, 1/250, 1/500). The Start has a broader choice of speeds, with slow and fast ones. It's in fact the Zorki-4 mechanism (1, 1/2, 1/4, 1/8, etc to 1/1000). It has also a film knife in case one uses the receiving cassette. I like this box even if I don't use the native Helios-44 with DOF preview functionality.
But unlike with M42 mounts, there's much less availability of SLR M39 lenses and the wider one is the Mir-1 37mm.
here my Start with the native Helios-44:

the box and the M39 adapter ring:

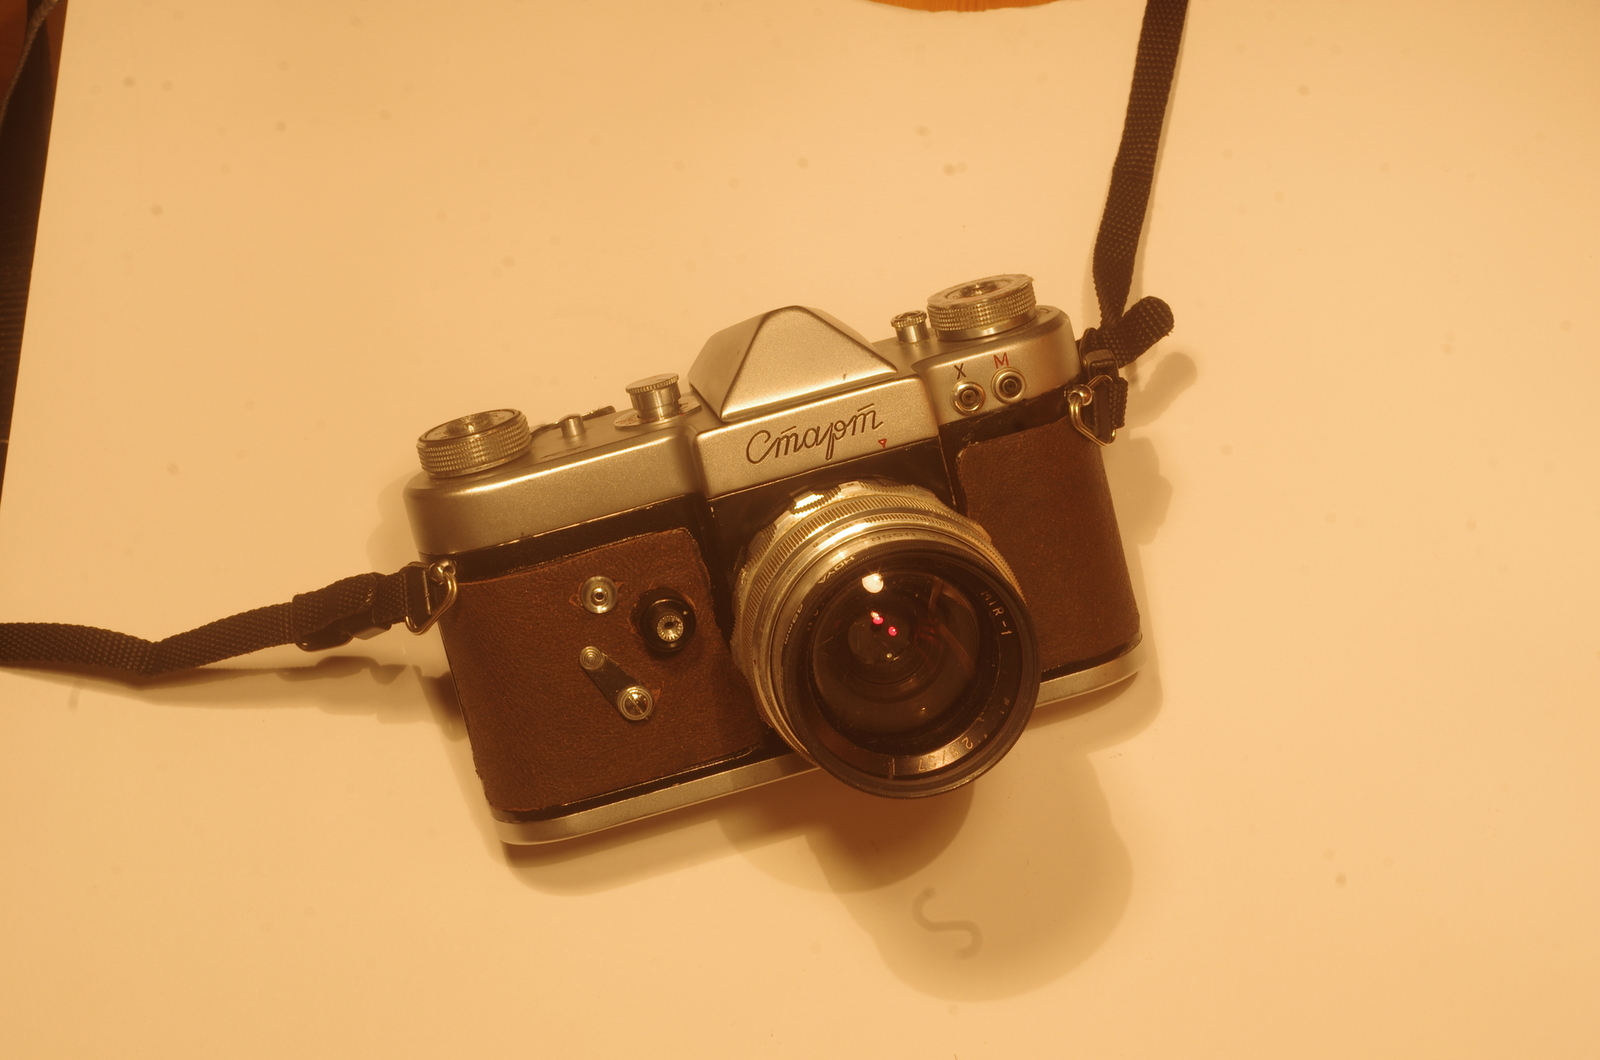
with the M39 adapter, and a Mir-1:

For this Start, but also for my other Zenits 3 and 3M, I wanted first to convert one of these cheap Vivitar 28mm f2.8 in PK mount. So I could have a wider lens than the Mir-1. The idea is like with the Tokina converted to M42 as shown here
http://forum.mflenses.com/tokina-at-x-357-35-70mm-pk-to-m42-t80023.html
While I was looking in my box of old broken and unused lenses, parts, adapters and whatever, I recalled that I have two Tamron zoom lenses, a 25-80mm and a 38-100mm, and the primes in 28mm and 24mm are found for a reasonable money, even cheap sometimes. I also had around an unused Tamron-PK adapter. So instead of doing a job only for one lens, I had the idea to make a Tamron-M39 adapter instead, could use my two Tamron and a 28mm or 24mm when I'll buy one.
How:
some initial problem is the availability of M39 lens thread with a broad enough plate around it.
For instance here one M42-Pentacon6 adapter, where the M42 thread is part of a broader metal plate which could be cut and used for an adapter. The plate will provide good contact and support for further assembly, there's room for boring holes, setting screws or good contact surface for glue.

but all M39 lenses I have seen have much less metal around the thread. For instance a Helios-44:

and even less in case of RF lenses, here a Jupiter-8:

I could use a broken Helios-44 if I had one around, otherwise I am not going to destroy a working or repairable one, these silver H-44 are expensive. I don't have a broken Jupiter-8 available and anyway there's very little room around the thread. On a Industar-61 there's a bit more metall, and also there are a lot of them for very cheap.
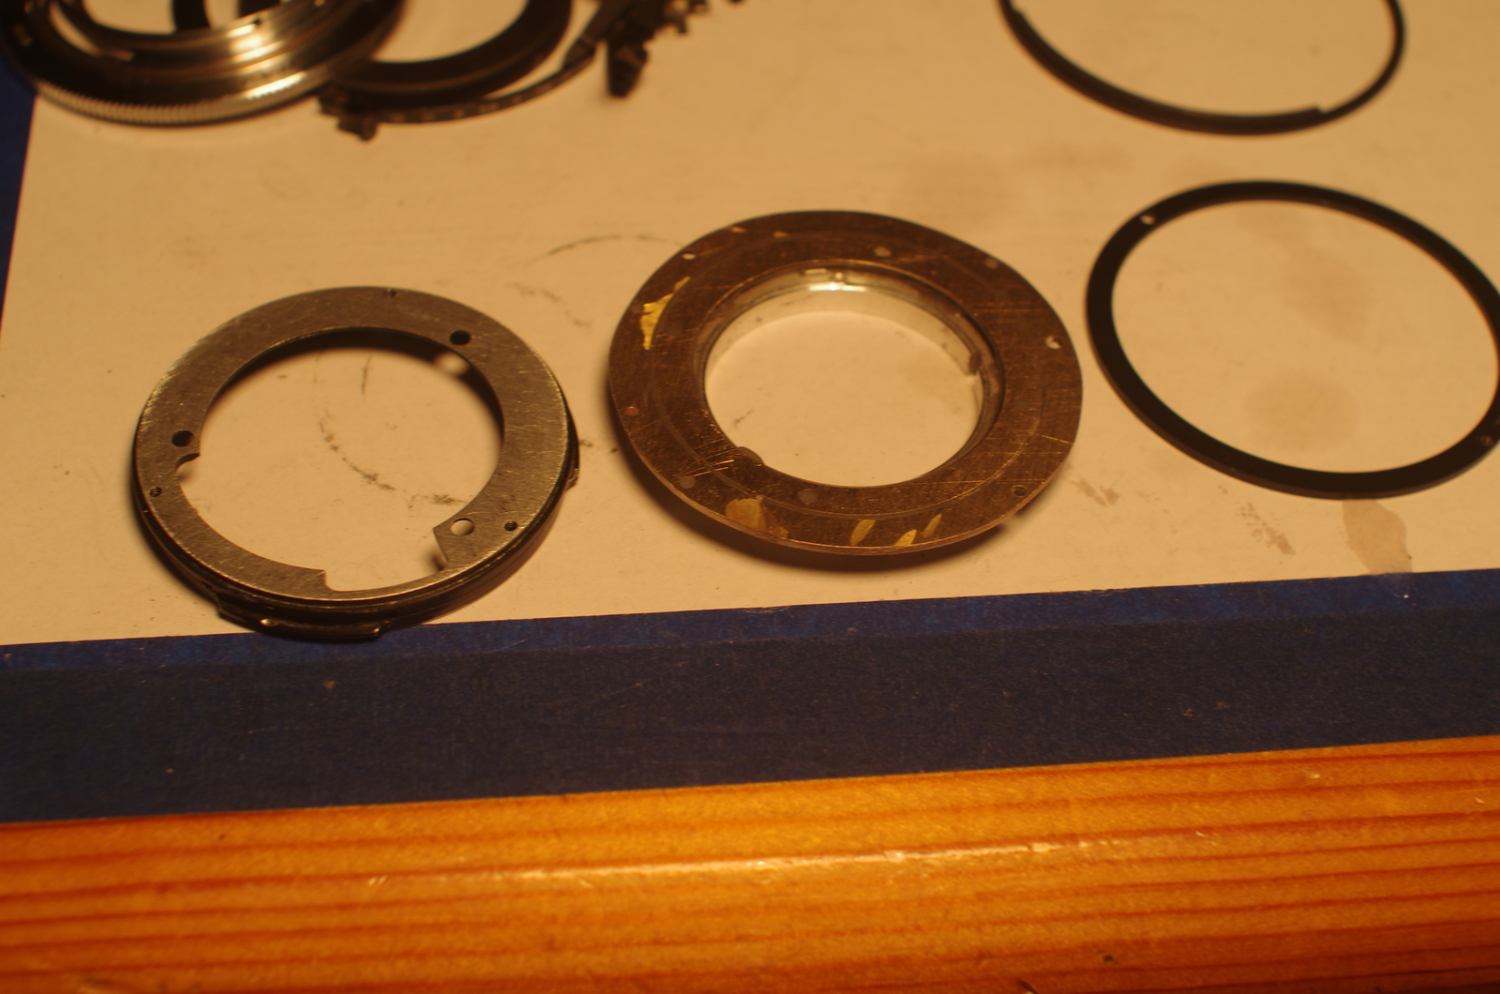
So I took :
- the part with the M39 thread of a unused Industar-61
- a thick ring found on the assembly of some old broken Nikon telelens I had in the box
- a M39 mounting ring taken from a broken Zenit-3M body
- the Tamron bayonet side of a Tamron-PK adapter
the broader ring from the telelens and the M39 thread of the Industar-61 are too much different diameters in order to use epoxy to hold them securely:

at this point I had the idea to use the M39 mounting plate from the body of a broken Zenit-3M I had around. The thread was dremel cut from the plate. I glue together the broader ring with the M39 mounting plate, then on top the M39 thread of the Industar-61. Fill with epoxy all empty space in-between and around.
After some sanding of the base, it looks like this:

and the M39 side:

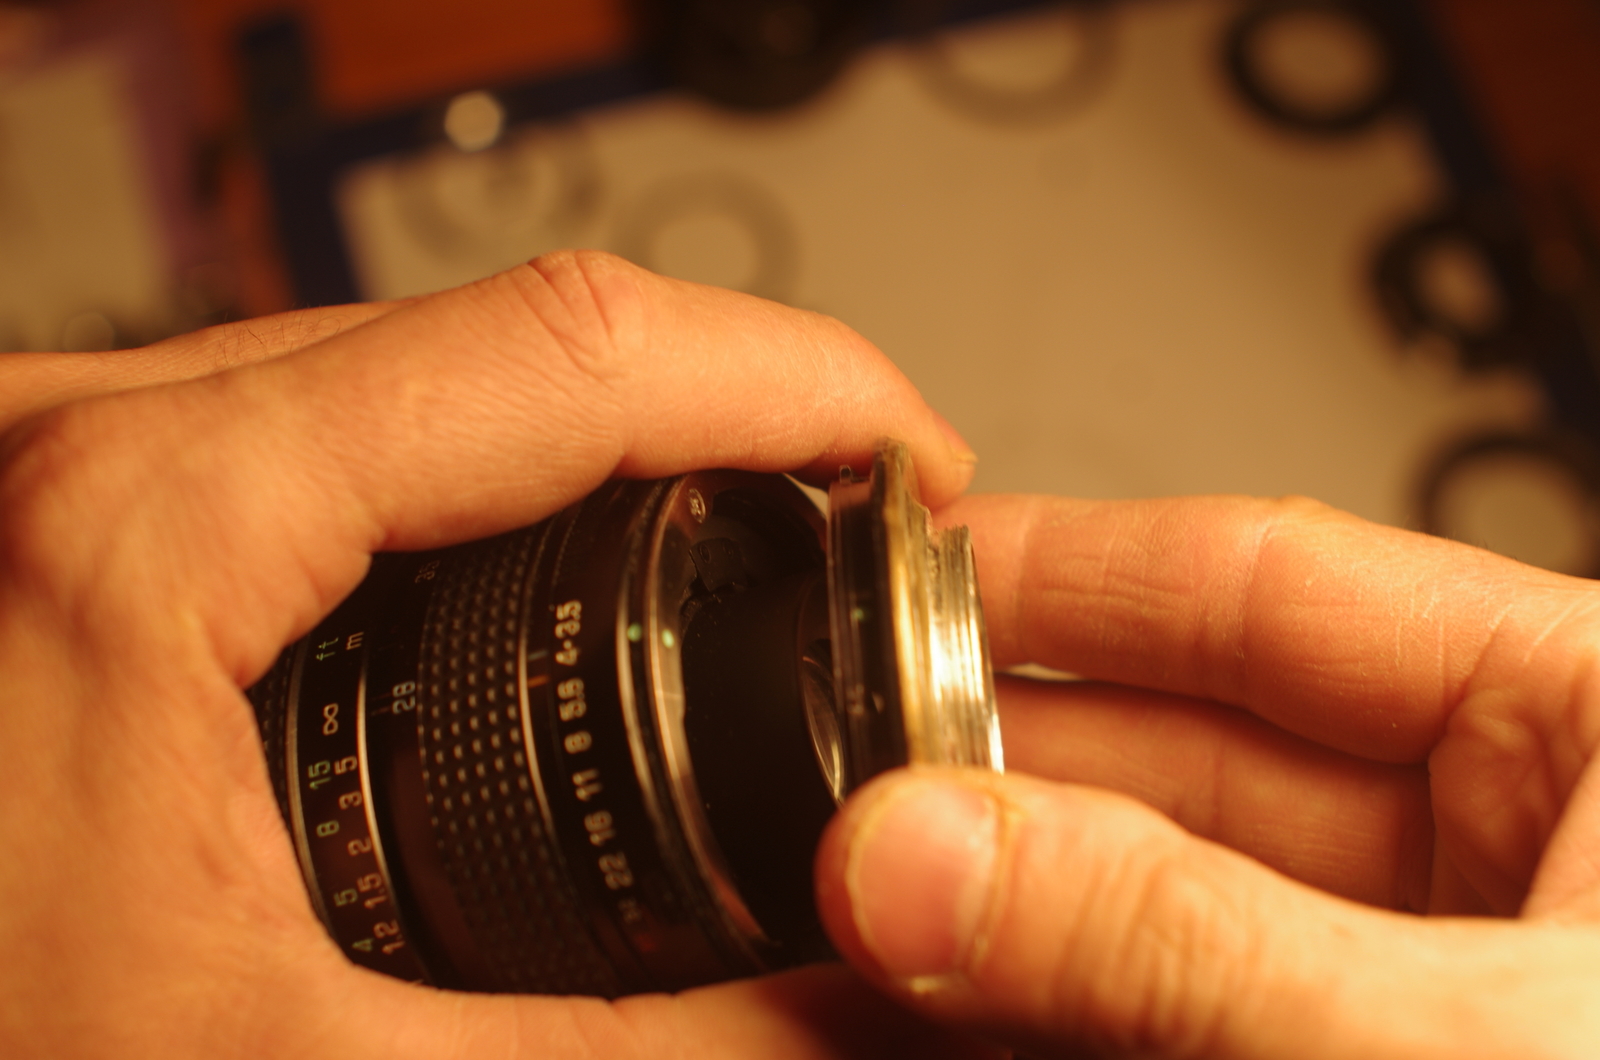
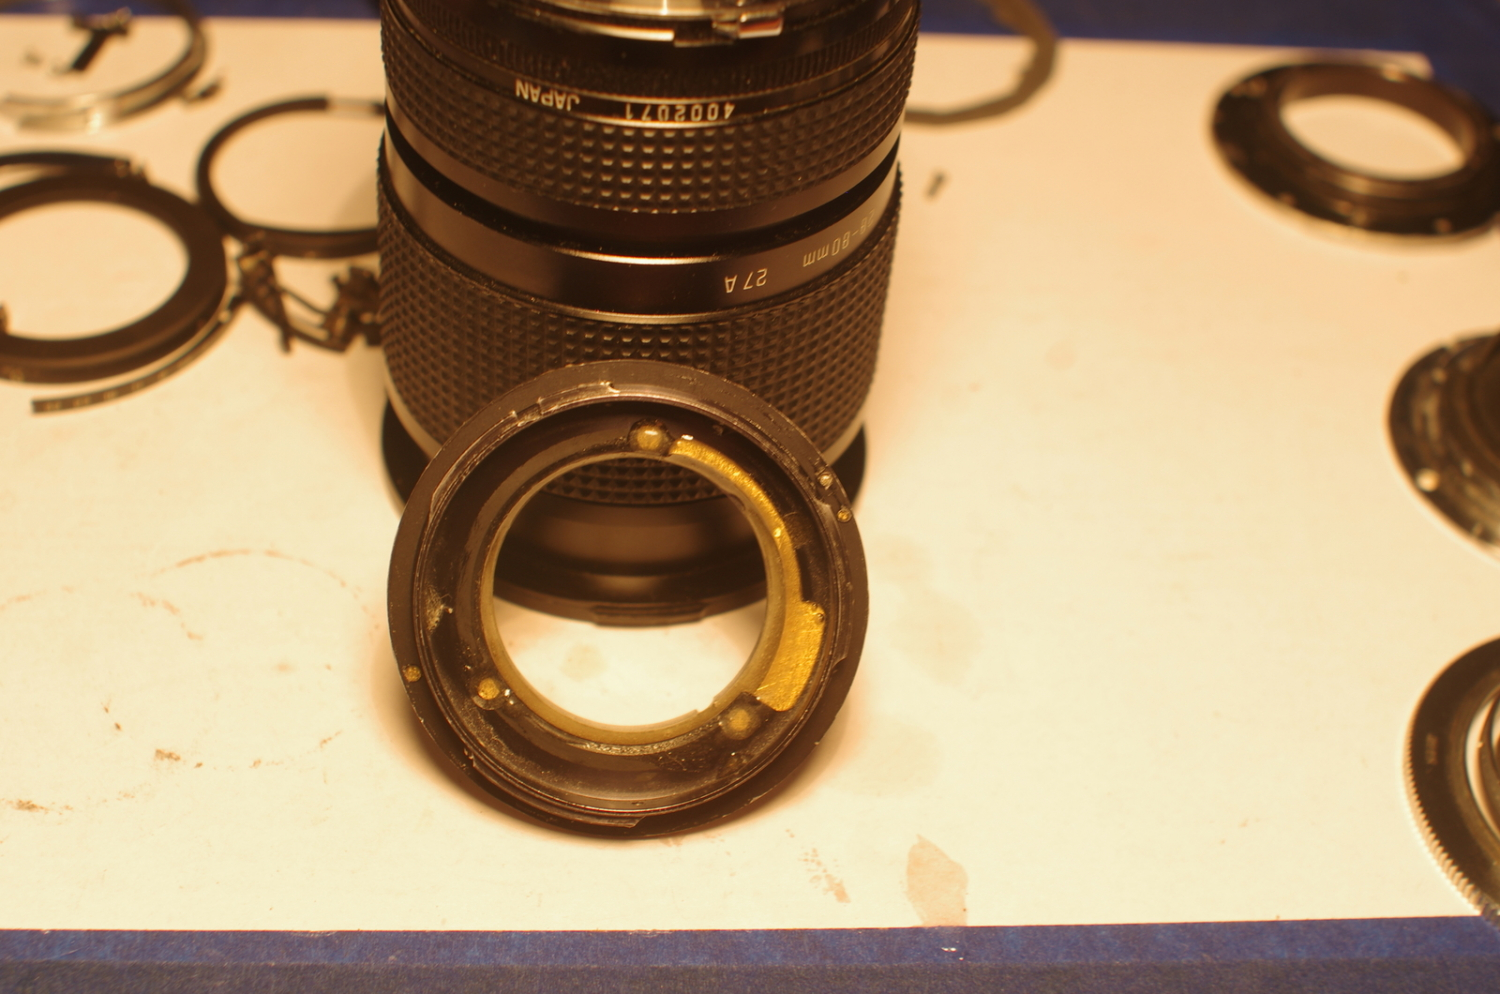
here I have disassembled the Tamron-PK adapter and I keep the internal Tamron bayonet:

view of the bayonet with the green point:

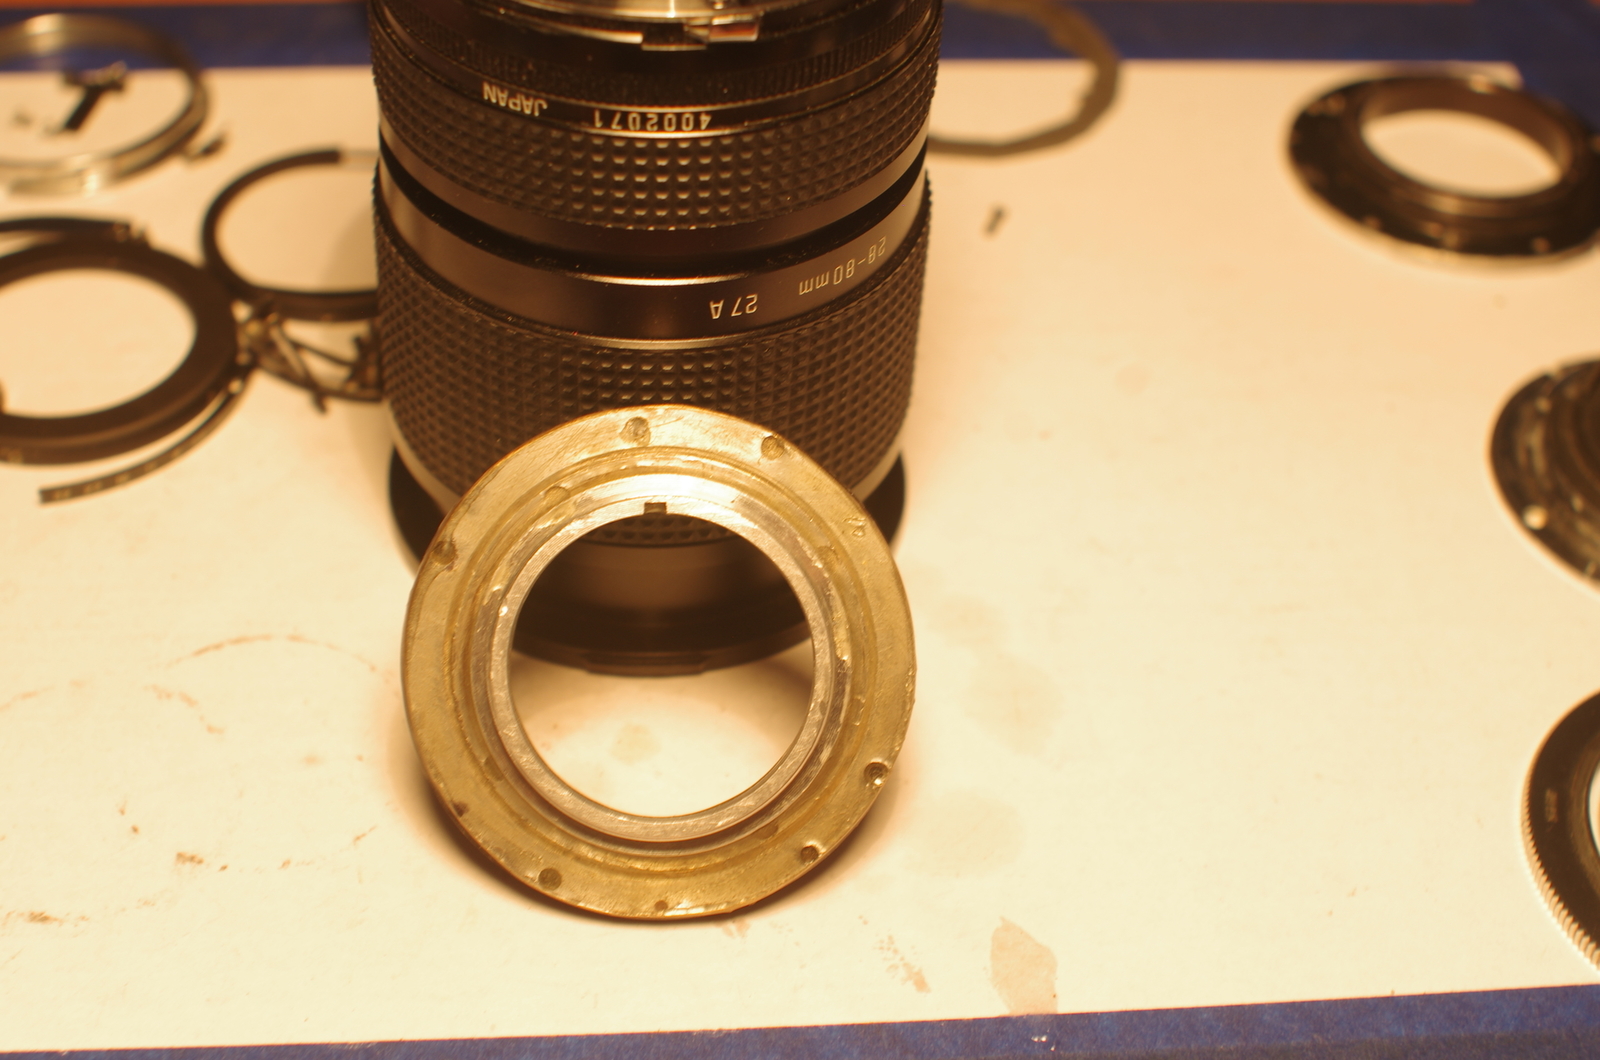
I will glue this bayonet on the M39 plate that i have put together earlier. Here the capital point is to get the correct flange distance. M39 and M42 are almost the same. For reference I measure on a Tamron-M42 adapter that I have:


now the job is to sand contact surfaces of the M39 plate and the Tamron bayonet, until the assembly of the two will have the same thickness than the one on the Tamron-M42 adapter. The two parts will be hold together with epoxy, so a thin layer of it will come in-between, but that will be in the tolerance of the register distance (hopefully).
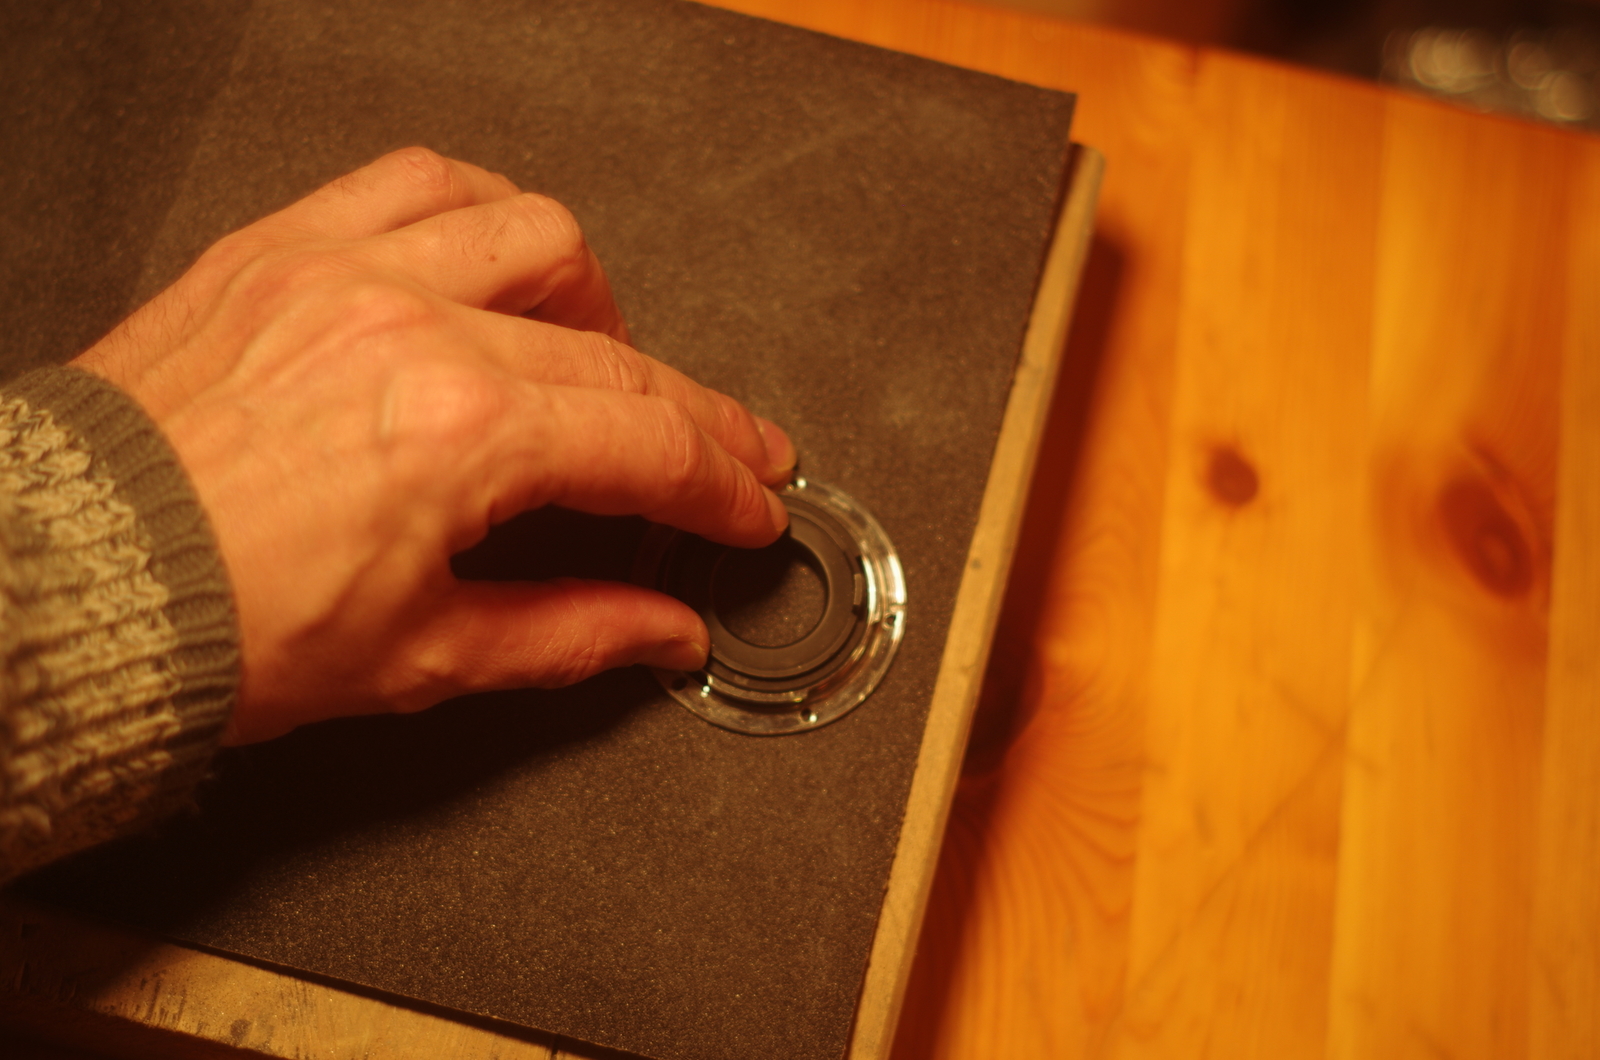
As I decide to try this with only basic home tools, I have just done hand sanding on 120 paper sheets on top of a flat hard surface. Like this (here a hold some other mount for illustration):

there's a pure decorative ring around the internal side of the Tamron bayonet, I epoxy the M39 plate, the Tamron bayonet and the decorative ring and fill also any gaps in-between with epoxy:
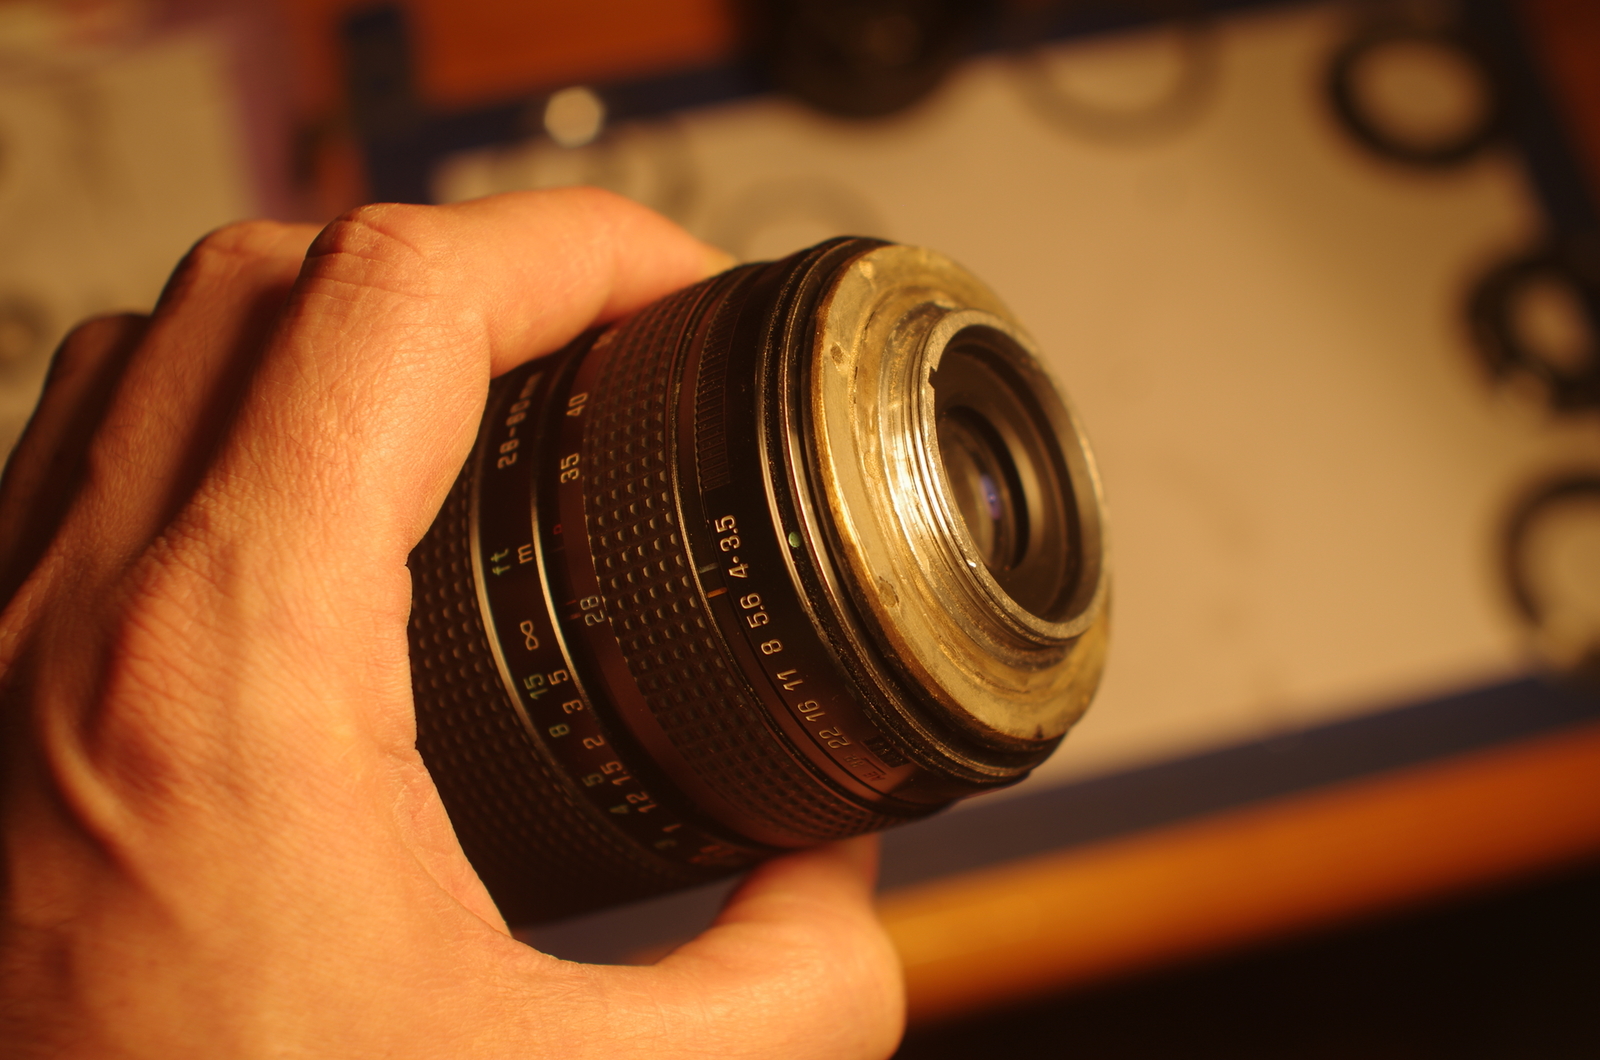
end result:
the side with M39 thread

and the side with Tamron internal bayonet:
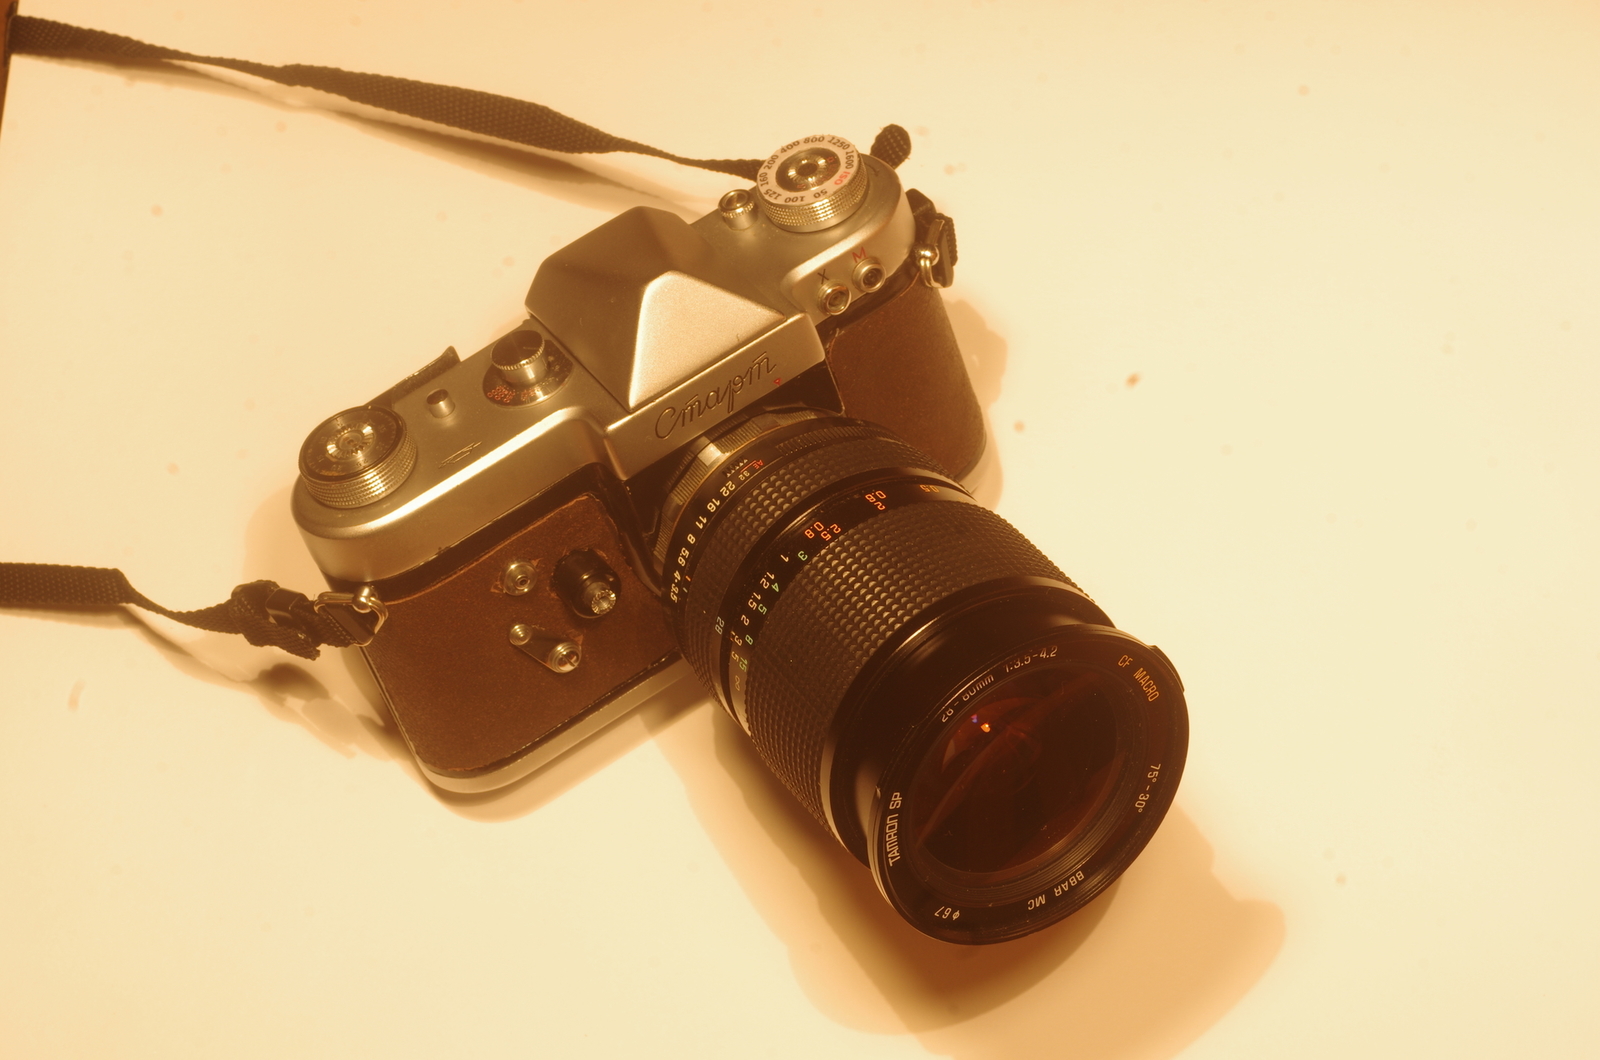
after 24hrs curing, time to test. Here mount this adapter on the 25-80 Tamron:


I test focusing at infinity and at close range on my Pentax K-5 (M42 adapter on the body) with a M39-M42 adapter ring. Then I test focus on the Start camera and on a Zenit-3M.
The Start with the Tamron 25-80mm:

with the Tamron 38-100mm:

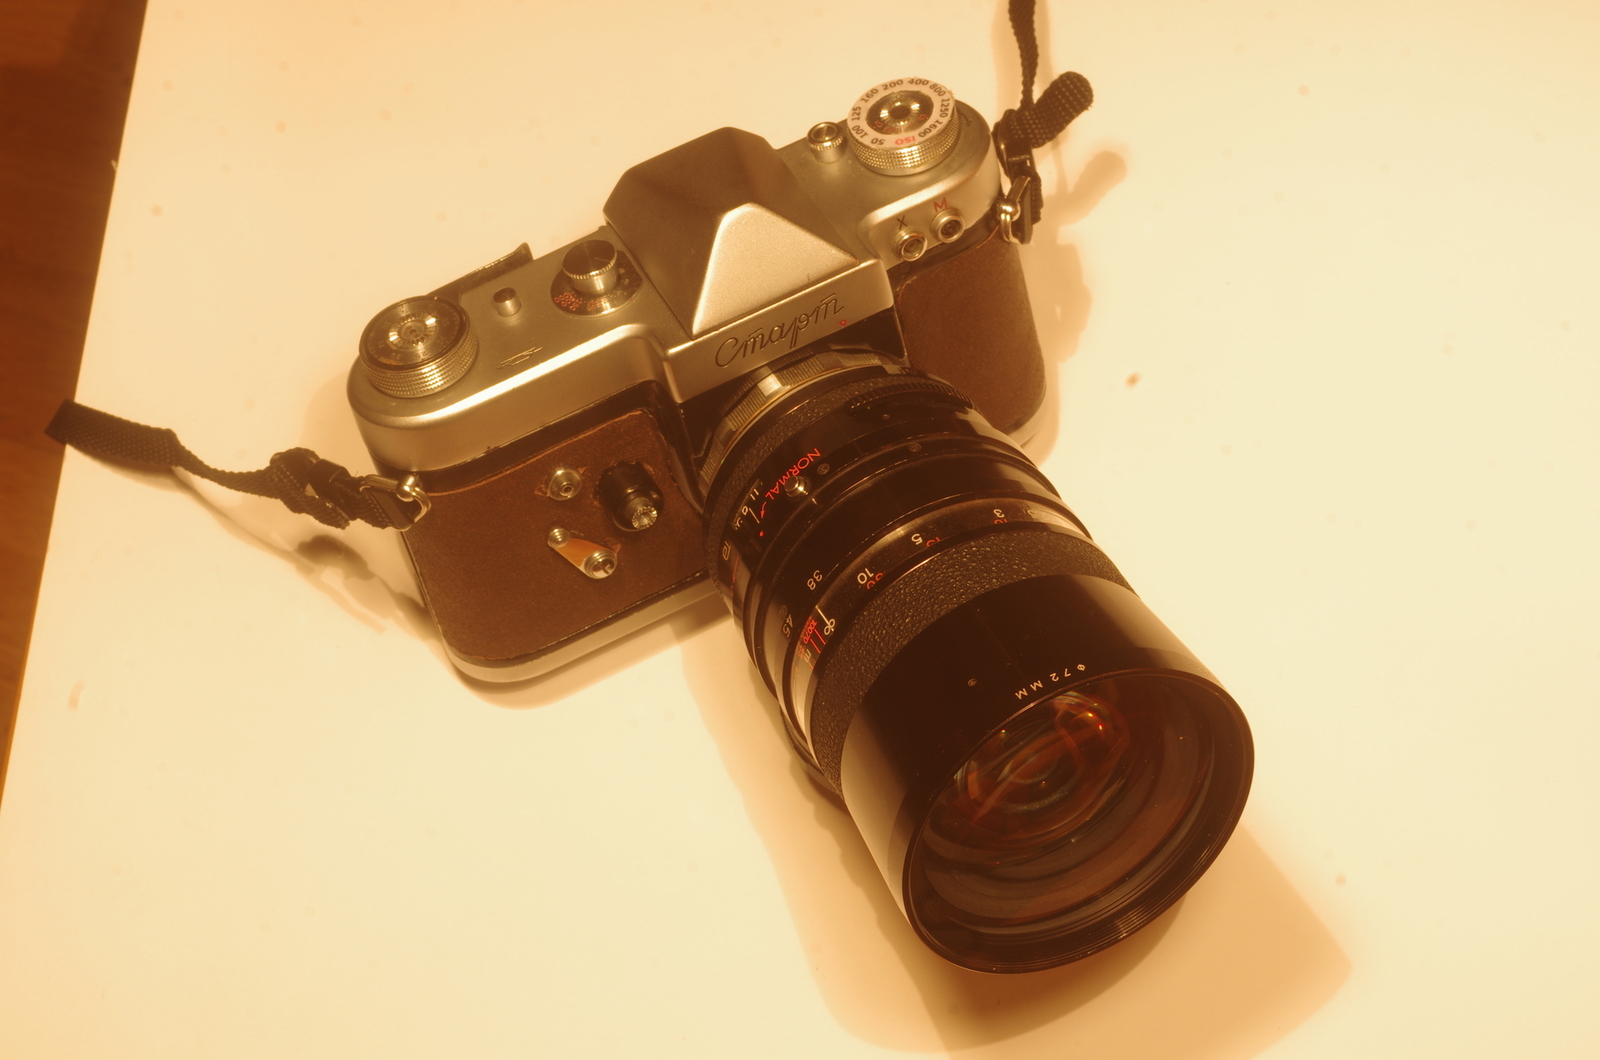
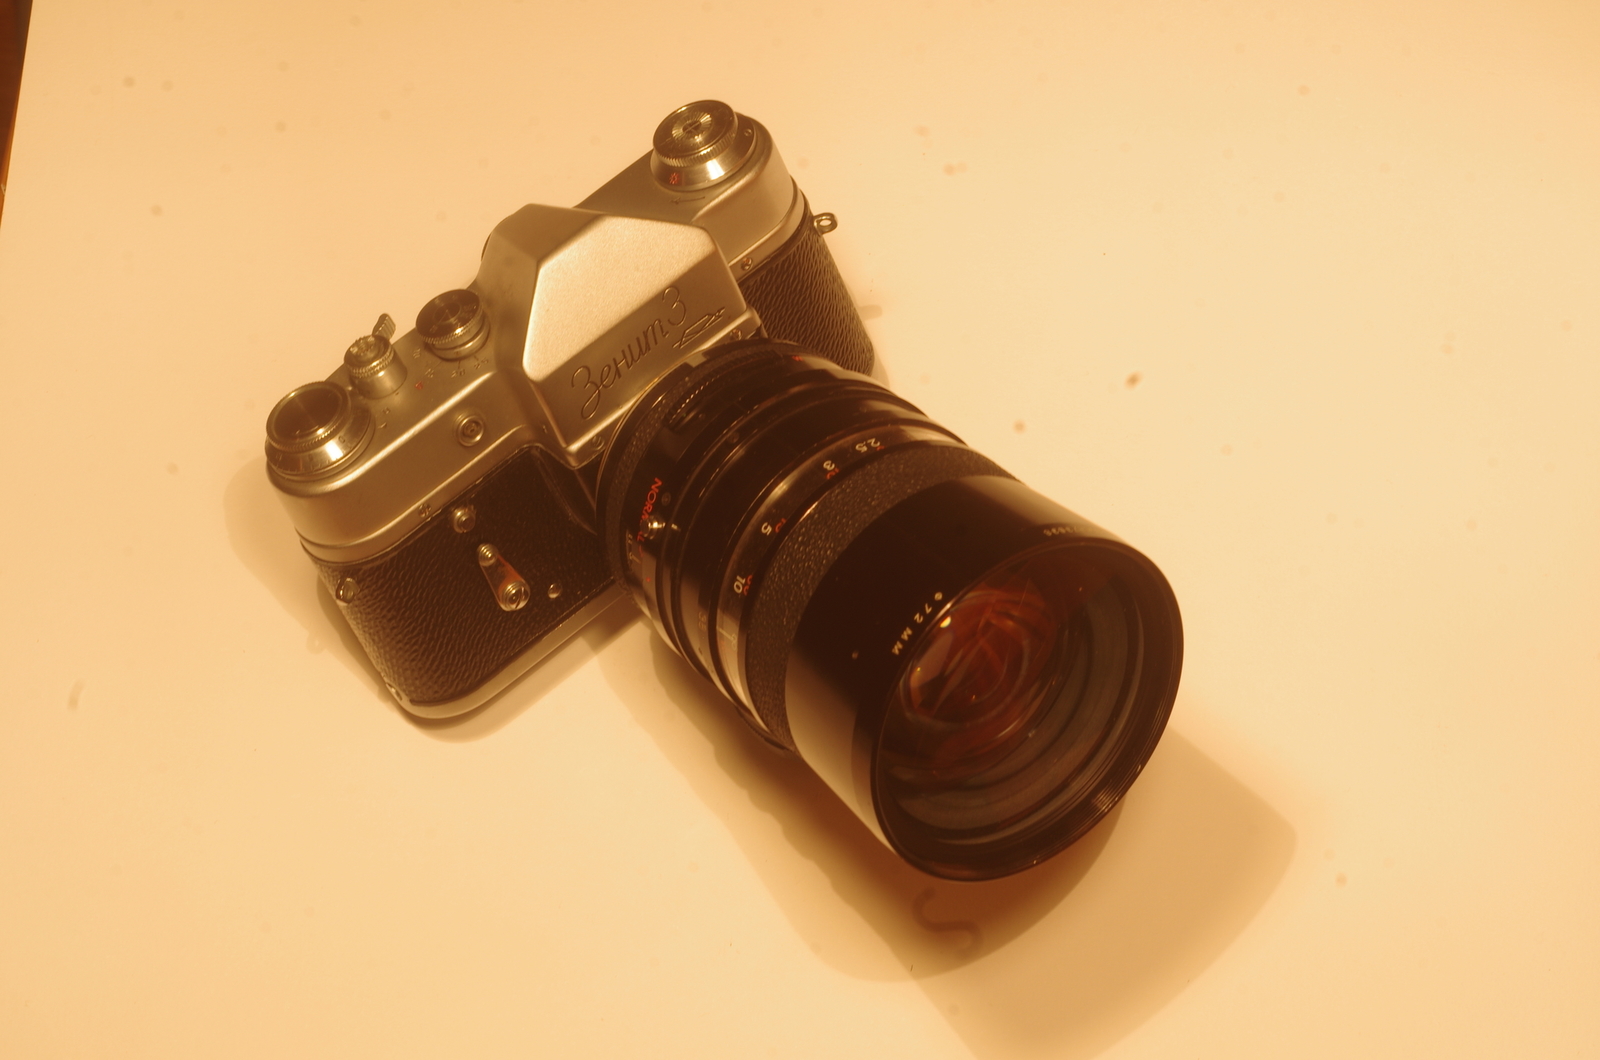
my Zenit-3 with the Tamron 38-100mm:
 |
|