| View previous topic :: View next topic |
| Author |
Message |
PhantomLord


Joined: 08 Apr 2013
Posts: 476
Location: Szczecin, Poland
|
 Posted: Wed Jul 13, 2016 5:53 pm Post subject: Roll of film with 28mm lens Posted: Wed Jul 13, 2016 5:53 pm Post subject: Roll of film with 28mm lens |
 |
|
PhantomLord wrote:
Hello,
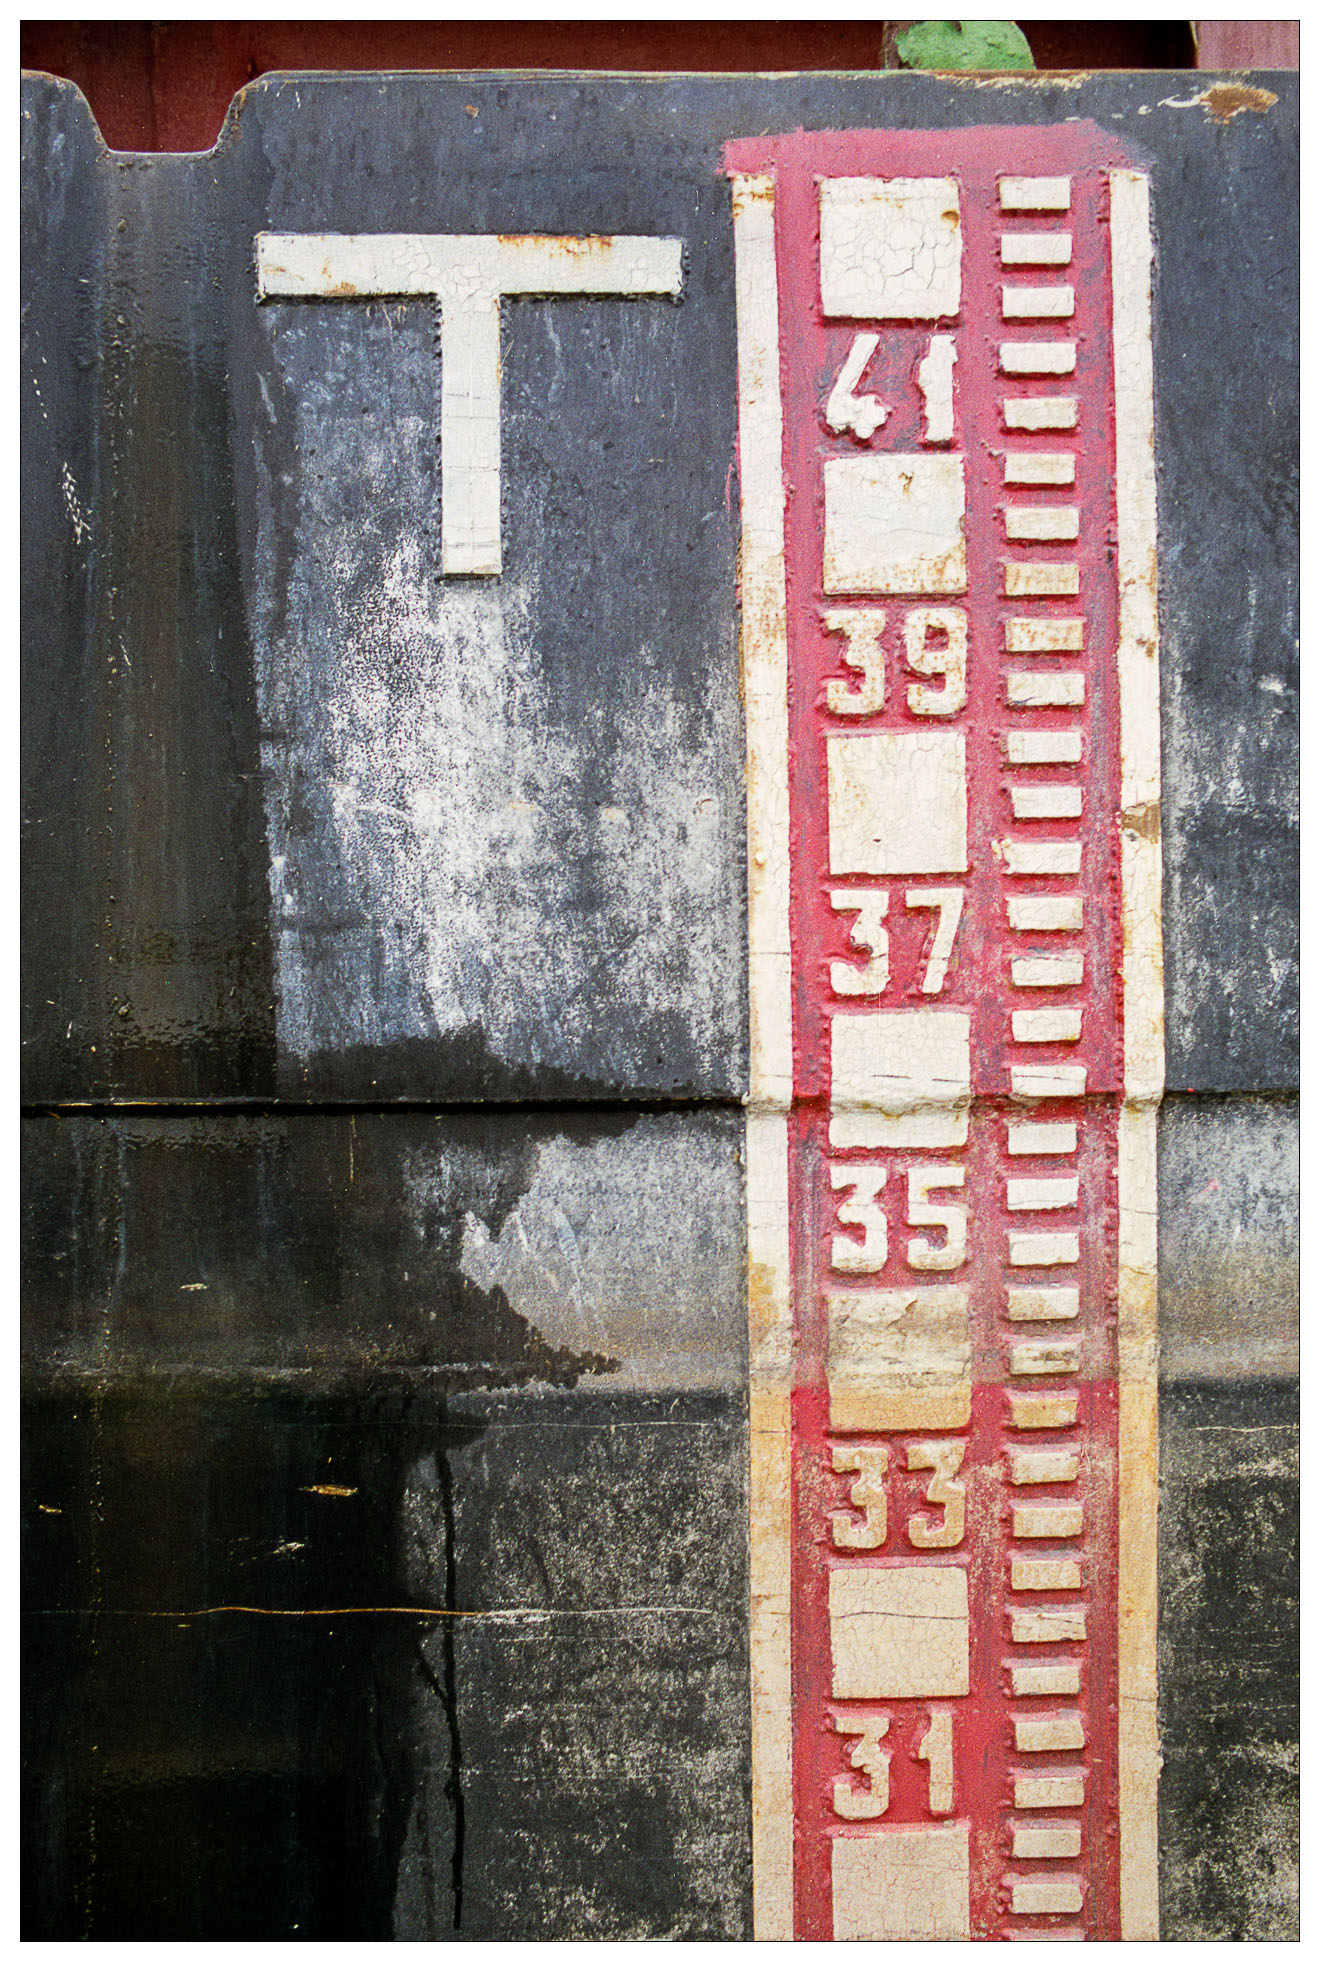
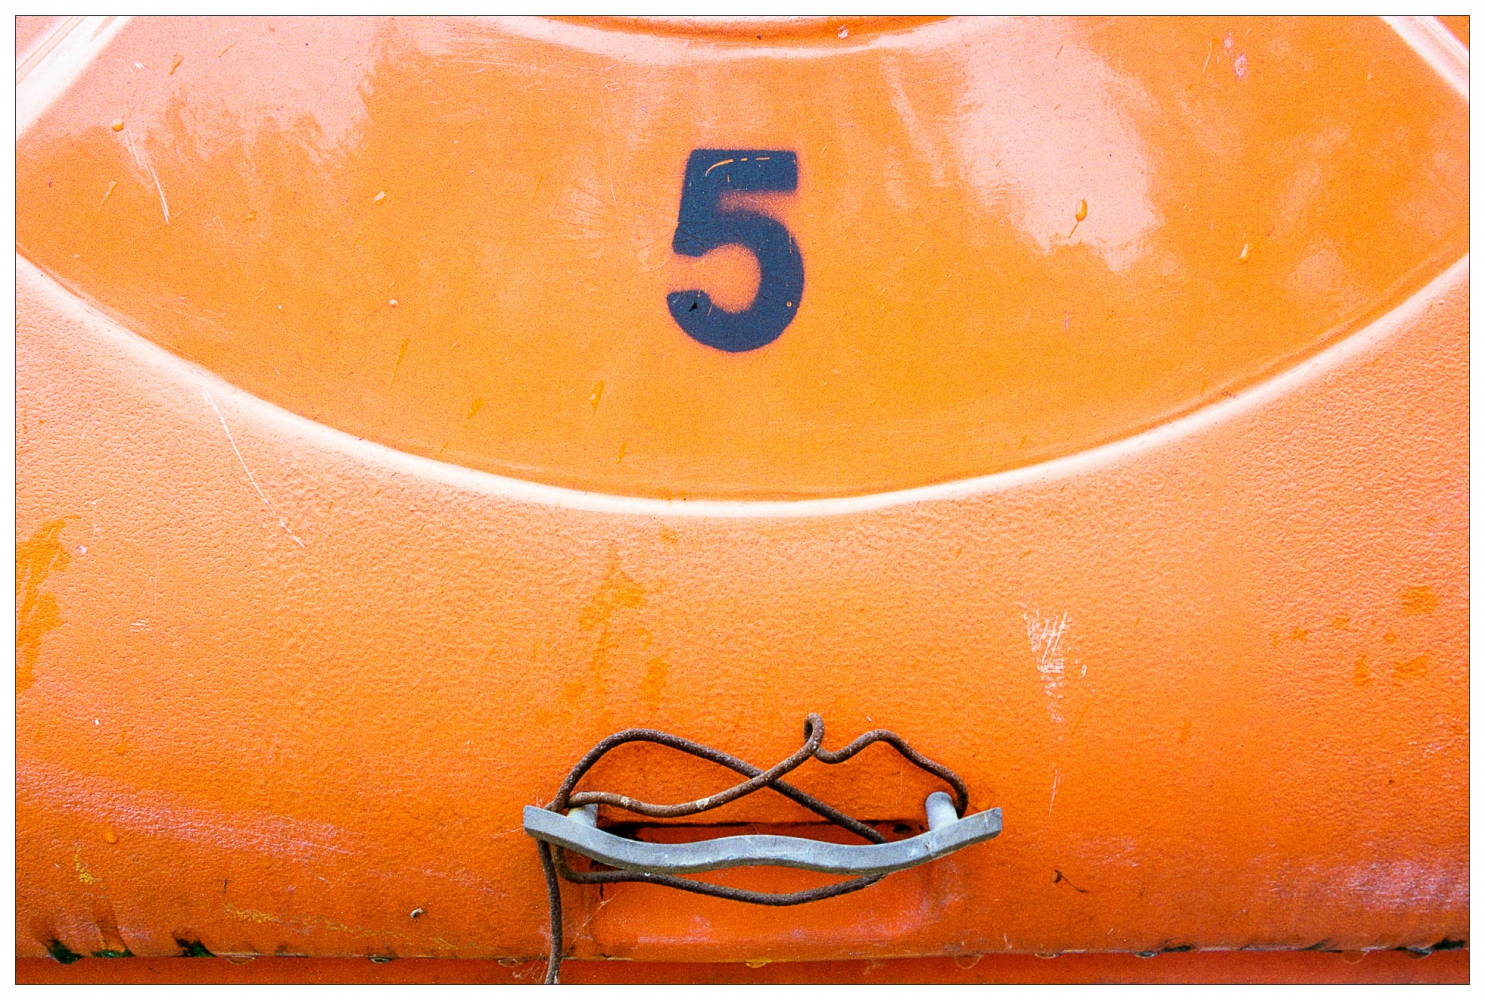
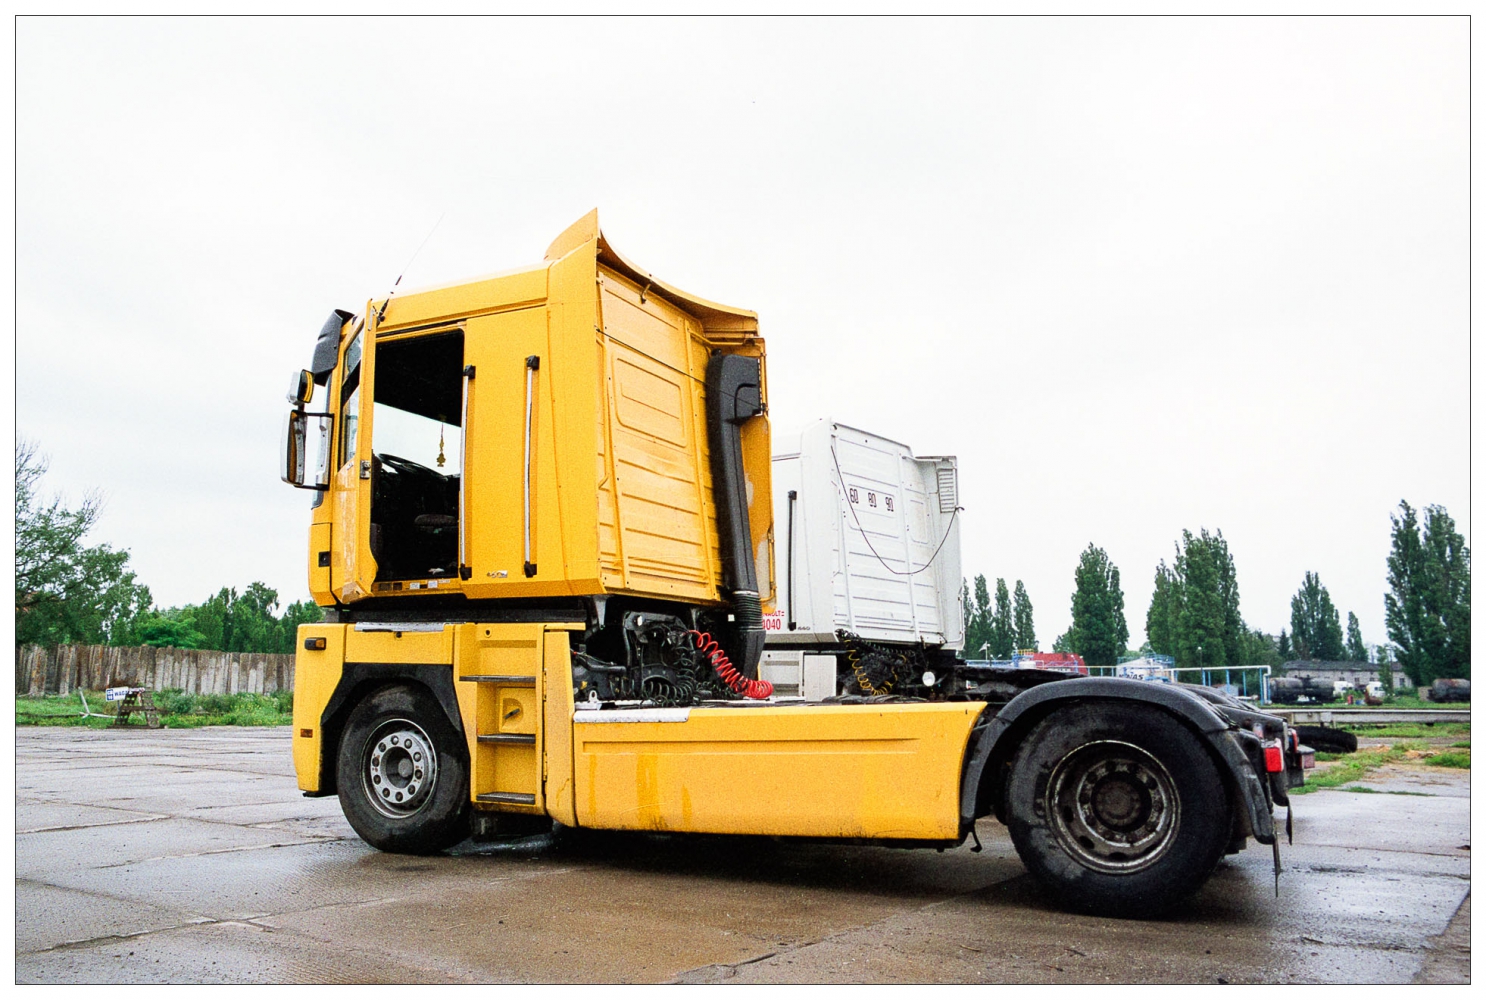
Week or two ago I found myself a little project - to shoot whole roll of ~24 frames with 28mm lens - focal length I feel most difficult to use. I took Pentax ME Super loaded with Agfa Vista Plus 200, snapped Pentax-M 28/3.5 lens on it and put it in glove box of my car.
The idea was to shoot with this lens only, whatever I want and to have camera with me all the time (hence keeping it in glove box).
I've learned a few things from this:
- 28mm was seriously underrated focal length by me
- 28mm is great for everything - close ups, portraits that include some environment, general shooting, landscapes...
- having camera with me all the time, ready to shoot was simply great
- there's always a photo or two to shoot, no matter if it's sunny and 1 o'clock or it's dull and grey
- keeping film camera in car's glove box in summer days (25-35 C) don't do a thing to the film
- it was a lot of fun so now it's packed with another roll with the same lens
I'm sharing a few photos I took, maybe they're not terrific photos, probably not even good enough to be put here  , but come on , but come on  it was a lot of fun and I want to share it with you. it was a lot of fun and I want to share it with you.
As always film was developed at lab, but scanned by me on my Plustek 7600i. This time I tried completely new approach of converting negatives to positives excluding ColorPerfect plugin. I think the results are better and more consistent than before. Also the whole conversion is a lot quicker.
#1
#2

#3

#4
#5

#6

#7

#8

#9

#10

#11

#12

#13

#14

_________________
Mateusz
No good story ever starts with drinking tea.
Flickr: http://www.flickr.com/photos/mateuszmolik/sets/ |
|
| Back to top |
|
 |
Excalibur


Joined: 19 Jul 2009
Posts: 5019
Location: UK
Expire: 2014-04-21
|
| Posted: Wed Jul 13, 2016 6:15 pm Post subject: |
|
|
Excalibur wrote:
Very good, for me I now prefer 24mm, although before I got a 24mm was very happy with 28mm for years....I suppose it's "what you don't know you don't miss"
_________________
Canon A1, AV1, T70 & T90, EOS 300 and EOS300v, Chinon CE and CP-7M. Contax 139, Fuji STX-2, Konica Autoreflex TC, FS-1, FT-1, Minolta X-700, X-300, XD-11, SRT101b, Nikon EM, FM, F4, F90X, Olympus OM2, Pentax S3, Spotmatic, Pentax ME super, Praktica TL 5B, & BC1, , Ricoh KR10super, Yashica T5D, Bronica Etrs, Mamiya RB67 pro AND drum roll:- a Sony Nex 3
.........past gear Tele Rolleiflex and Rollei SL66.
Many lenses from good to excellent. |
|
| Back to top |
|
|
miran


Joined: 01 Aug 2012
Posts: 1364
Location: Slovenia
|
| Posted: Wed Jul 13, 2016 6:47 pm Post subject: |
|
|
miran wrote:
Very nice!
_________________
my flickr stream |
|
| Back to top |
|
|
PhantomLord
Joined: 08 Apr 2013
Posts: 476
Location: Szczecin, Poland
|
| Posted: Thu Jul 21, 2016 9:36 am Post subject: |
|
|
PhantomLord wrote:
Thank you guys.
Excalibur 24mm I have only in zoom (Vivitar Series 1 24-48/3.8 - which is fantastic lens by the way), so when I get hold of compact 24mm I would need to try roll with 24mm as well.
Miran I always wanted to ask you, how do you post process your 35mm negatives. I assume that you do scanning by yourself and I always liked the clarity, colour and smooth contrast of your photos (e.g. "A few holiday snaps from the island of Krk" - fantastic photos). I've recently re-engineered my negative scanning and post process workflow and I'm very happy about it, but still, I think there's room for improvement and seeing beautiful colours from Ektar from your thread above I'm sure of it .
_________________
Mateusz
No good story ever starts with drinking tea.
Flickr: http://www.flickr.com/photos/mateuszmolik/sets/ |
|
| Back to top |
|
|
miran
Joined: 01 Aug 2012
Posts: 1364
Location: Slovenia
|
| Posted: Thu Jul 21, 2016 11:49 am Post subject: |
|
|
miran wrote:
| PhantomLord wrote: |
| Miran I always wanted to ask you, how do you post process your 35mm negatives. |
The most important step in scanning colour negatives is to coat them with a fine layer of tears. Also some sweat and possibly blood. 
But seriously, my procedure is this:
1. Shoot negatives placed on a light table using a digital camera and macro lens in raw format.
2. Use Rawtherapee to convert to tif using linear gamma (important) and proper white balance for the temperature of the light table. No other adjustments at all, just straight conversion. (Except maybe rt's flat field function to eliminate lighttable's uneven illumination and sensor dust.)
3. Use negfix8 to invert the negative. The auto contrast option usually works well. (Alternatively use Rawtherapee's new CLUT tool with the negative CLUT.)
4. Back to Rawtherapee for final tone curves, contrast, lightness and colour corrections as well as any other adjustments (crop, sharpening, etc). Important to set the colour space and gamma properly.
The output of negfix8 will look flat but colours are usually close enough so that it's possible to use the colour curves in rt to eliminate most colour casts and get a roughly ok look. That said, I'm never really satisfied with the colours. It takes a lot of fiddling with the curves and what works for one frame, almost never works for any other frame from the same film! I find that with this workflow and these tools Ektar is the easiest to work with, Portra is also relatively ok, but Agfa Vista and similar cheap films are absolutely horrible.
After you're done, don't forget to wipe the blood, sweat and tears.
_________________
my flickr stream |
|
| Back to top |
|
|
PhantomLord
Joined: 08 Apr 2013
Posts: 476
Location: Szczecin, Poland
|
| Posted: Thu Jul 21, 2016 12:27 pm Post subject: |
|
|
PhantomLord wrote:
Thank you Miran for explaining the topic and I agree about the blood and tears , however I must admit that with my latest workflow it's a lot easier and quicker to do conversion and nice results.
I have used negfix8 route but usually with very mixed results and lack of repeatability made me stop trying. The difference was that I was using Plustek OpticFilm 7600i scanner with VueScan to deliver 48bit linear, raw scans. Outcome of me shooting negatives with DSLR was always worst than with dedicated scanner, of course DSLR was way faster, but I had a lot troubles with proper exposure, colours and sharpness wasn't as good as with scanner. I think I will give Rawtherapee a try, I wonder however how do you determine exposure to shoot negatives on lightable with DSLR, because it was the trickiest part for me and it was the strongest variable in the final outcome.
As for cheap films - well to be honest those are that I usually use - so Agfa Vista Plus 200, Fuji Superia 200, Fuji Superia X-TRA 400, Kodak Gold 200 and even Kodak Color Plus 200. Because of the price I usually use Portras and 400H for special occasions.
However with my current workflow it's no difference what emulsion you process.
I try to describe it quickly:
1. Scan of negatives to RAW Tiff using VueScan - all frames from the roll with the same exposure, determined by locking exposure on unexposed part of the negative (like between the frames). It is important to scan also unexposed part of the film, usually the same that exposure was determined from.
2. Open scan of unexposed part of the negative in PS - invert and blur the image and sample that with white point in Levels. Save the sampled correction as a preset in Levels (with particular name - it's important for future action, in my case it's called "3" but seriously I had no idea why I called it that  ). ).
3. In PS start Batch process of my action that does:
a) opens image,
b) assign proper color space (AdobeRGB in my case)
c) invert image
d) apply correction with Levels layer (with preset "3" storred in point 2.)
e) correct gama of the achieved image - by correction with Curves layer
By that point image is looking quite nicely since colour mask is gone
f) flatten image
g) apply High-Pass sharpening
h) flatten image
i) apply auto correction with Curves layer (this one I've learned from Michael Fraser)
j) flatten image
k) save
Now images are looking very good and what is left is to do some delicate tweaking in LR, sometimes correct the colour temperature and apply output sharpening.
What I really like about above workflow is that results are very repeatable and most of them are done in batch process without me doing anything. What I also found is that it shows quite nicely characteristic of the particular film - for example images from Agfa Vista Plus 200 are very contrasty, while from Fuji 400H are more flat.
There is one problem though - this workflow doesn't work brilliantly with severely overexposed images. It would work good in such situations only if exposure during the scan would be corrected accordingly to the overexposure.
Before that I was using ColorPerfect and thought it is ultimate solution, but conversions weren't repeatable and there were often significant colour casts (a few frames shoot after each other on the same aperture, shutter speed and under the same lightning were being converted with ColorPerfect differently with different colour casts).
I could send you those PS actions if you would like to try my approach, maybe it would work better on cheap films in your situation.
I don't know if my way is better as your colours from Ektar are stunning, but I know that I now spend a lot (and I really mean a lot) less time fiddling with curves and colour than before.
_________________
Mateusz
No good story ever starts with drinking tea.
Flickr: http://www.flickr.com/photos/mateuszmolik/sets/ |
|
| Back to top |
|
|
miran
Joined: 01 Aug 2012
Posts: 1364
Location: Slovenia
|
| Posted: Fri Jul 22, 2016 6:07 am Post subject: |
|
|
miran wrote:
Thanks for your recipe. Sounds reasonable. Well, my method is mostly automated too (steps 2 and 3), if only it was repeatable. In theory it should be, you should only find the right curves to eliminate the orange mask on the first frame of the roll and replicate that across the entire roll (and any other of the same type of film). But in practice this just doesn't work. Steps 1-3 are easy, quick and almost automated, but then I loose a lot of time on step 4, working frame by frame, sometimes fiddling with the curves and sliders for 10 minutes or more to get a single frame to look good. And to make things worse, after staring at the screen for hours, colours start to look good to me, but then the next day, when I look at them again with a fresh perspective, they all look horrible and I have to redo them all again. Aaaaargggh. 
Anyway, I don't enjoy shooting colour negative film anymore. I haven't shot anything but b&w in about a year.
_________________
my flickr stream |
|
| Back to top |
|
|
|
|
|
You cannot post new topics in this forum
You cannot reply to topics in this forum
You cannot edit your posts in this forum
You cannot delete your posts in this forum
You cannot vote in polls in this forum
|