| View previous topic :: View next topic |
| Author |
Message |
philslizzy


Joined: 07 Aug 2012
Posts: 4748
Location: Cheshire, England
|
 Posted: Sun Aug 31, 2014 10:46 pm Post subject: 3D Crosseye Stereo updated 29 Oct Posted: Sun Aug 31, 2014 10:46 pm Post subject: 3D Crosseye Stereo updated 29 Oct |
 |
|
philslizzy wrote:
kds315* made a post showing his 3D experiments. So as not to hijack it, here are my efforts. The proper term for these images is 'Stereograms'
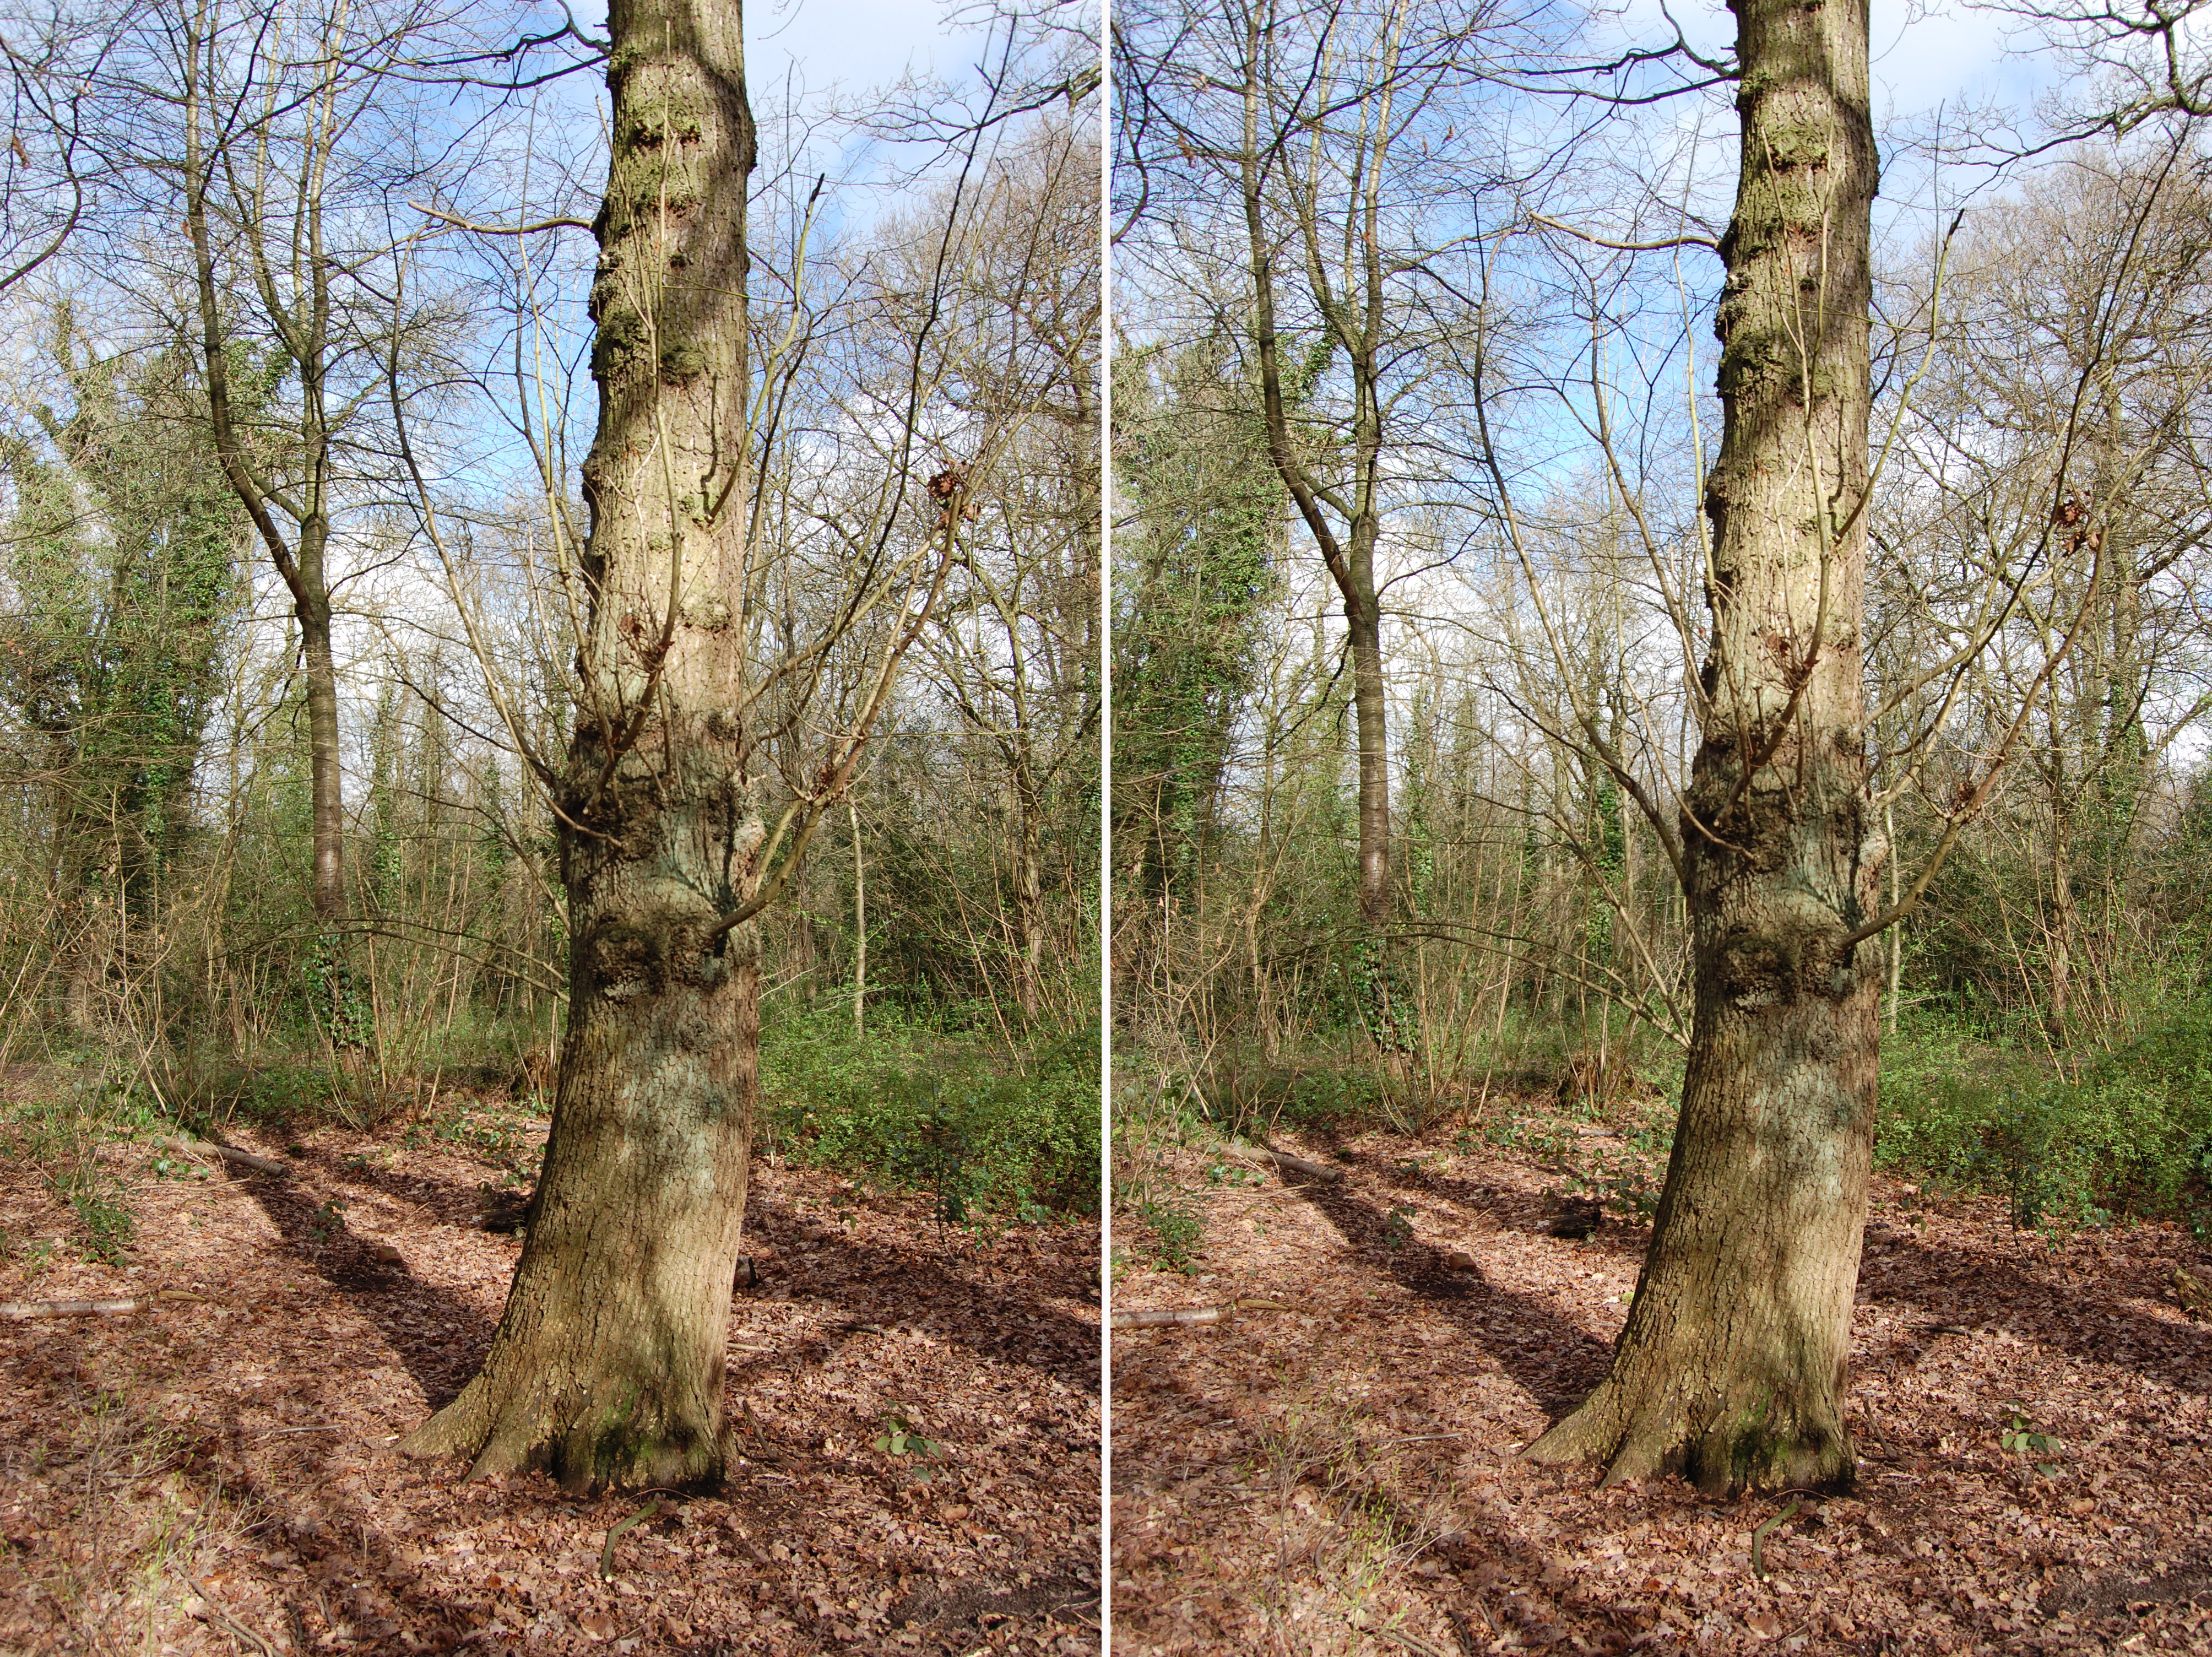
Not everyone can do crosseye stereo but I can, so here are a few photos. These were taken a while ago mostly on my Nikon D40. I don't use fancy equipment, I use the 'Timewarp' technique and if necessary line up the photos before pairing in Photoshop.
Here goes.

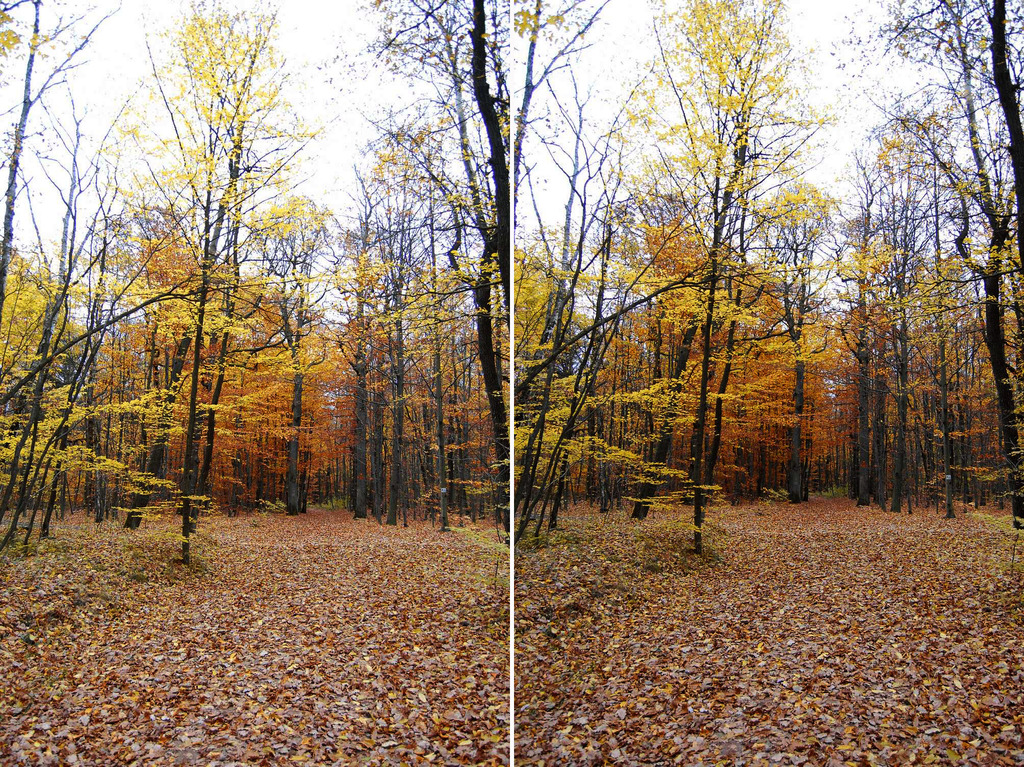

I love this one, a mormal photo just doesnt do it justice


The last one was tricky, both people had to stand absolutely still and only move their eyes to the camera.
I made an anaglyph version for my nephew (pictured) which I just can't find.
_________________
Hero in the 'messin-with-cameras-for-the-hell-of-it department'. Official.
Last edited by philslizzy on Wed Oct 29, 2014 10:18 pm; edited 1 time in total |
|
| Back to top |
|
 |
philslizzy
Joined: 07 Aug 2012
Posts: 4748
Location: Cheshire, England
|
| Posted: Sun Aug 31, 2014 11:20 pm Post subject: |
|
|
philslizzy wrote:
Timewarp technique?
http://www.stlyrics.com/songs/h/horrorrocky10629/timewarp341755.html
_________________
Hero in the 'messin-with-cameras-for-the-hell-of-it department'. Official. |
|
| Back to top |
|
|
philslizzy
Joined: 07 Aug 2012
Posts: 4748
Location: Cheshire, England
|
| Posted: Mon Sep 01, 2014 12:41 pm Post subject: |
|
|
philslizzy wrote:
Some more dragged out of the archives, I'm on a roll now!!


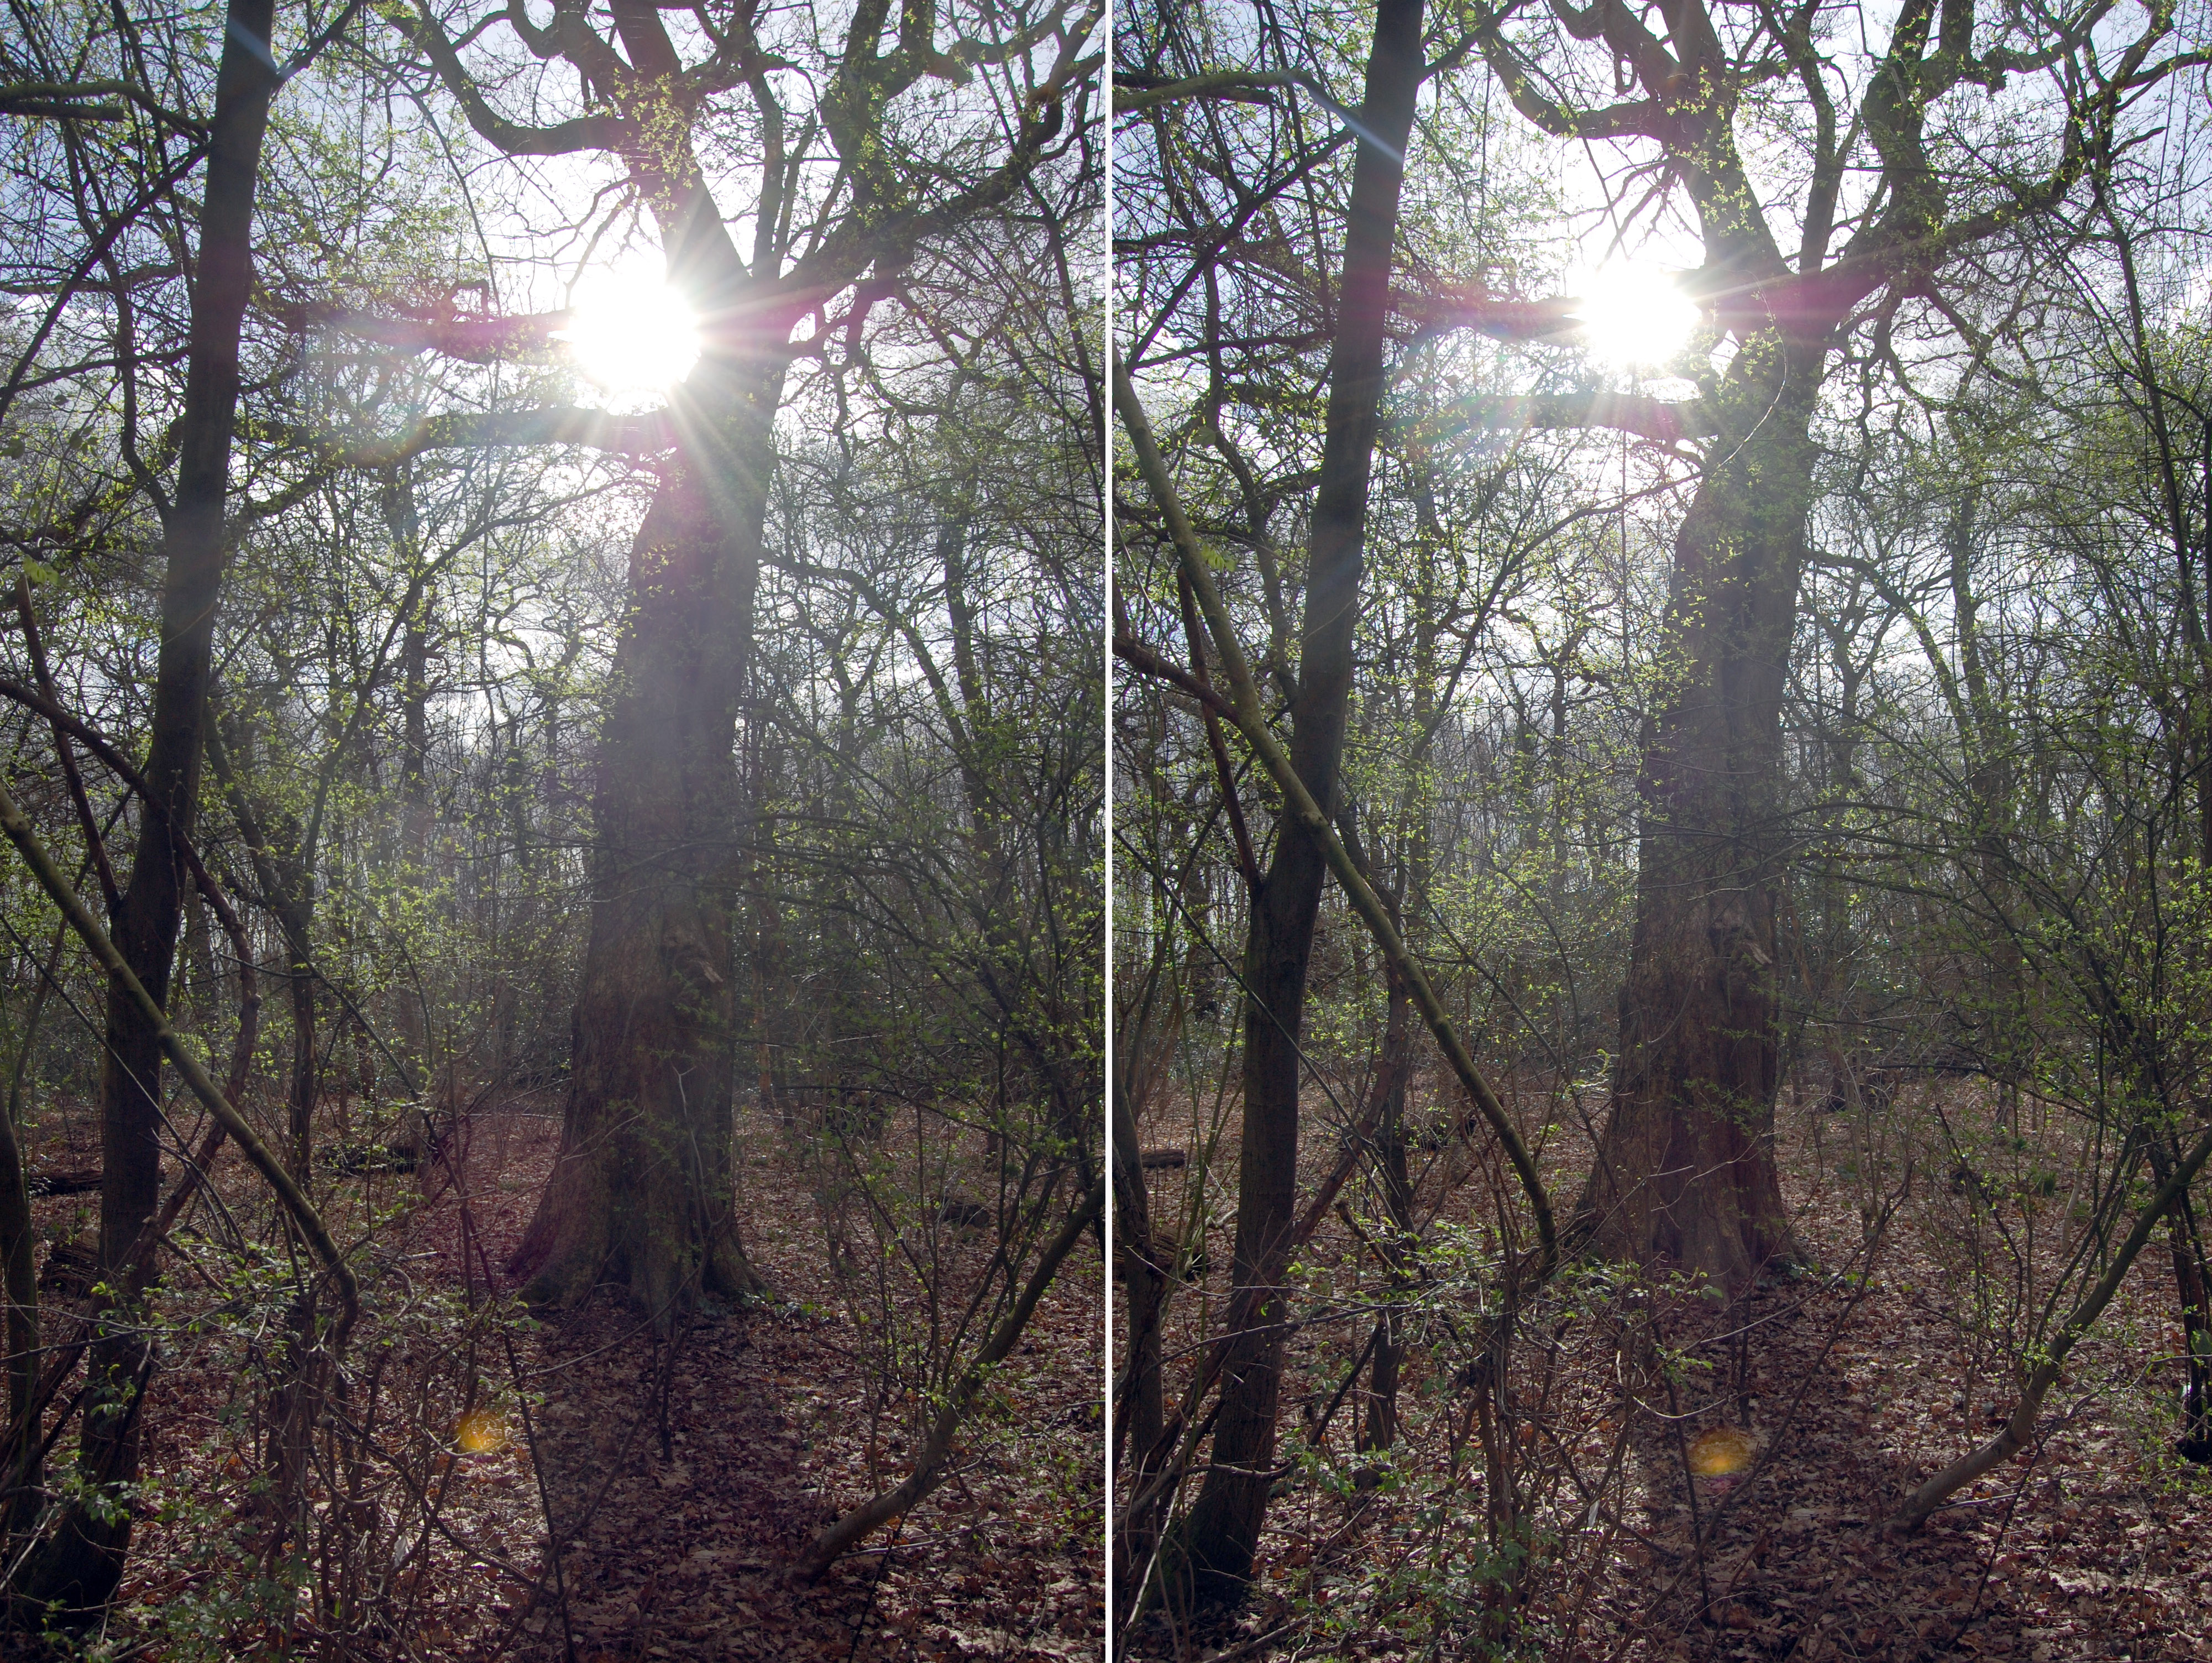
I like the flare on this one.
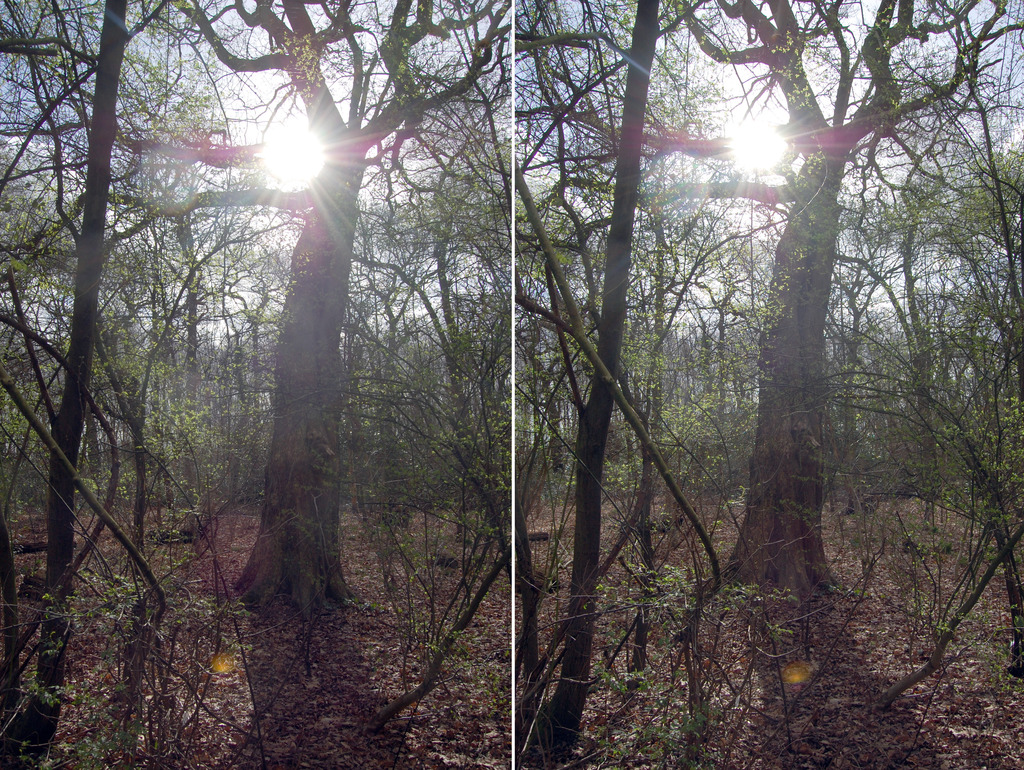


all for now folks
_________________
Hero in the 'messin-with-cameras-for-the-hell-of-it department'. Official. |
|
| Back to top |
|
|
philslizzy
Joined: 07 Aug 2012
Posts: 4748
Location: Cheshire, England
|
| Posted: Mon Sep 01, 2014 1:22 pm Post subject: |
|
|
philslizzy wrote:
How to make stereograms and the 'timewarp' technique explained
Stereoscopy isnt hard, the hardest part is viewing them. More later.
To achieve a 3D effect you need to take a photo and move the camera left or right a little then take a second photo. Your eyes are just few centimetres apart, enough to get a three dimensional view of the world. To replicate that photographically, Ideally the camera viewpoint should be the same. Sometimes it works, sometimes not. Sometimes the distance between the camera viewpoints can be varied - depending on the subject photographed and effect wanted. I often take 3 or 4 shots varying distances apart and select the best pairing.
You can buy all sorts of fancy equipment to move the camera left or right between shots but I prefer to use the 'Timewarp' technique:
Quote the song:
"It's just a jump to the left. And then a step to the right."
Lean your body to one side, take the first image then lean it to the opposite side then take the next image. Or take a step to the right.
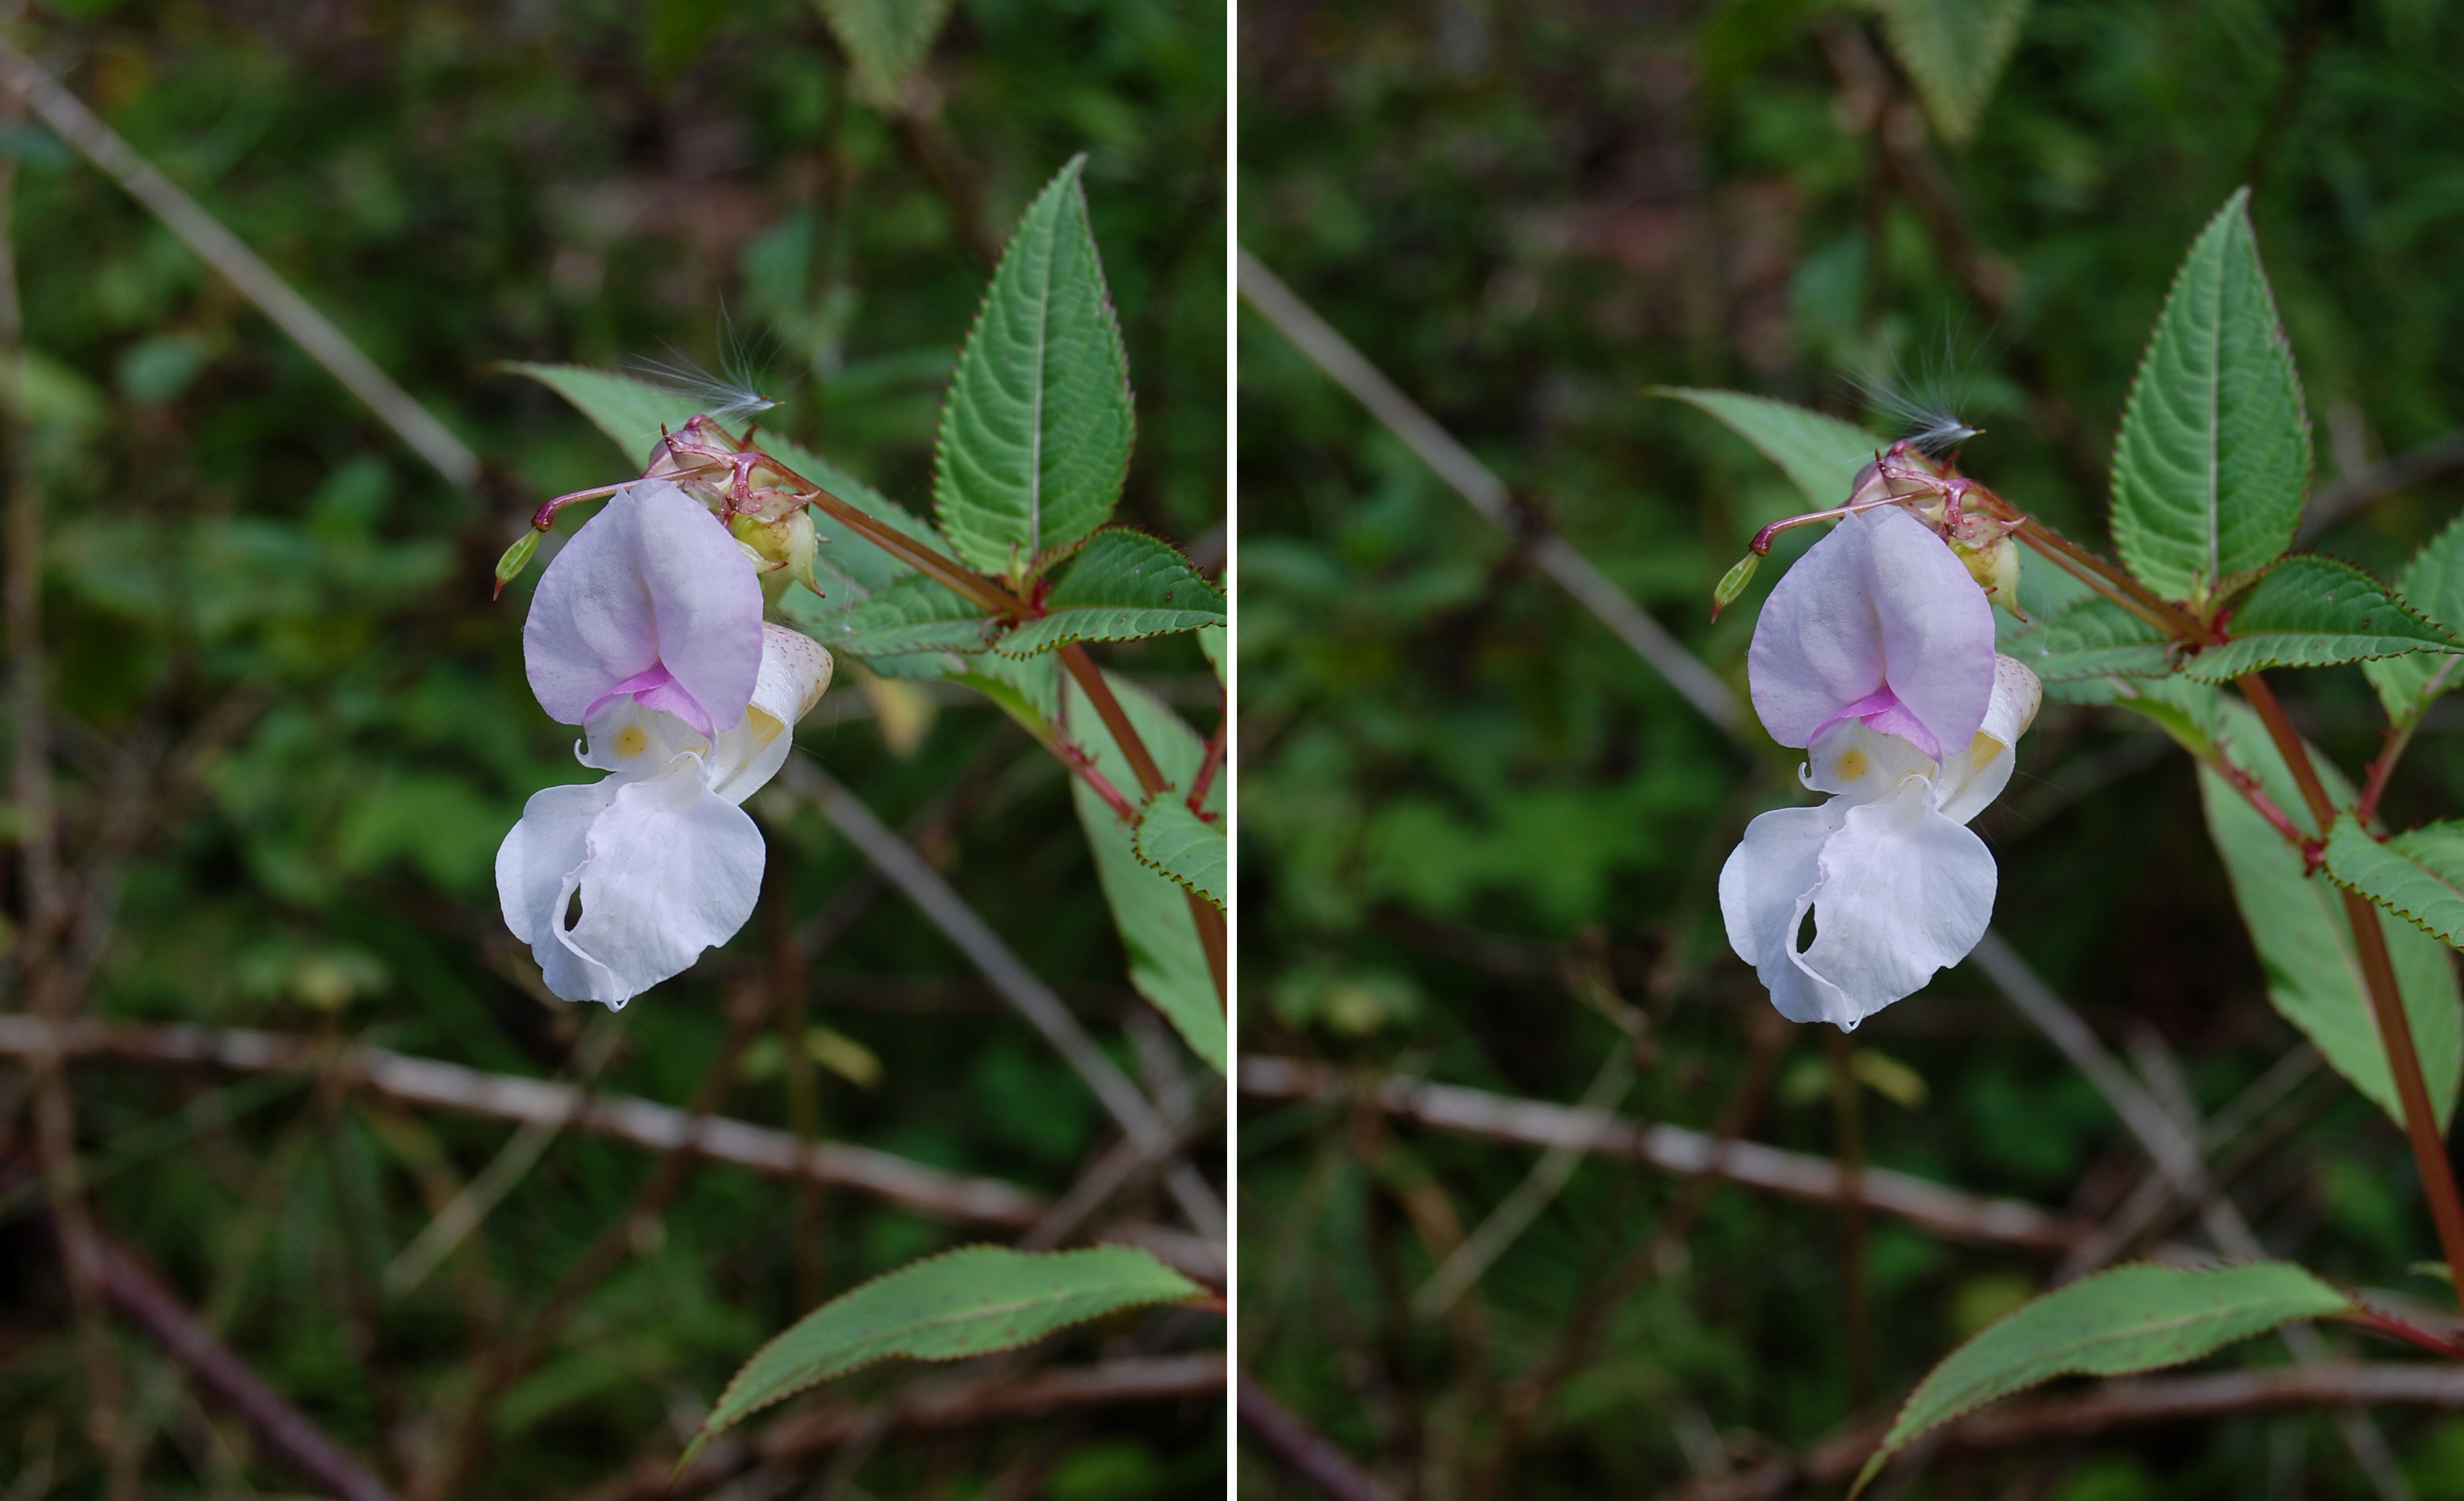
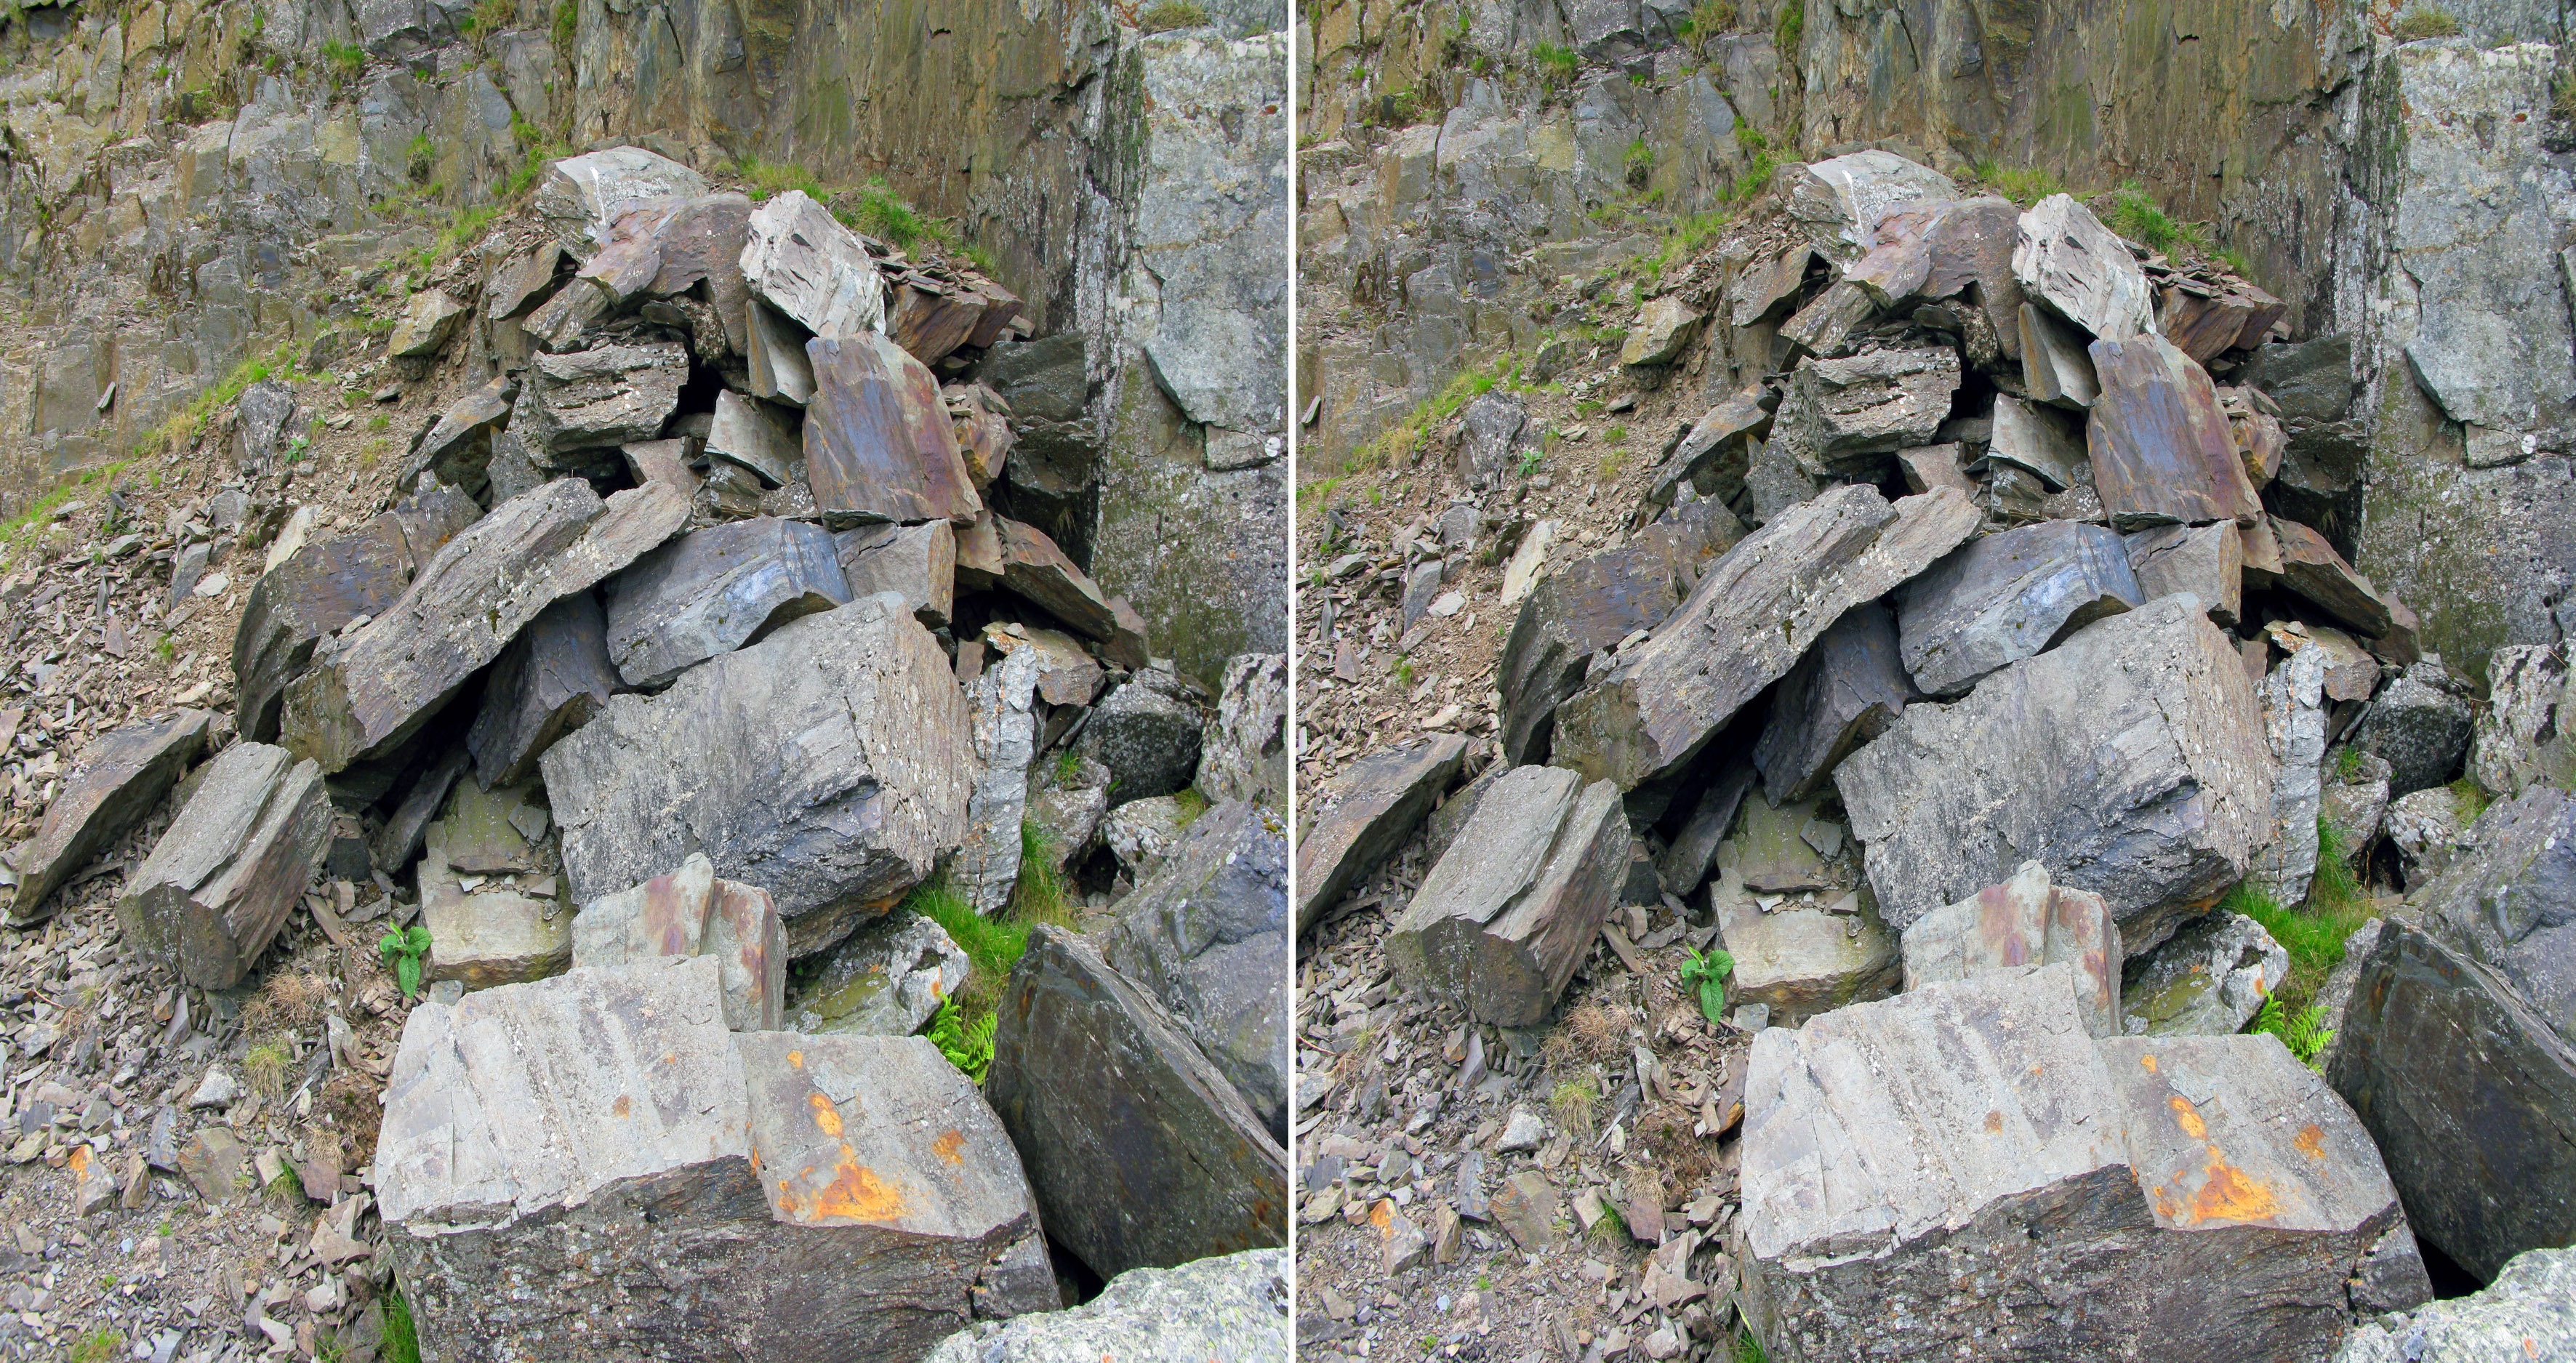
A 'point of interest' is important when making stereograms, as without one they can be difficult to see. Decide which is the point of interest, focus on it and keep it in exactly the same place in each photo.
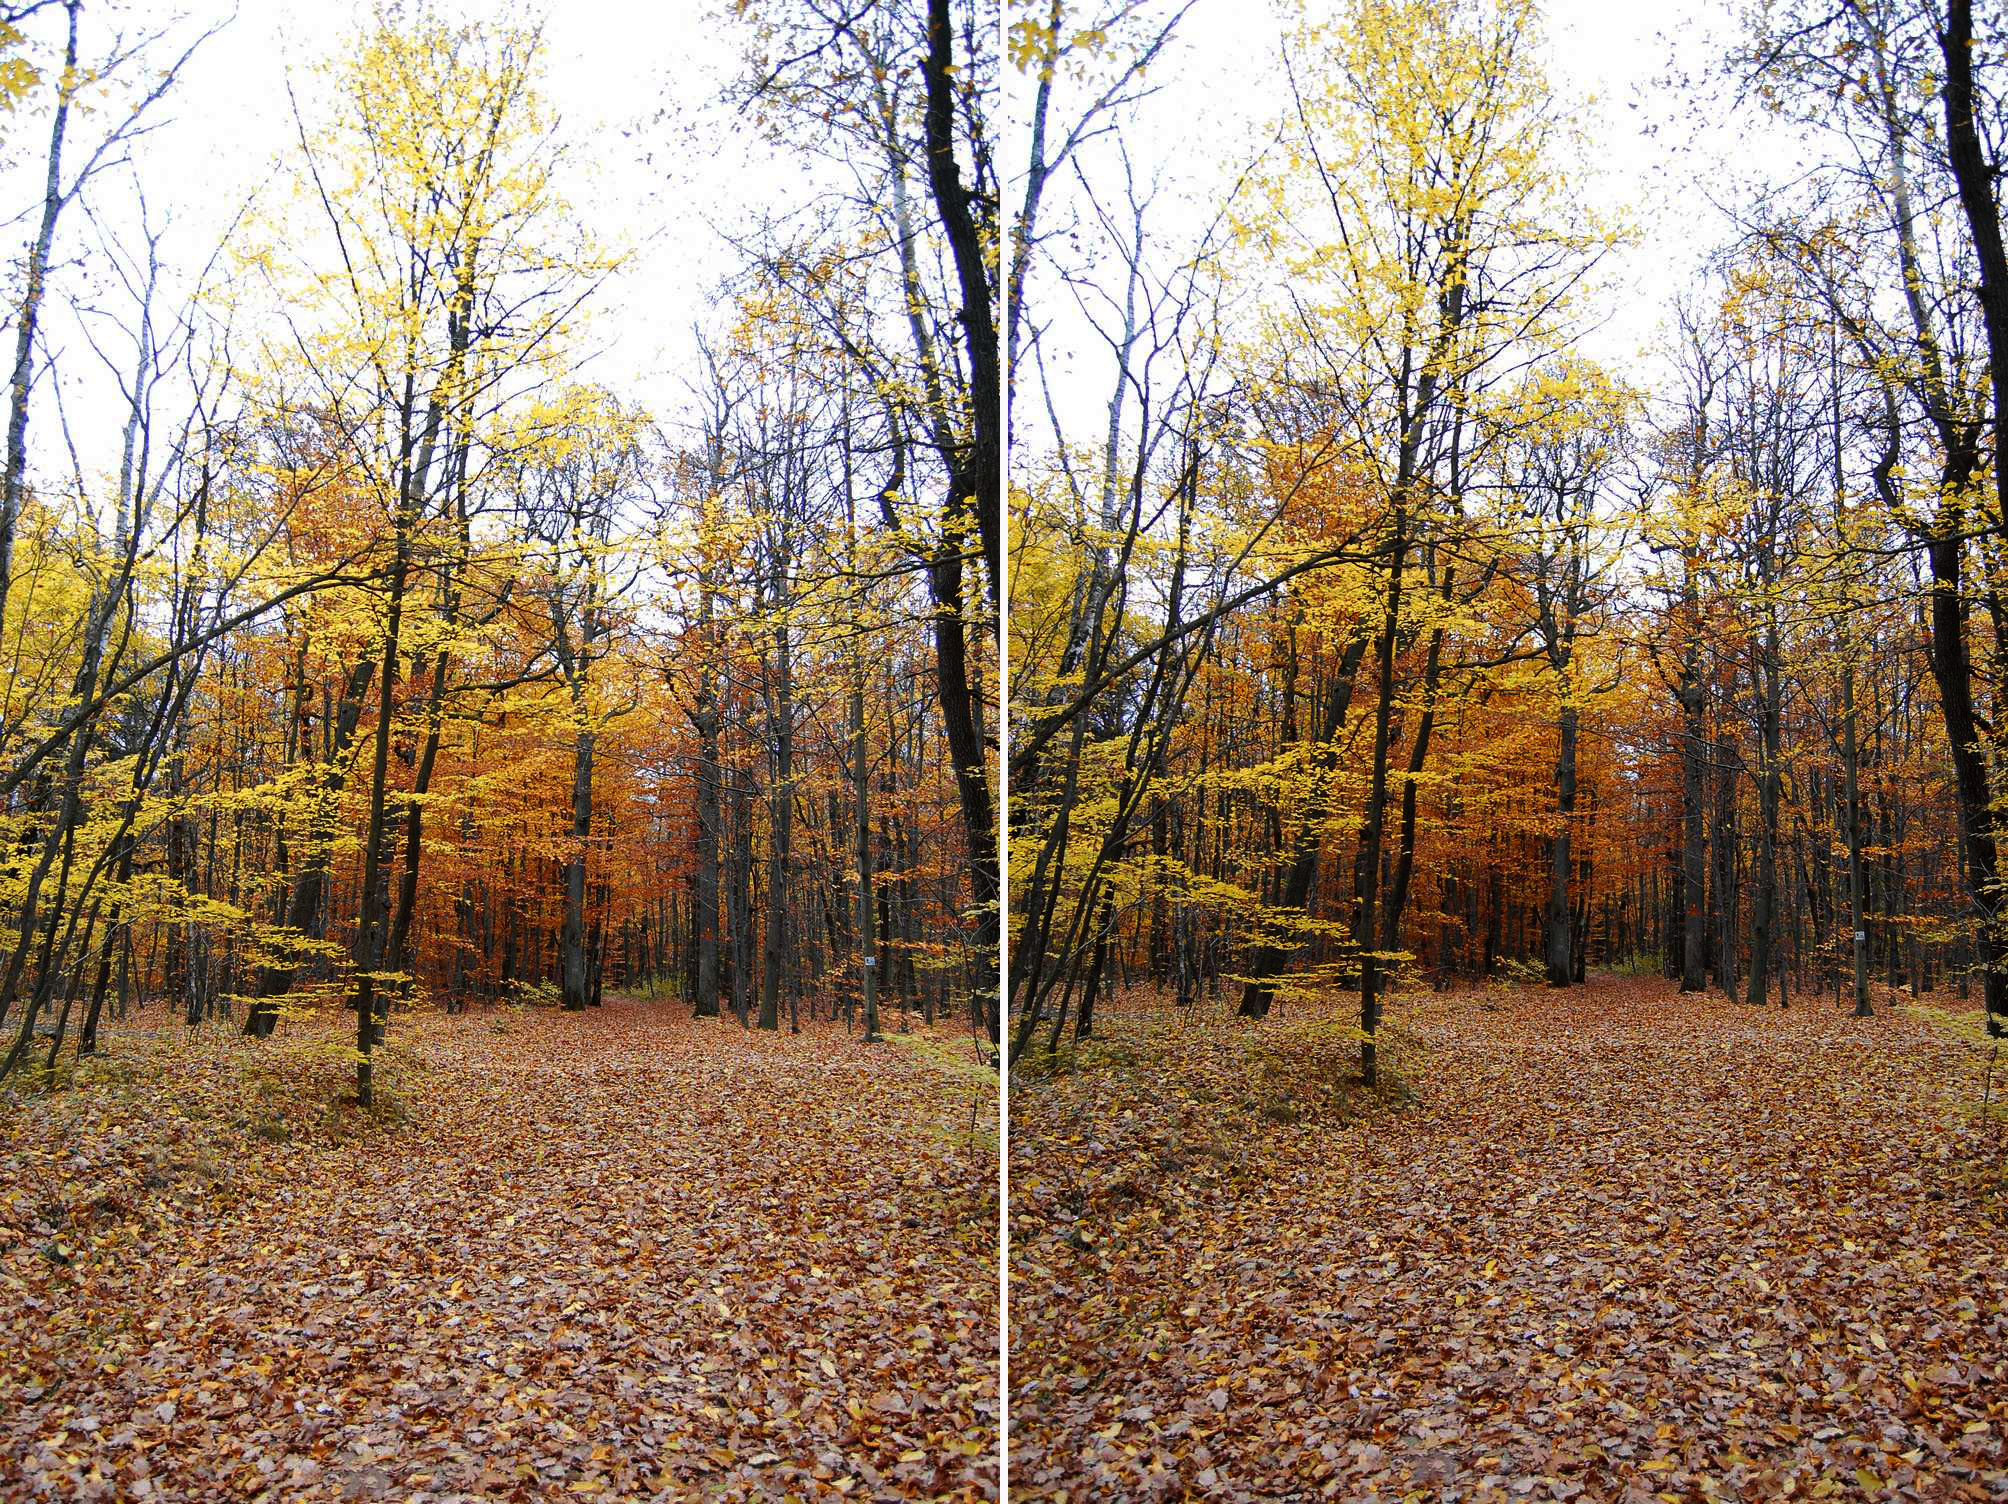
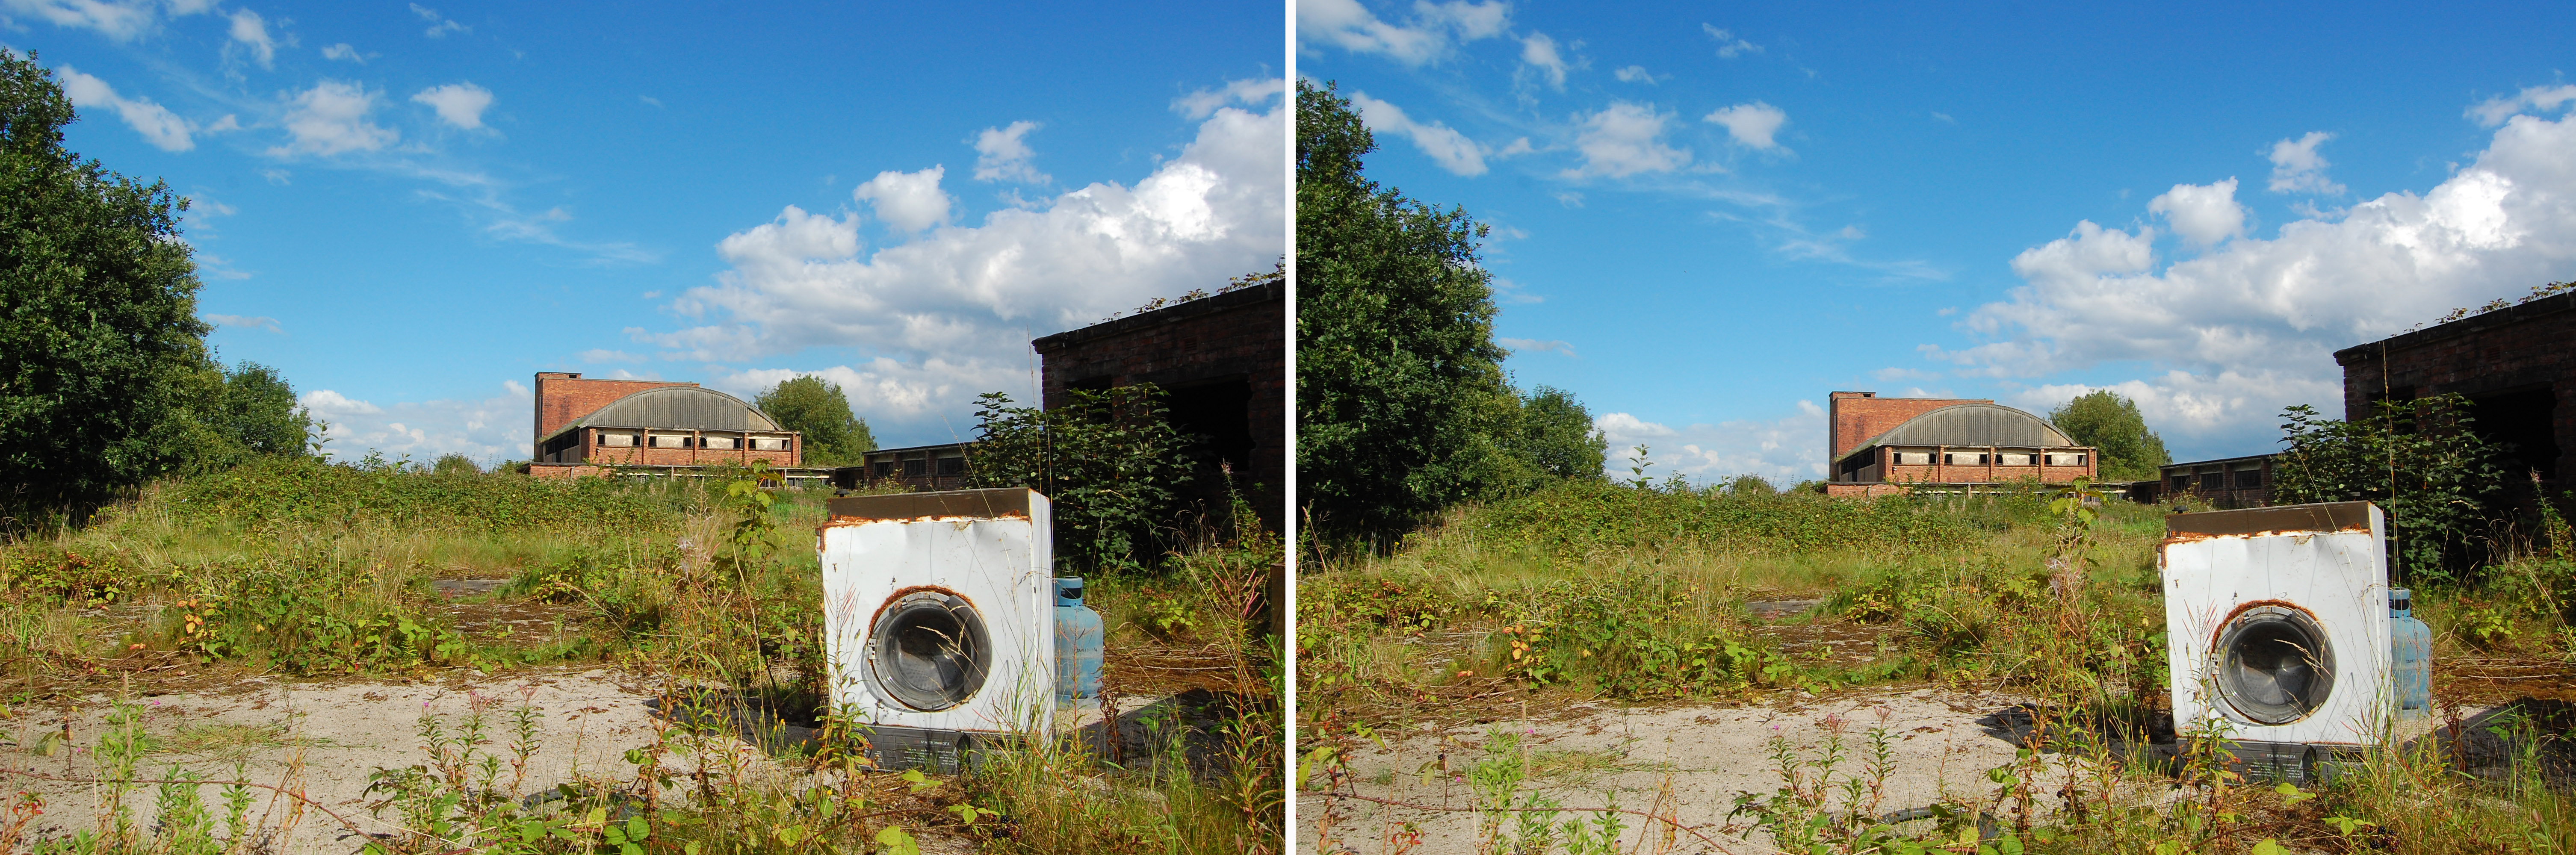
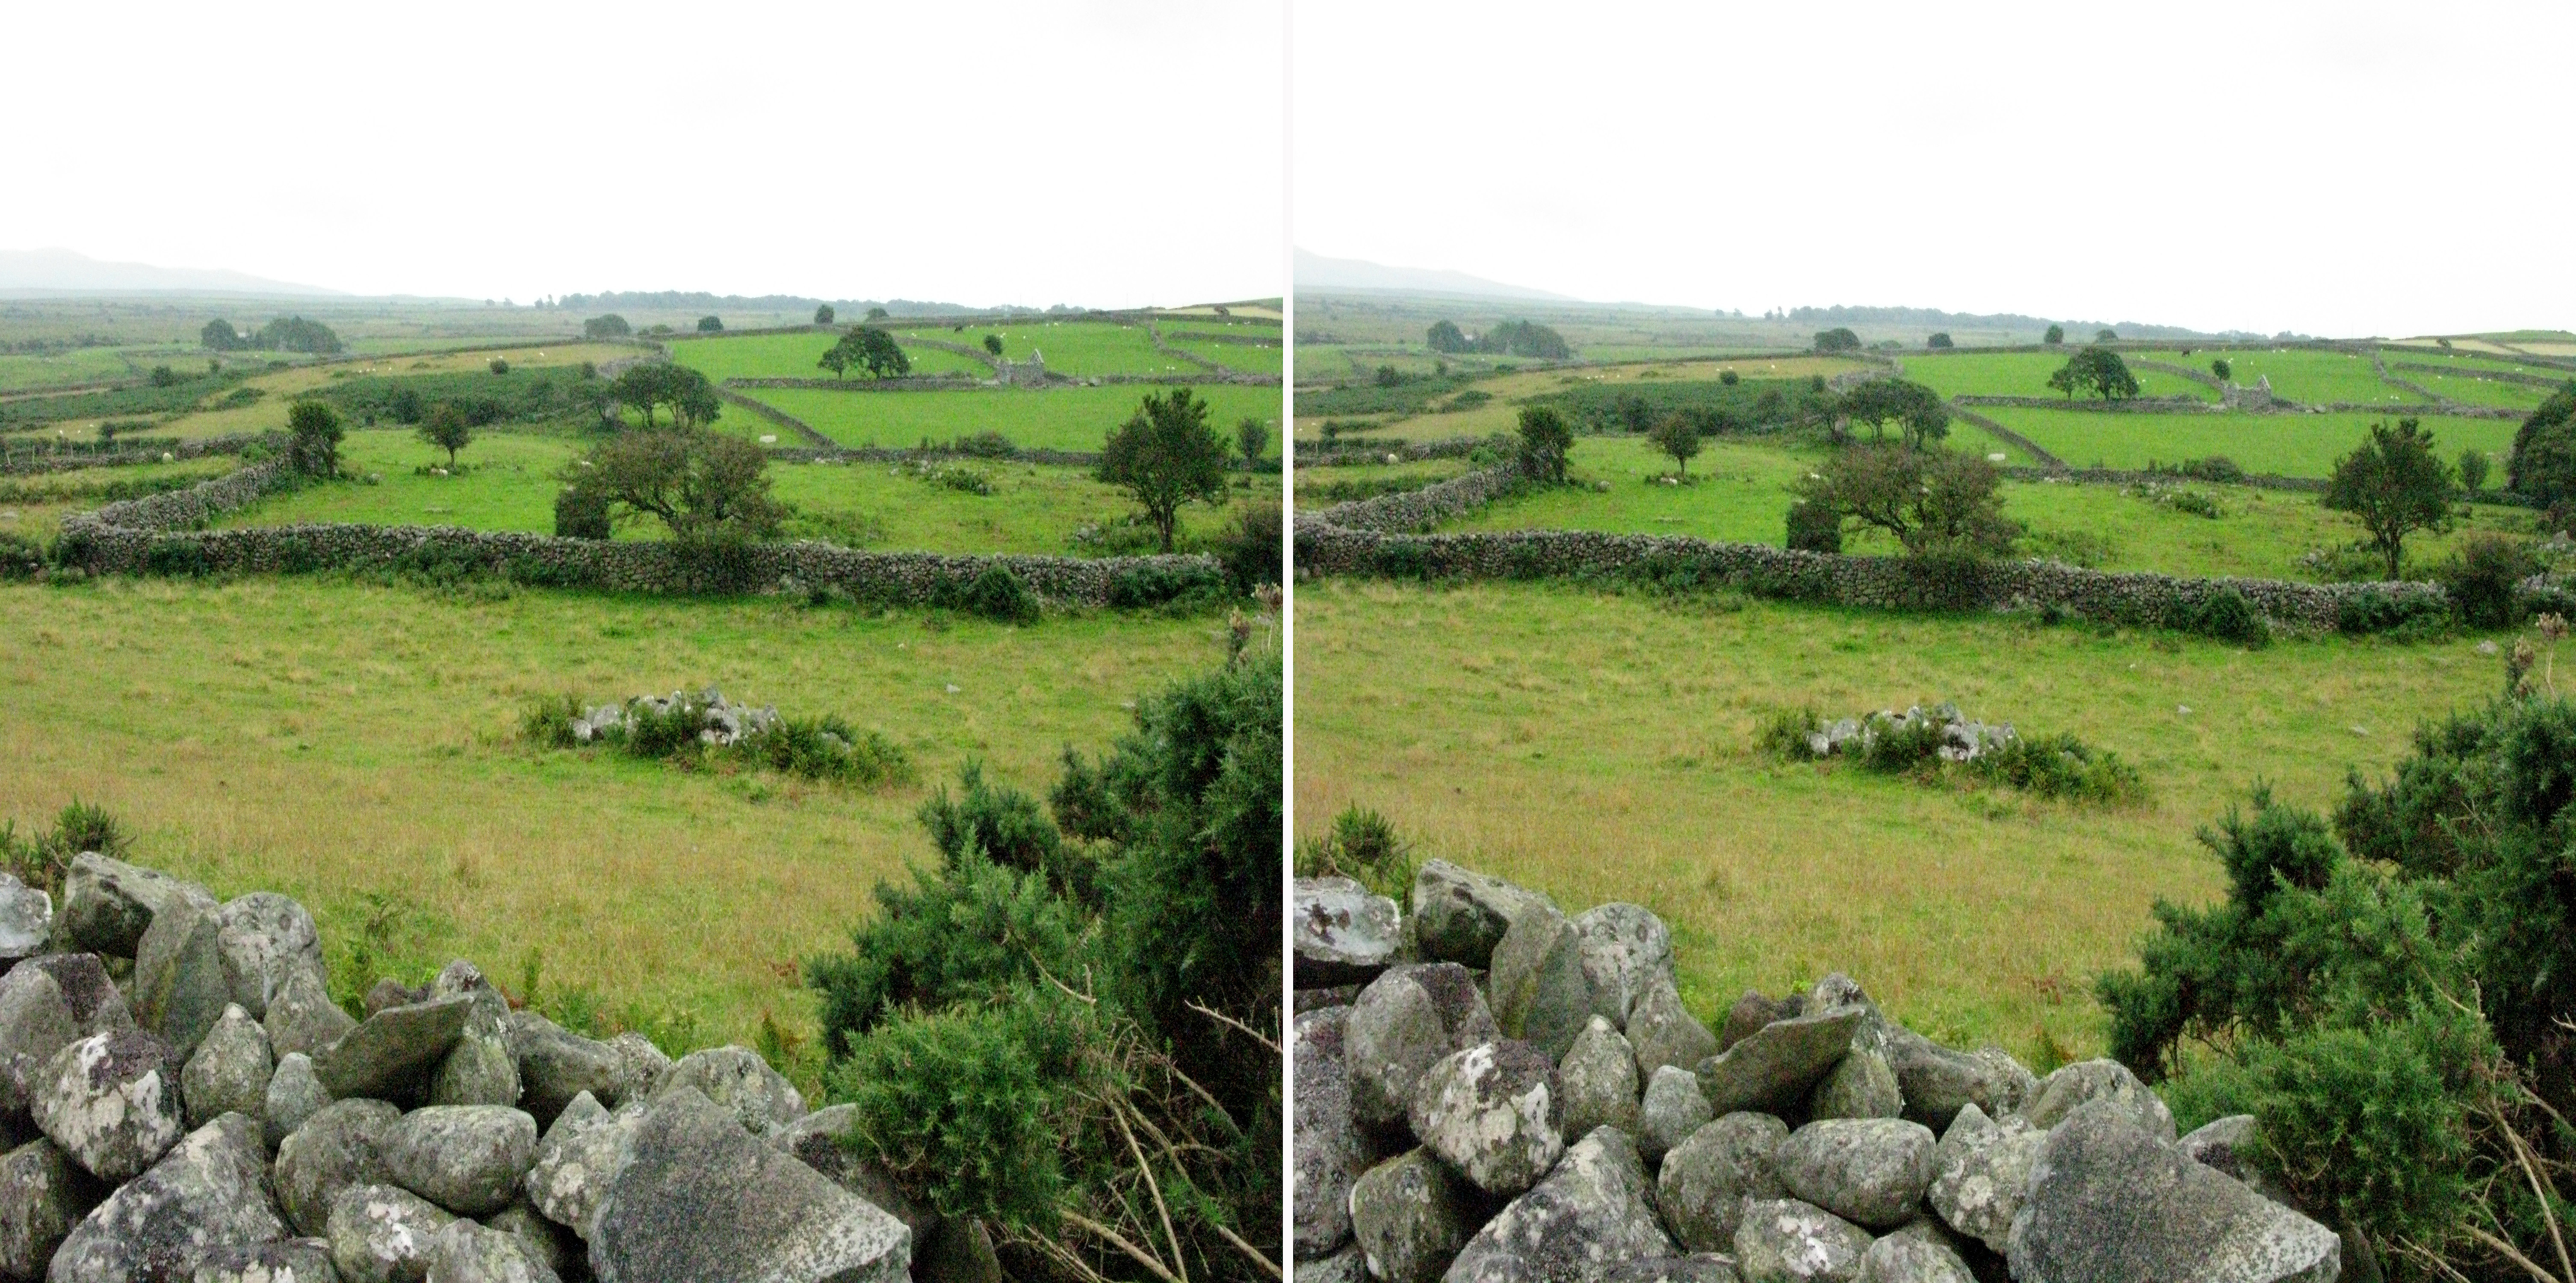
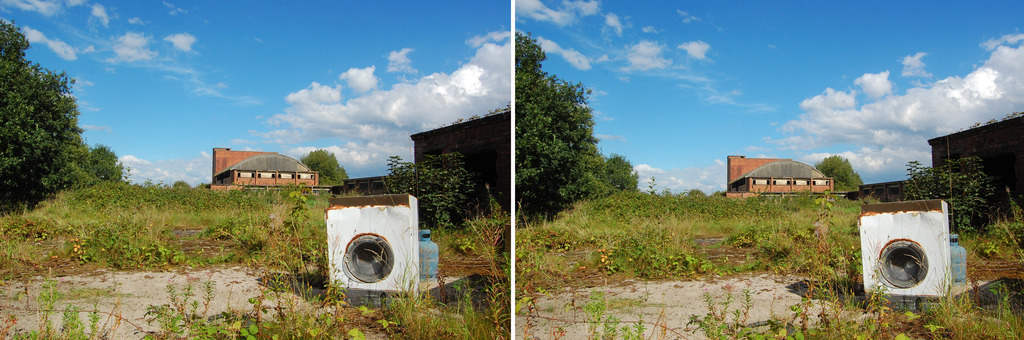
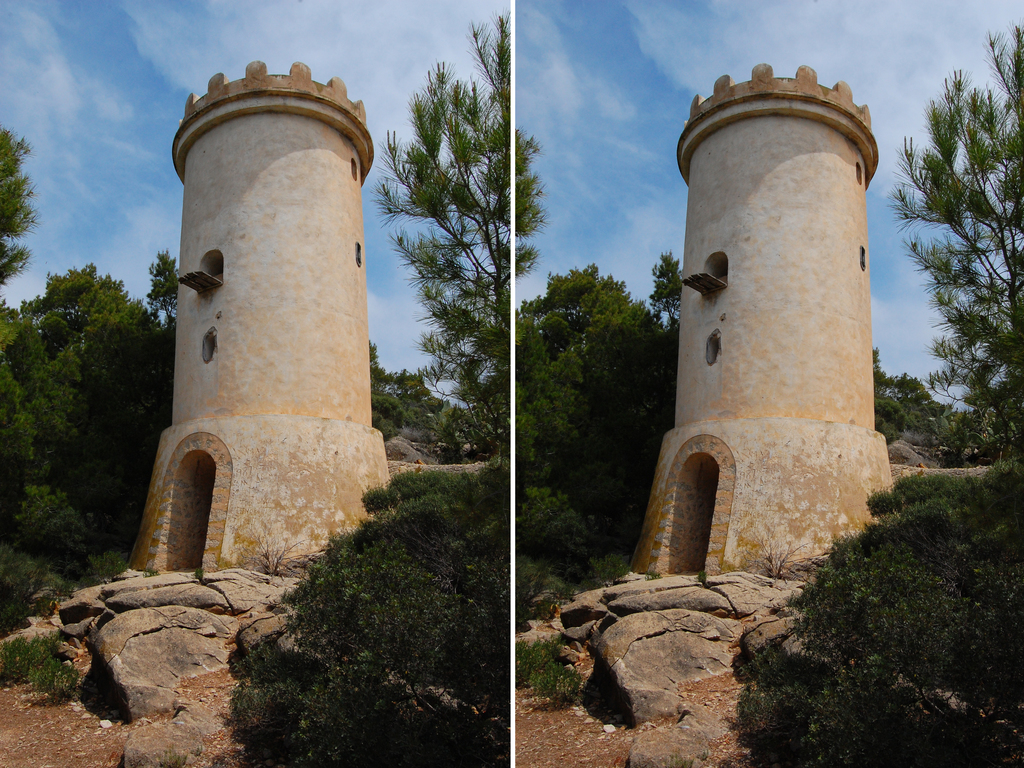
Make sure your photo has depth. Depth? yes, objects in front of and behind your subject are important, particularly scenery, the one of the boat and the farm both have a wall in front of them, keeping this in frame helps the 3d effect. Below is a nice photo of a ruined monastery, no foreground gives it a flat appearance.
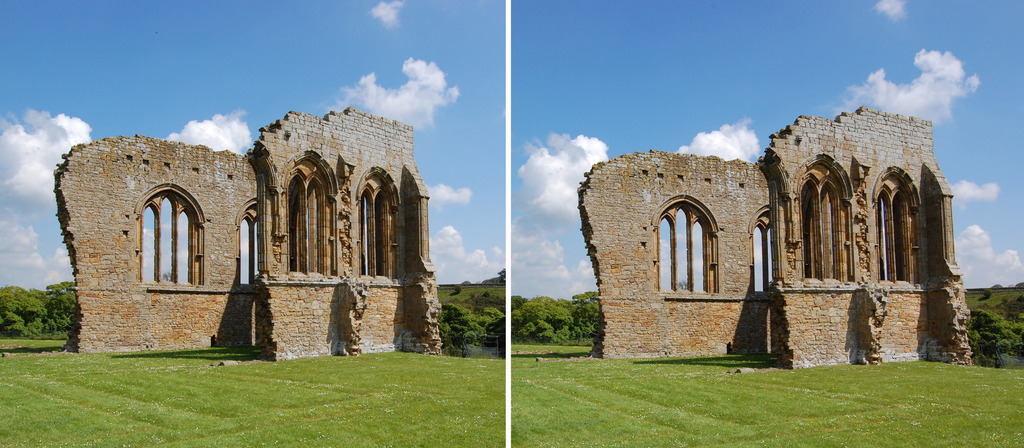
for a better 3D image of this I should have stepped 50cm or more rather than the normal 10 - 15cm
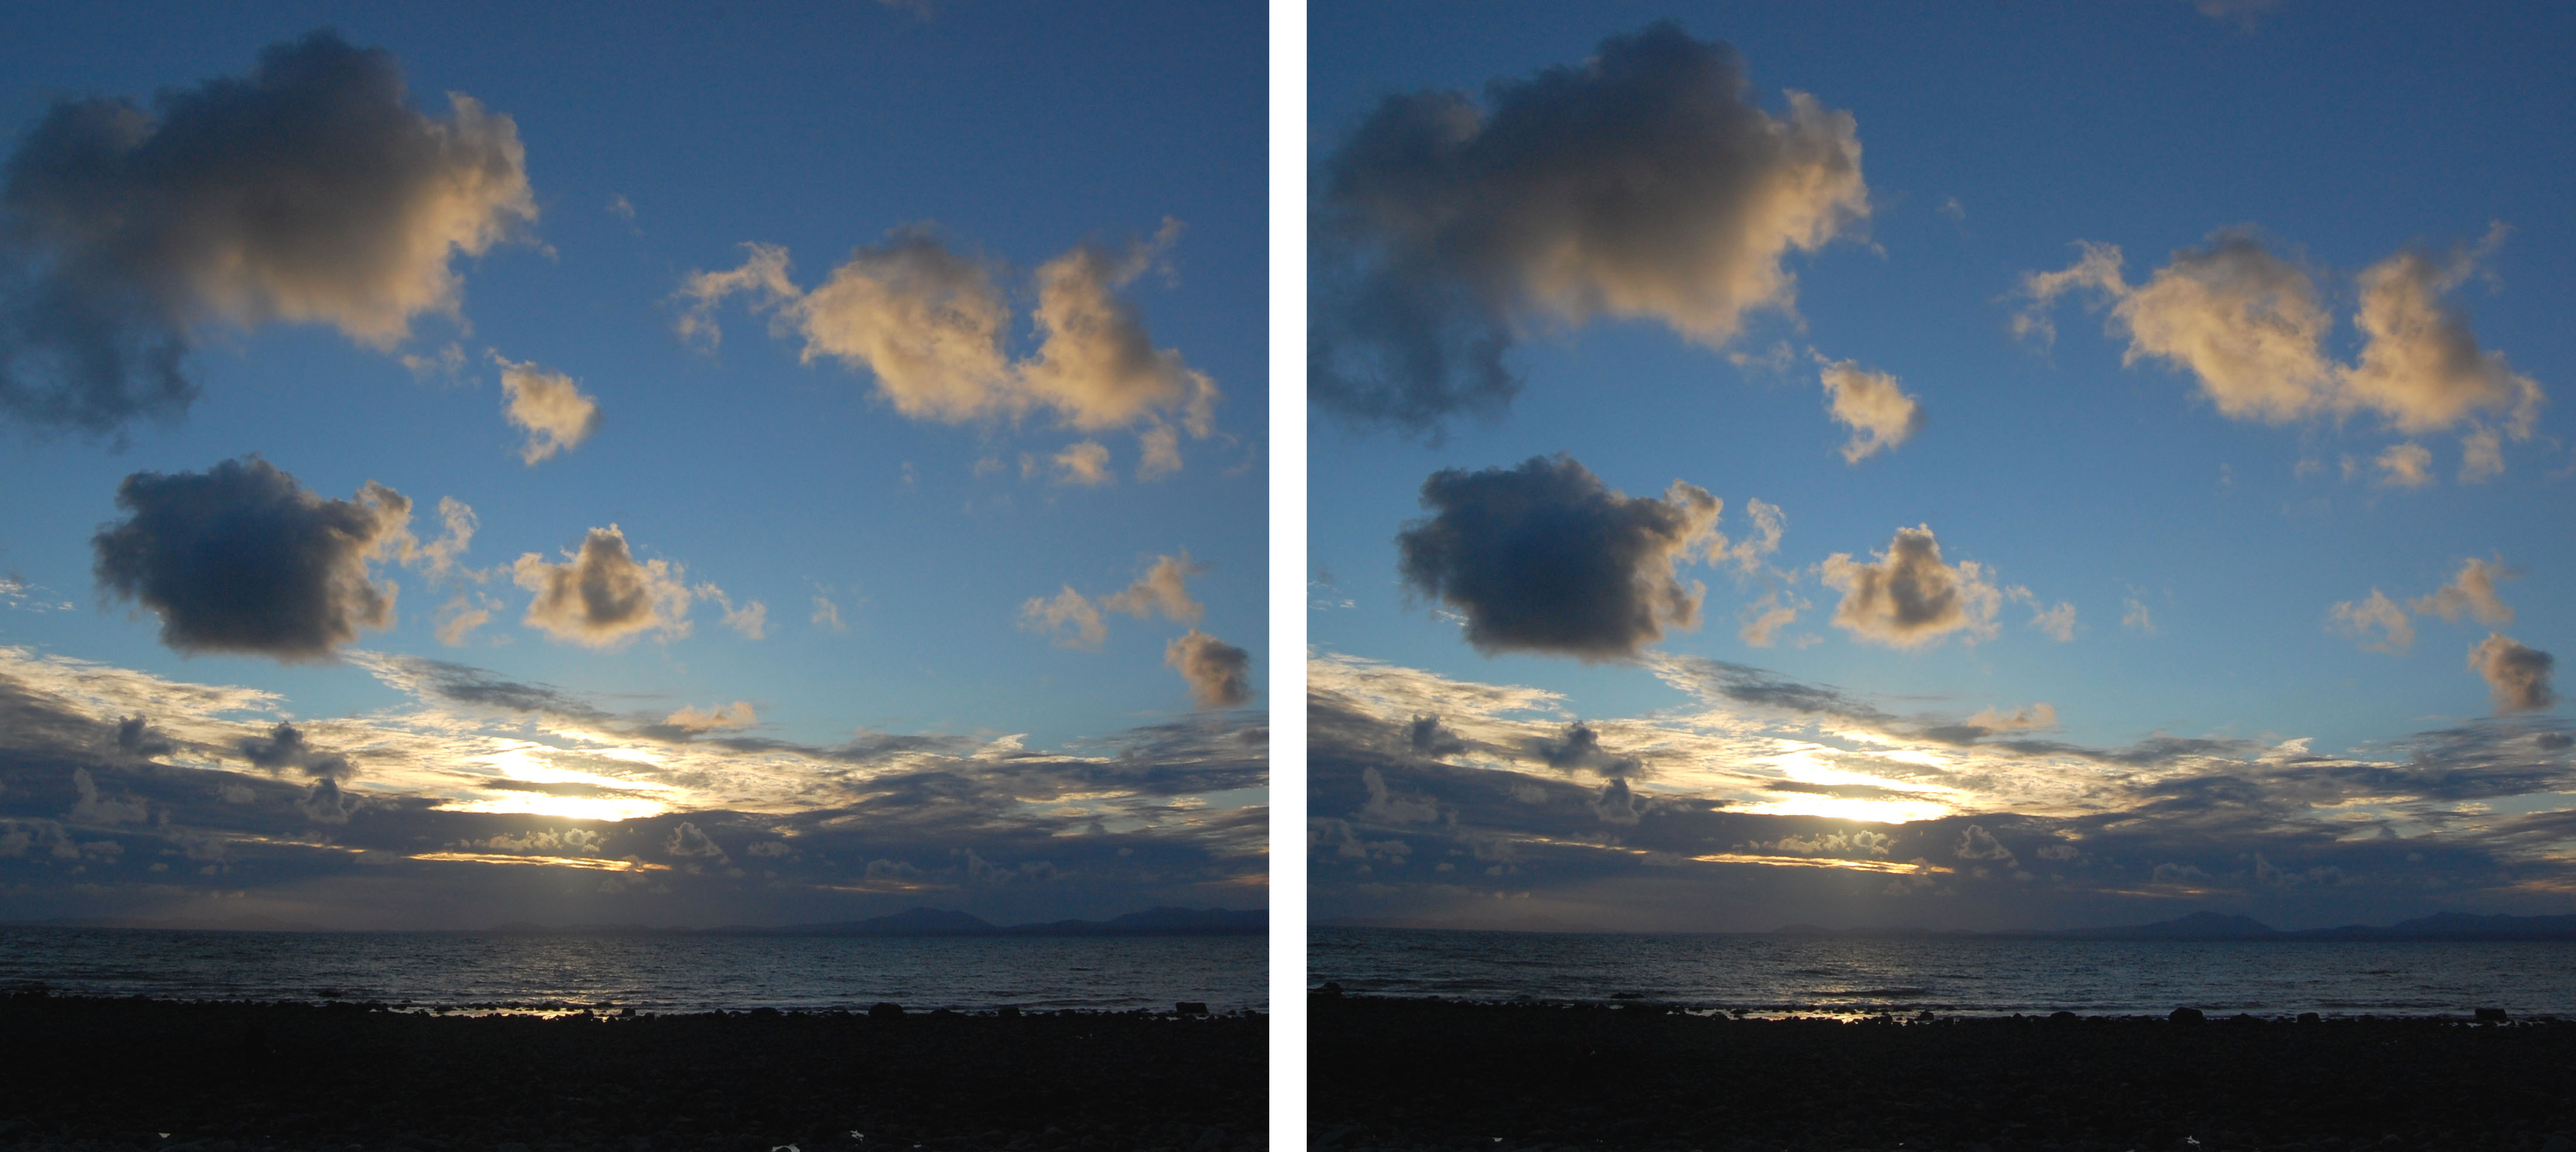
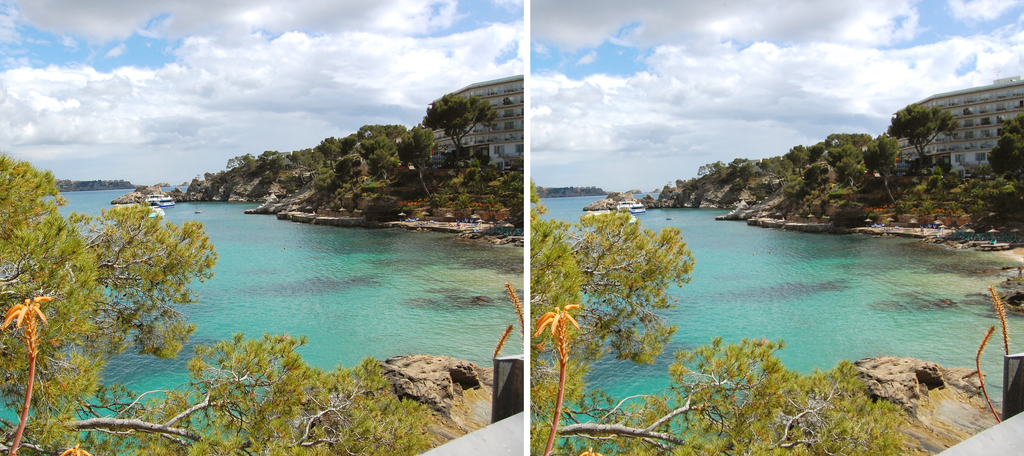
These next pictures were taken a good metre and a half apart and about 12 seconds between them (a proper timewarp!) this allowed the clouds to move enough to get the effect, the clouds were the point of interest:


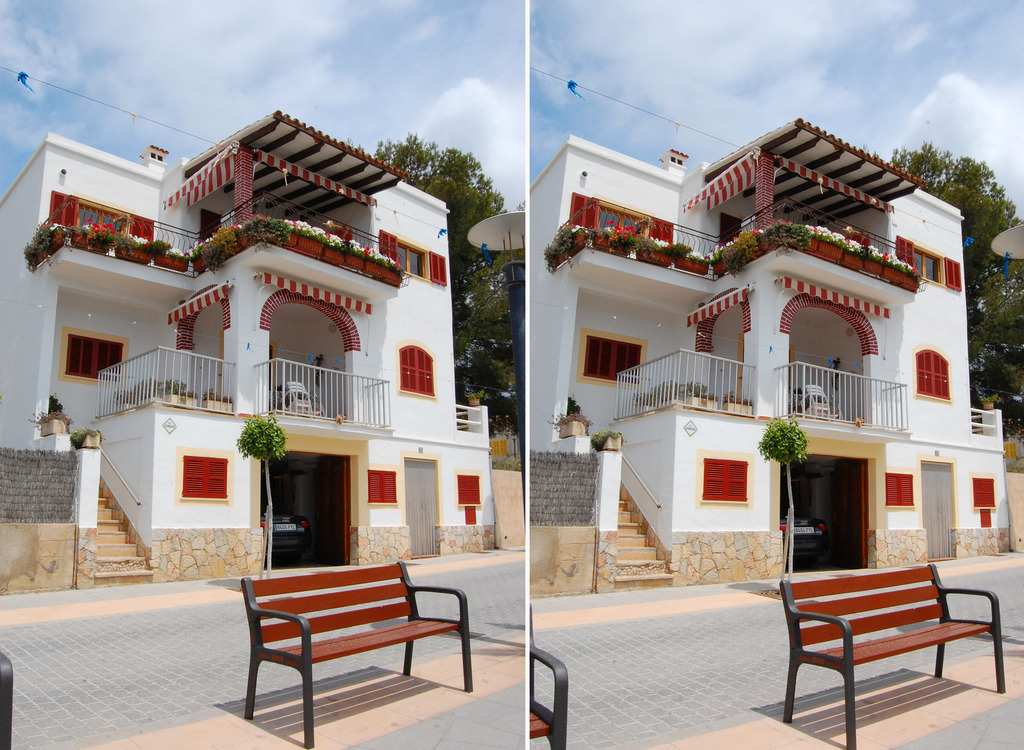
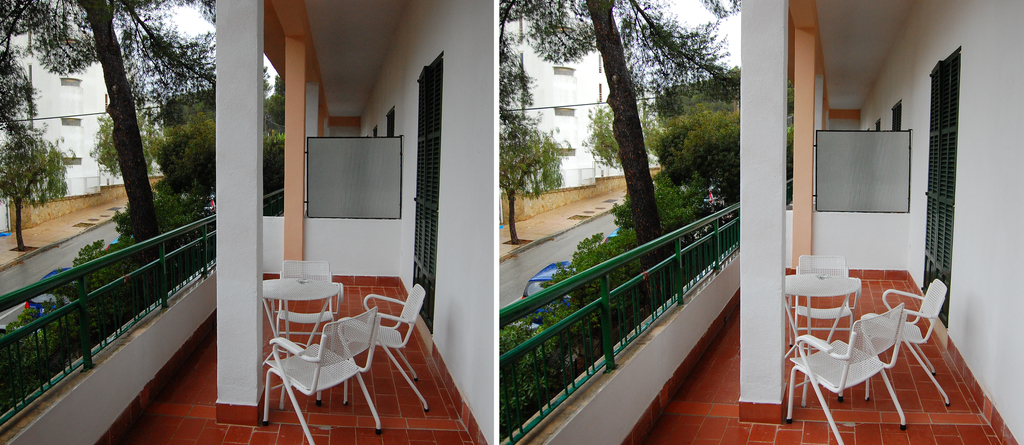
These images were taken with about 20 to 30 cm between the two images, enhancing the 3d effect

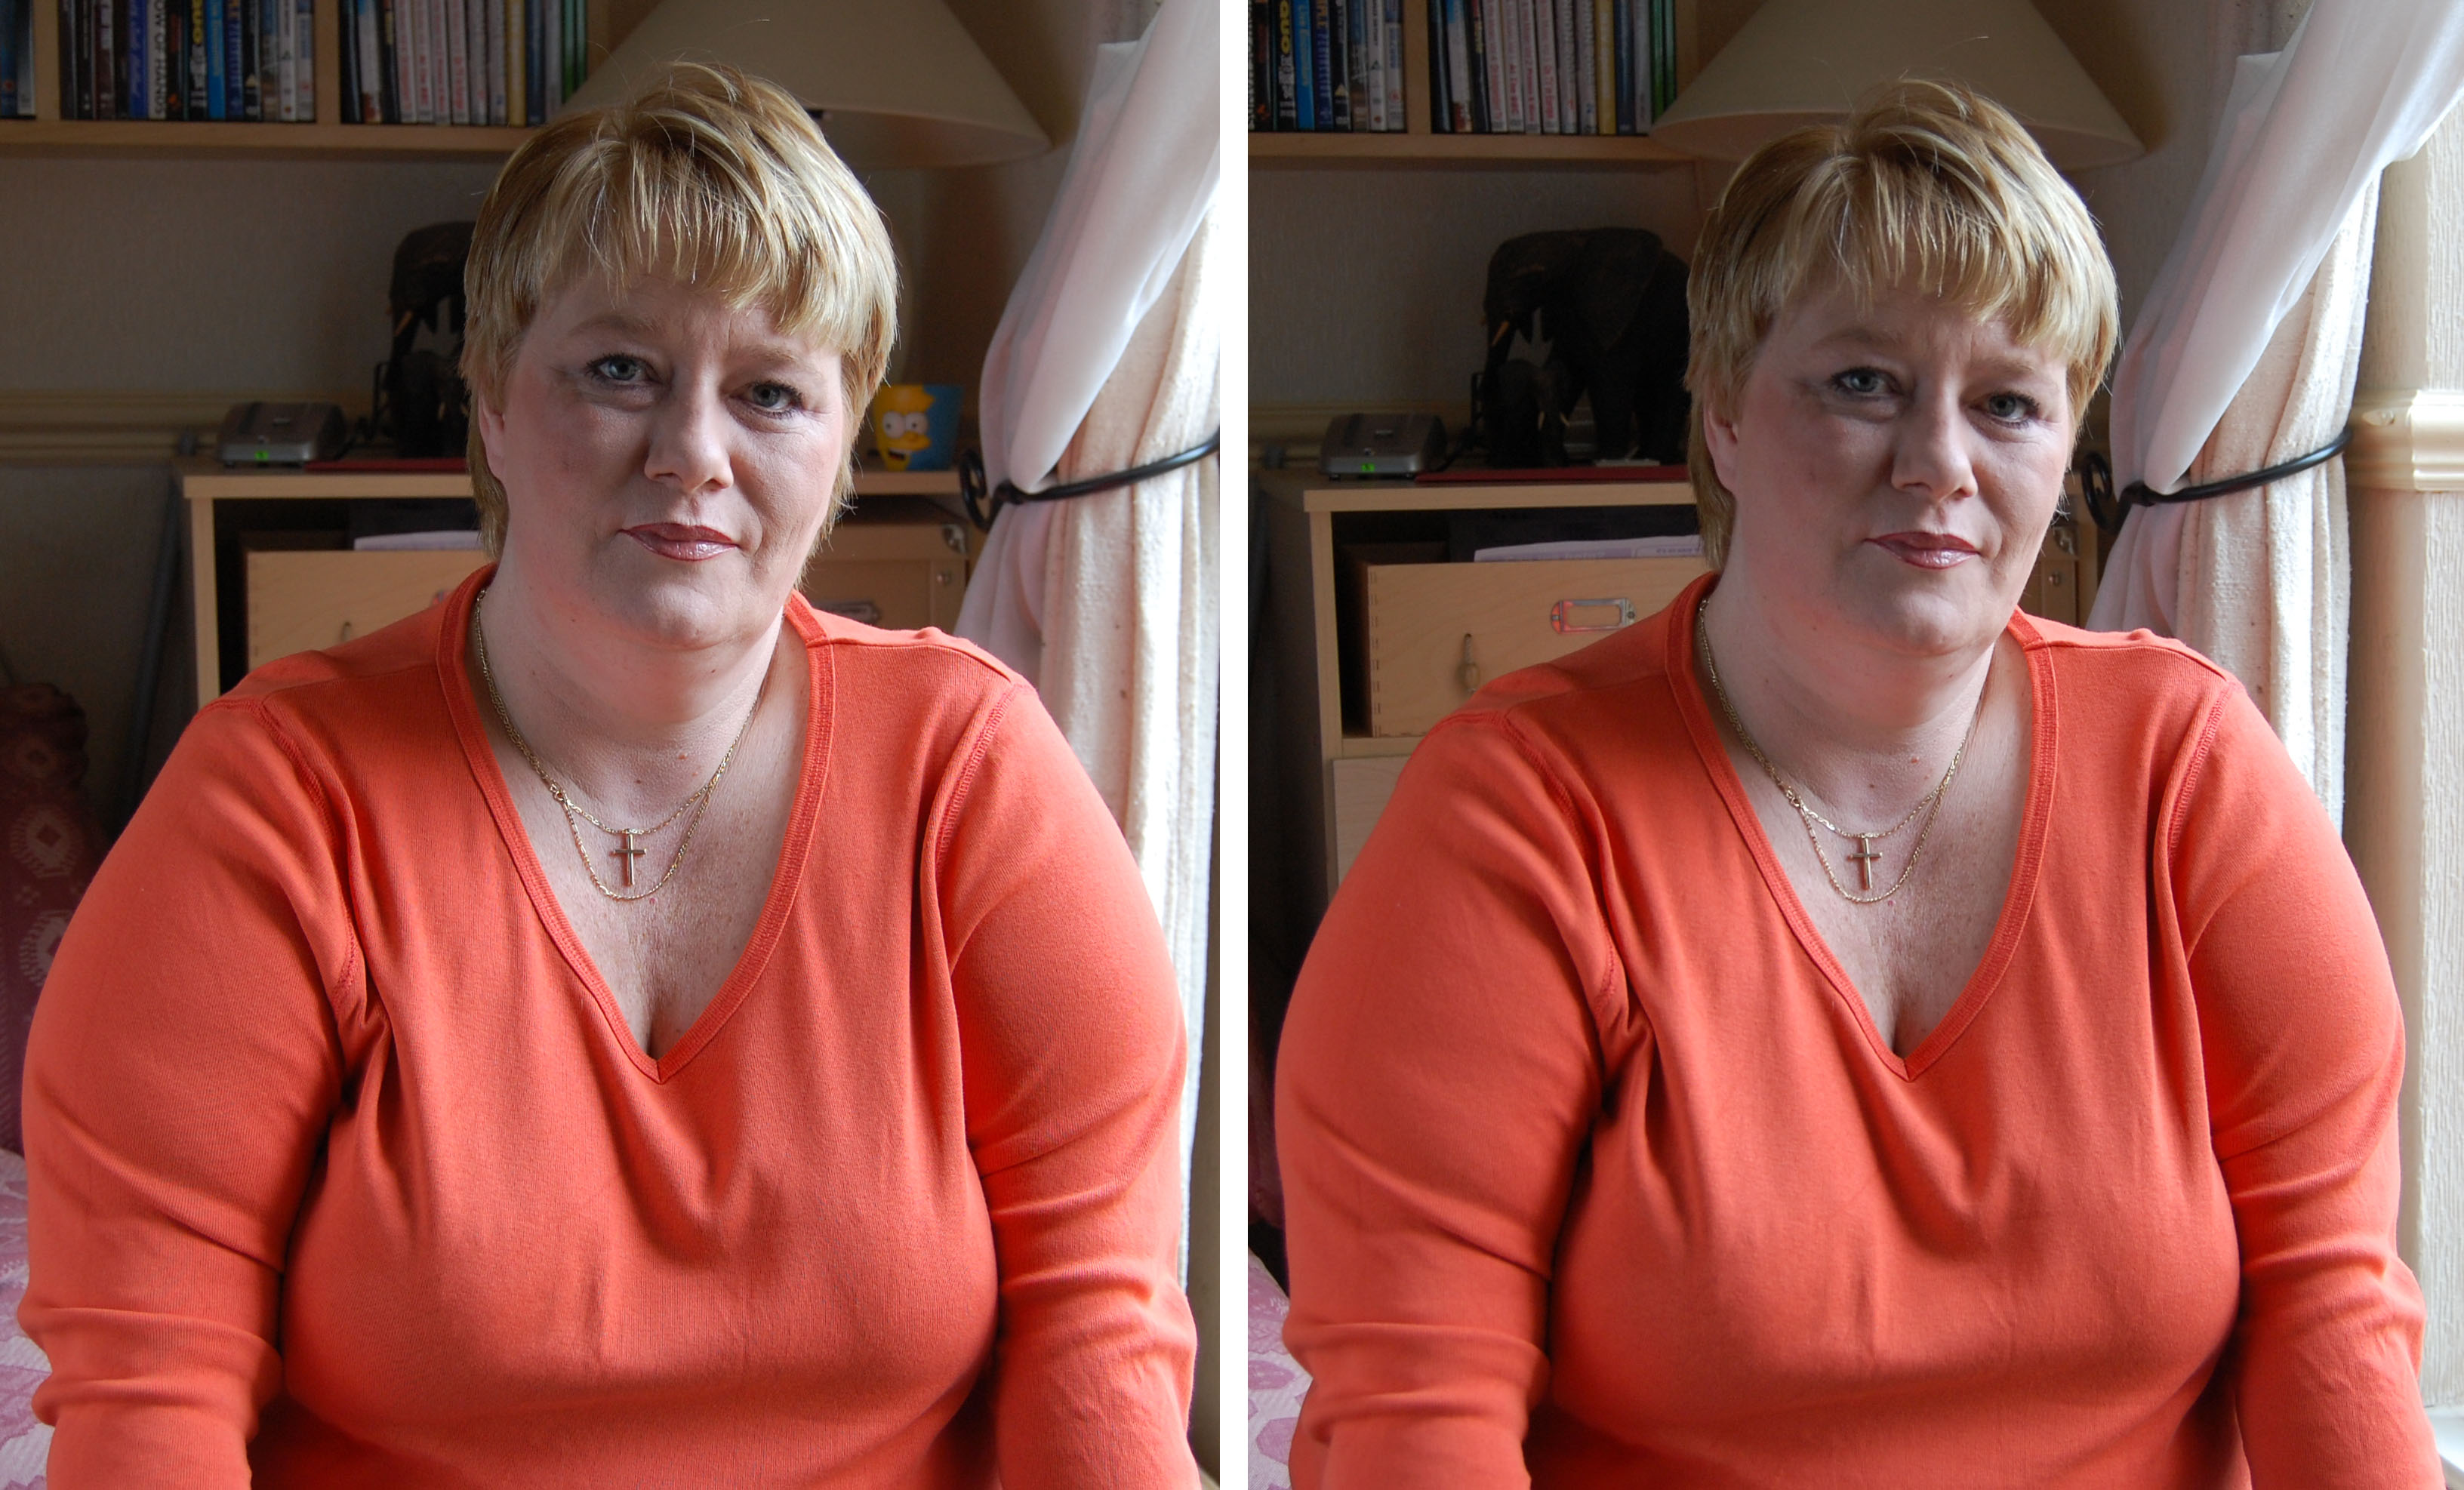
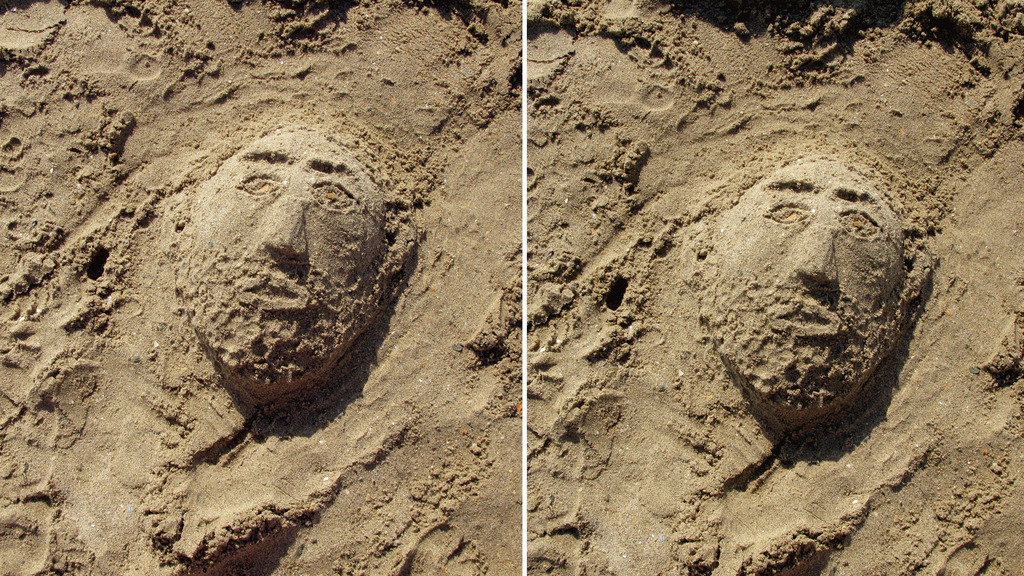
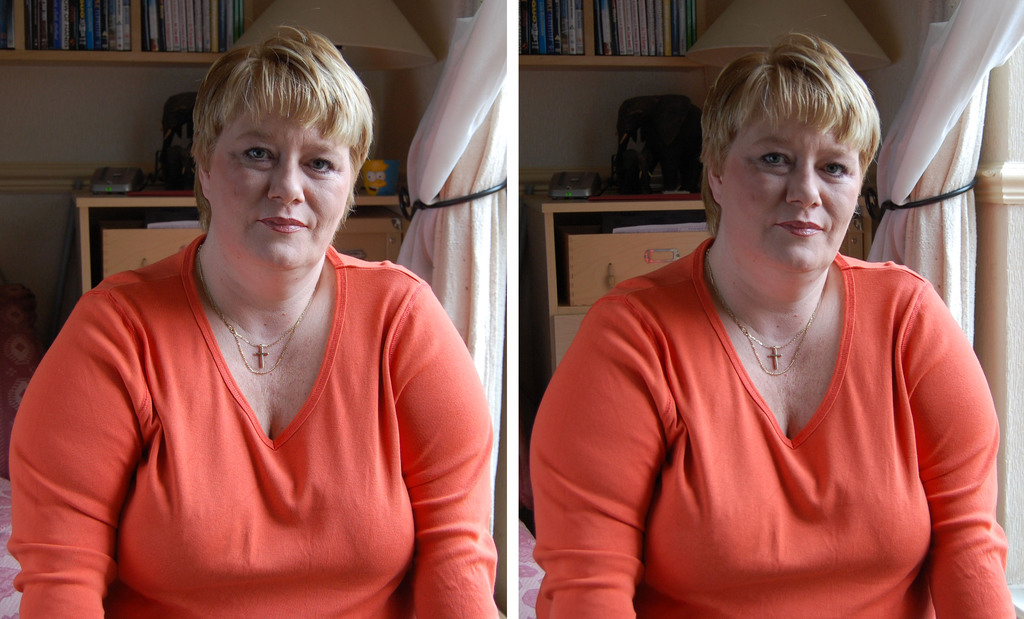
Lastly here is a portrait of a friend. She had to sit absolutely still, the pics were taken about 15 cms apart so the effect is grossly exaggerated. I took one pair with her eyes focused on my shoulder and the next pair with her eyes looking at the camera in both shots. This is by far the better, where she is looking at the camera. The point of interest (as always with portraits) was the eyes.
I'll get back with more of my technique later and look at the different viewing techniques and software that you can use.
Thanks for looking
_________________
Hero in the 'messin-with-cameras-for-the-hell-of-it department'. Official. |
|
| Back to top |
|
|
kds315*

Joined: 12 Mar 2008
Posts: 16544
Location: Weinheim, Germany
Expire: 2021-03-09
|
| Posted: Mon Sep 01, 2014 1:23 pm Post subject: |
|
|
kds315* wrote:
Very nice, great depth and sharpness! So you do the cha-cha method?
I use the free stereo-photo-maker, quite happy with it. And you?
(of course this method has issues. a beamsplitter is of course much better, but clumsy to use and halfs the resolution...)
_________________
Klaus - Admin
"S'il vient a point, me souviendra" [Thomas Bohier (1460-1523)]
http://www.macrolenses.de for macro and special lens info
http://www.pbase.com/kds315/uv_photos for UV Images and lens/filter info
https://www.flickr.com/photos/kds315/albums my albums using various lenses
http://photographyoftheinvisibleworld.blogspot.com/ my UV BLOG
http://www.travelmeetsfood.com/blog Food + Travel BLOG
https://galeriafotografia.com Architecture + Drone photography
Currently most FAV lens(es):
X80QF f3.2/80mm
Hypergon f11/26mm
ELCAN UV f5.6/52mm
Zeiss UV-Planar f4/60mm
Zeiss UV-Planar f2/62mm
Lomo Уфар-12 f2.5/41mm
Lomo Зуфар-2 f4.0/350mm
Lomo ZIKAR-1A f1.2/100mm
Nikon UV Nikkor f4.5/105mm
Zeiss UV-Sonnar f4.3/105mm
CERCO UV-VIS-NIR f1.8/45mm
CERCO UV-VIS-NIR f4.1/94mm
CERCO UV-VIS-NIR f2.8/100mm
Steinheil Quarzobjektiv f1.8/50mm
Pentax Quartz Takumar f3.5/85mm
Carl Zeiss Jena UV-Objektiv f4/60mm
NYE OPTICAL Lyman-Alpha II f1.1/90mm
NYE OPTICAL Lyman-Alpha I f2.8/200mm
COASTAL OPTICS f4/60mm UV-VIS-IR Apo
COASTAL OPTICS f4.5/105mm UV-Micro-Apo
Pentax Ultra-Achromatic Takumar f4.5/85mm
Pentax Ultra-Achromatic Takumar f5.6/300mm
Rodenstock UV-Rodagon f5.6/60mm + 105mm + 150mm
Last edited by kds315* on Mon Sep 01, 2014 1:26 pm; edited 1 time in total |
|
| Back to top |
|
|
philslizzy
Joined: 07 Aug 2012
Posts: 4748
Location: Cheshire, England
|
| Posted: Mon Sep 01, 2014 1:24 pm Post subject: |
|
|
philslizzy wrote:
Cha cha I like it. Look again, while you were writing this reply I added a few more images
_________________
Hero in the 'messin-with-cameras-for-the-hell-of-it department'. Official. |
|
| Back to top |
|
|
kds315*
Joined: 12 Mar 2008
Posts: 16544
Location: Weinheim, Germany
Expire: 2021-03-09
|
| Posted: Mon Sep 01, 2014 1:31 pm Post subject: |
|
|
kds315* wrote:
Also quite nice, I like the ones shot in the south, very 3D!
_________________
Klaus - Admin
"S'il vient a point, me souviendra" [Thomas Bohier (1460-1523)]
http://www.macrolenses.de for macro and special lens info
http://www.pbase.com/kds315/uv_photos for UV Images and lens/filter info
https://www.flickr.com/photos/kds315/albums my albums using various lenses
http://photographyoftheinvisibleworld.blogspot.com/ my UV BLOG
http://www.travelmeetsfood.com/blog Food + Travel BLOG
https://galeriafotografia.com Architecture + Drone photography
Currently most FAV lens(es):
X80QF f3.2/80mm
Hypergon f11/26mm
ELCAN UV f5.6/52mm
Zeiss UV-Planar f4/60mm
Zeiss UV-Planar f2/62mm
Lomo Уфар-12 f2.5/41mm
Lomo Зуфар-2 f4.0/350mm
Lomo ZIKAR-1A f1.2/100mm
Nikon UV Nikkor f4.5/105mm
Zeiss UV-Sonnar f4.3/105mm
CERCO UV-VIS-NIR f1.8/45mm
CERCO UV-VIS-NIR f4.1/94mm
CERCO UV-VIS-NIR f2.8/100mm
Steinheil Quarzobjektiv f1.8/50mm
Pentax Quartz Takumar f3.5/85mm
Carl Zeiss Jena UV-Objektiv f4/60mm
NYE OPTICAL Lyman-Alpha II f1.1/90mm
NYE OPTICAL Lyman-Alpha I f2.8/200mm
COASTAL OPTICS f4/60mm UV-VIS-IR Apo
COASTAL OPTICS f4.5/105mm UV-Micro-Apo
Pentax Ultra-Achromatic Takumar f4.5/85mm
Pentax Ultra-Achromatic Takumar f5.6/300mm
Rodenstock UV-Rodagon f5.6/60mm + 105mm + 150mm
|
|
| Back to top |
|
|
philslizzy
Joined: 07 Aug 2012
Posts: 4748
Location: Cheshire, England
|
| Posted: Wed Sep 03, 2014 6:29 pm Post subject: |
|
|
philslizzy wrote:
| kds315* wrote: |
| Also quite nice, I like the ones shot in the south, very 3D! |
Thanks Klaus. I did once put two Nikon DSLR's next to each other, and pre focus them firing together with a remote control but often only one camera would fire. This technique is best if you gan get it to work, much better for action shots and candids. I am looking for two identical compacts cheap enough to hack and make a permanent setup.
_________________
Hero in the 'messin-with-cameras-for-the-hell-of-it department'. Official. |
|
| Back to top |
|
|
philslizzy
Joined: 07 Aug 2012
Posts: 4748
Location: Cheshire, England
|
| Posted: Fri Sep 19, 2014 10:15 pm Post subject: |
|
|
philslizzy wrote:
I may try it with my NEX and my A6000, I have duplicate lenses I can use on both, they both use the same remote....
_________________
Hero in the 'messin-with-cameras-for-the-hell-of-it department'. Official. |
|
| Back to top |
|
|
peterqd

Joined: 28 Feb 2007
Posts: 7448
Location: near High Wycombe, UK
Expire: 2014-01-04
|
| Posted: Fri Sep 19, 2014 10:57 pm Post subject: |
|
|
peterqd wrote:
Phil, I love the pictures but I can't see them in 3D whatever I do. Can you explain for me how to view them please? How far away from
the screen should my eyes be?
_________________
Peter - Moderator |
|
| Back to top |
|
|
DigiChromeEd

Joined: 29 Dec 2009
Posts: 3462
Location: Northern Ireland
|
| Posted: Fri Sep 19, 2014 11:07 pm Post subject: |
|
|
DigiChromeEd wrote:
Phil, these are great, the 3D effect is really distinctive!
Peter, sit about three feet away from your screen, look at the gap between the photos and slowly cross your eyes until the combined 3D image appears between the two shots.
_________________
"I've got a Nikon camera, I like to take a photograph" - Paul Simon |
|
| Back to top |
|
|
philslizzy
Joined: 07 Aug 2012
Posts: 4748
Location: Cheshire, England
|
| Posted: Sat Sep 20, 2014 12:07 am Post subject: |
|
|
philslizzy wrote:
| DigiChromeEd wrote: |
Phil, these are great, the 3D effect is really distinctive!
Peter, sit about three feet away from your screen, look at the gap between the photos and slowly cross your eyes until the combined 3D image appears between the two shots. |
Thanks Ed, works a treat with me! I remember now why I put a gap, many many years ago I read advice to leave a gap for exactly the reason you said. I've done it so long I actually forgot the reason why it was there in the first place.
Remember the 4-shot passport polaroids that took 4 pics on one print? This was a pair I had done, I separated them and put them R-L, they look great viewed in 3d. A lucky find!

_________________
Hero in the 'messin-with-cameras-for-the-hell-of-it department'. Official. |
|
| Back to top |
|
|
philslizzy
Joined: 07 Aug 2012
Posts: 4748
Location: Cheshire, England
|
| Posted: Sat Sep 20, 2014 12:19 am Post subject: |
|
|
philslizzy wrote:
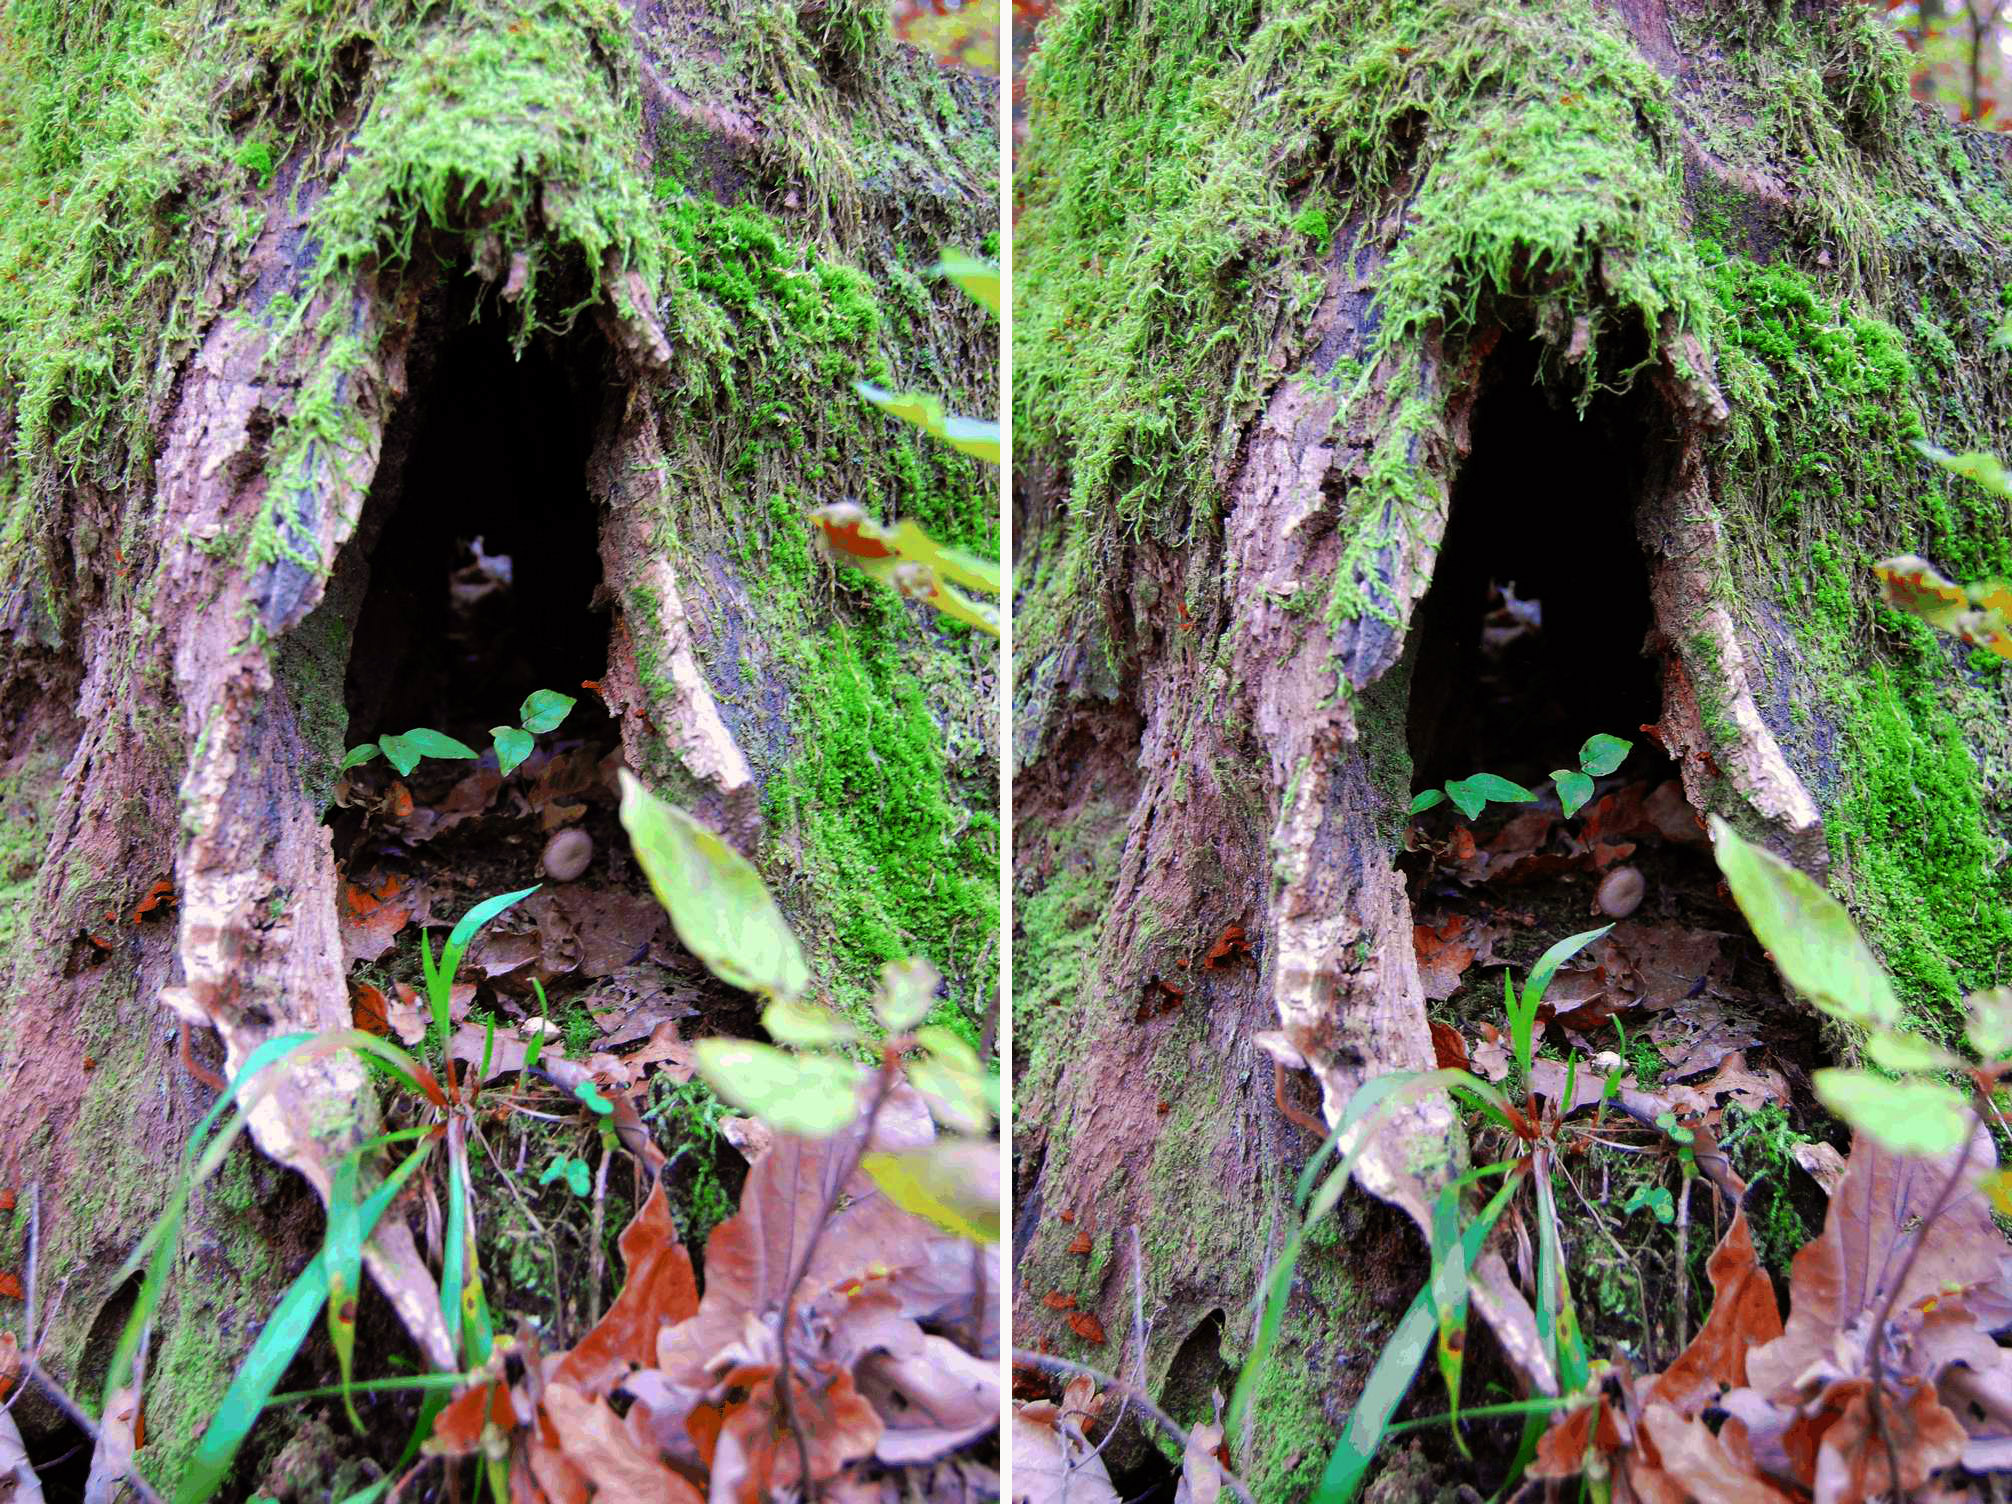
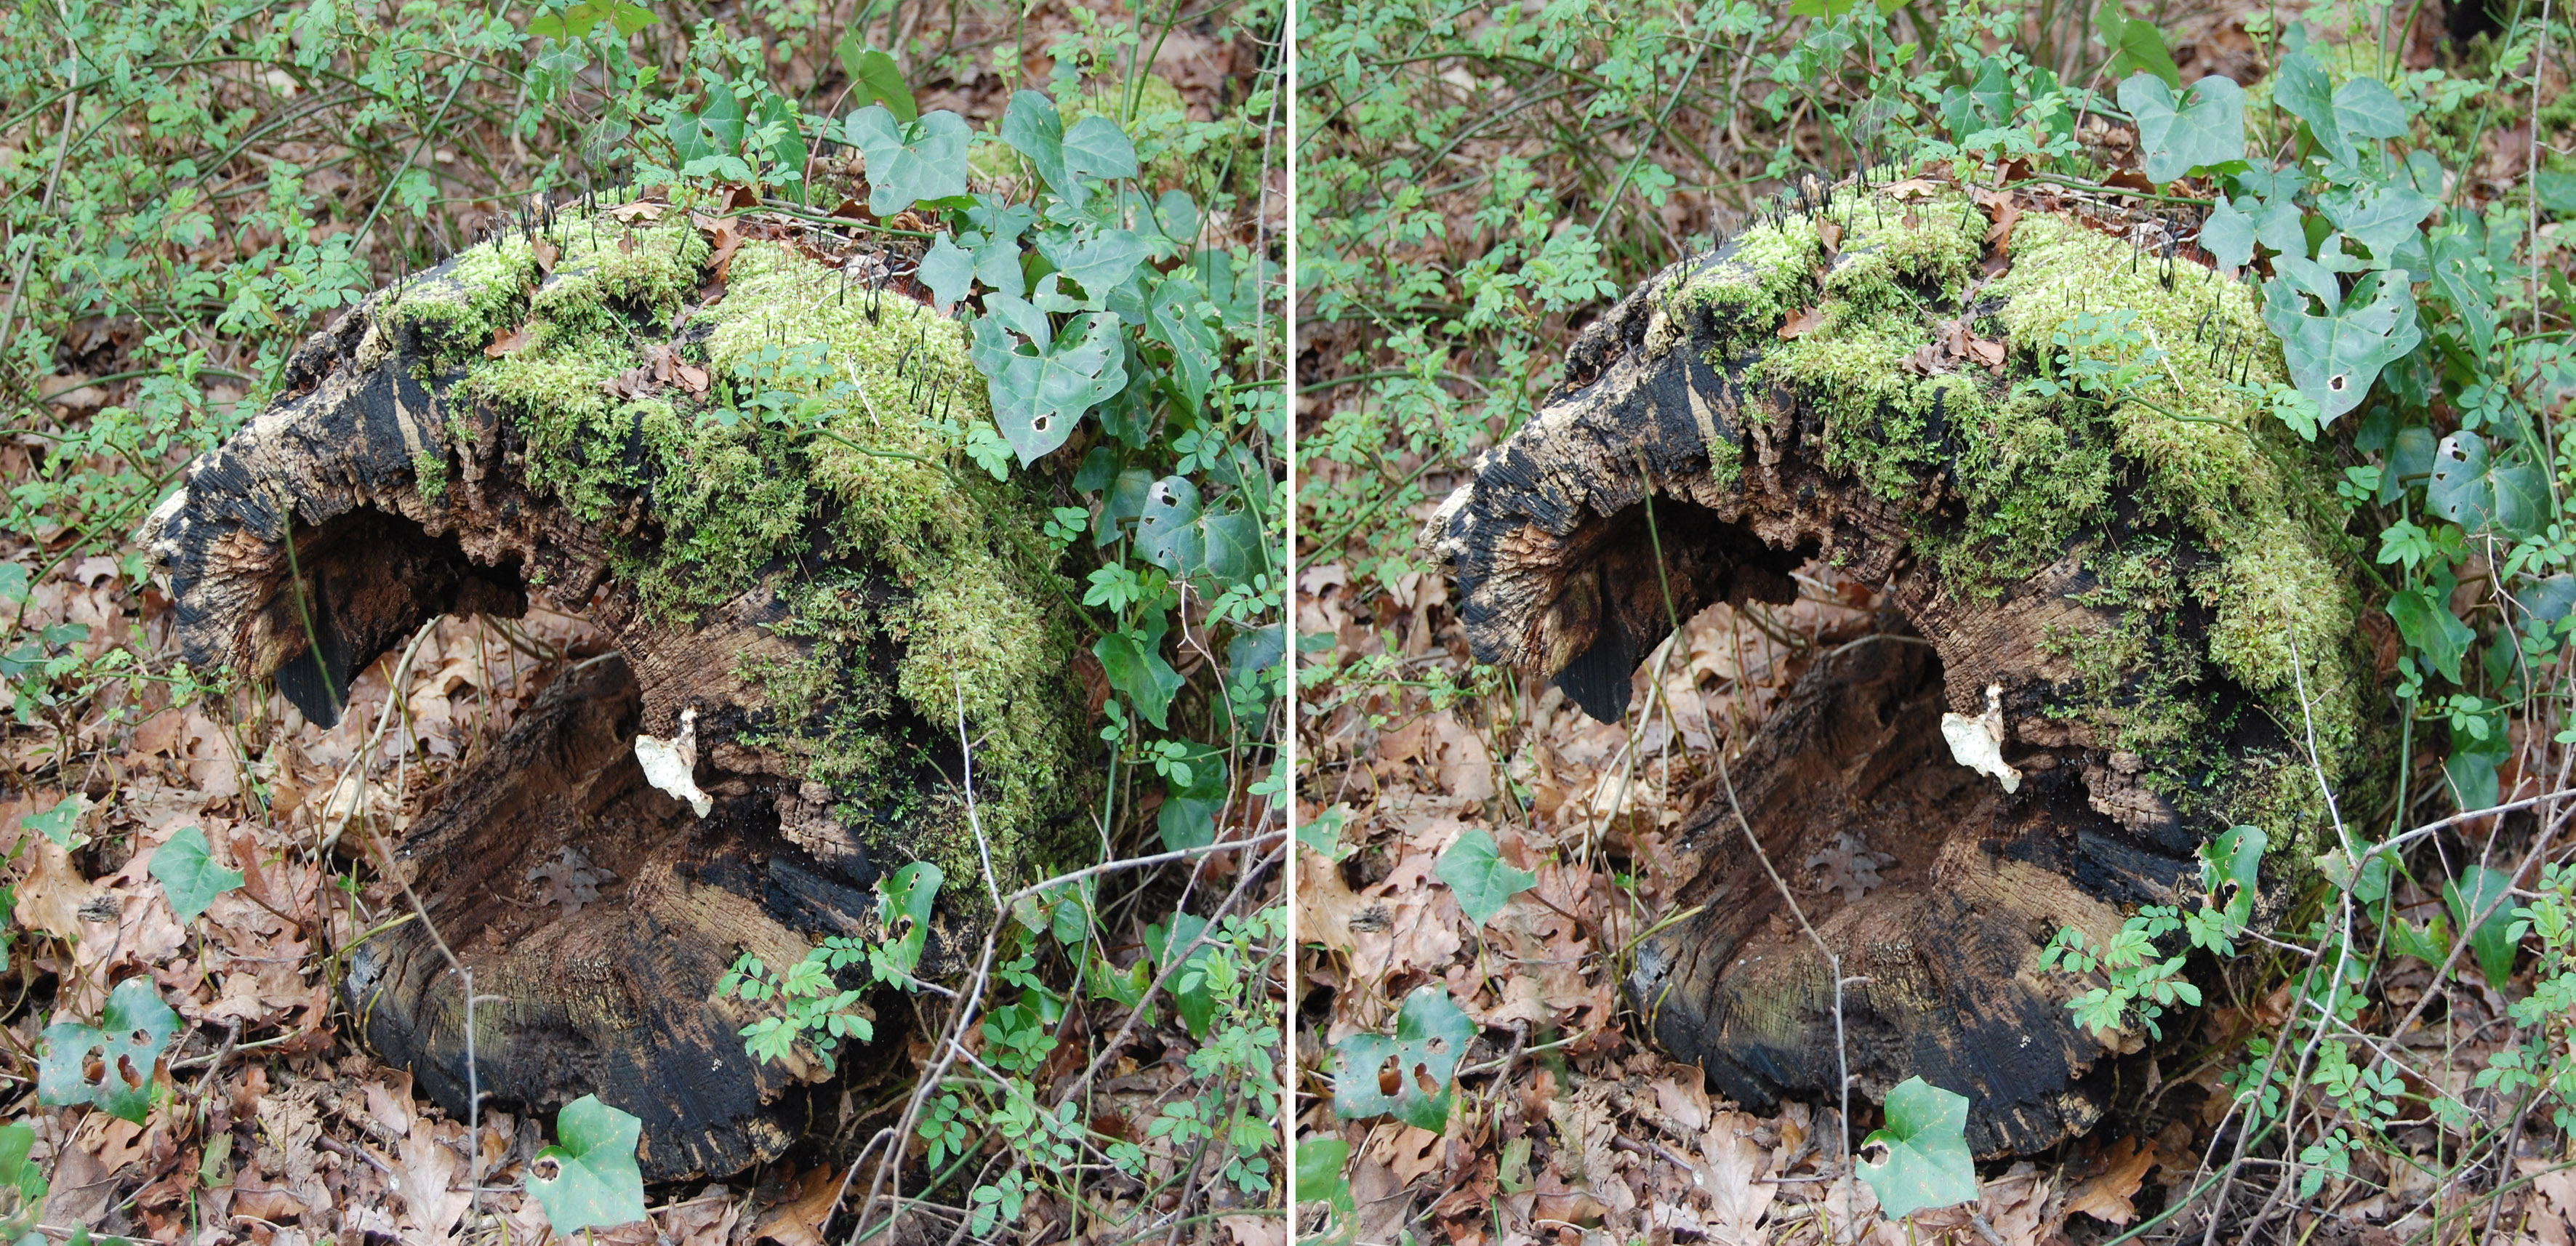
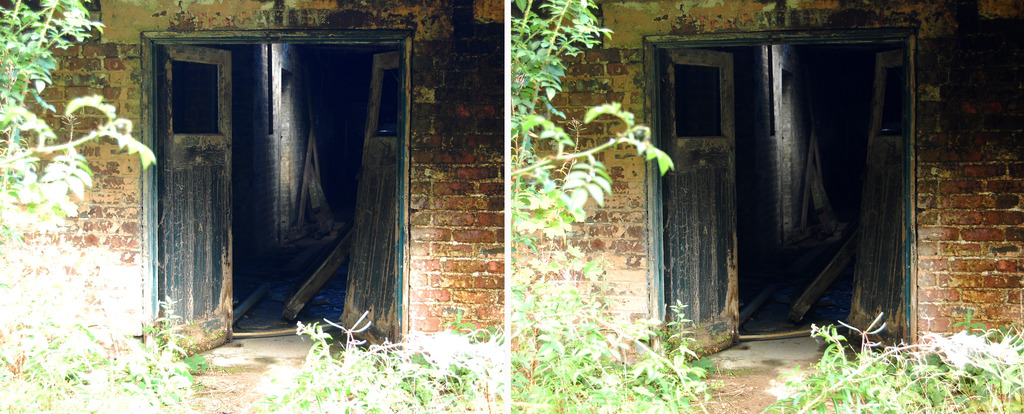
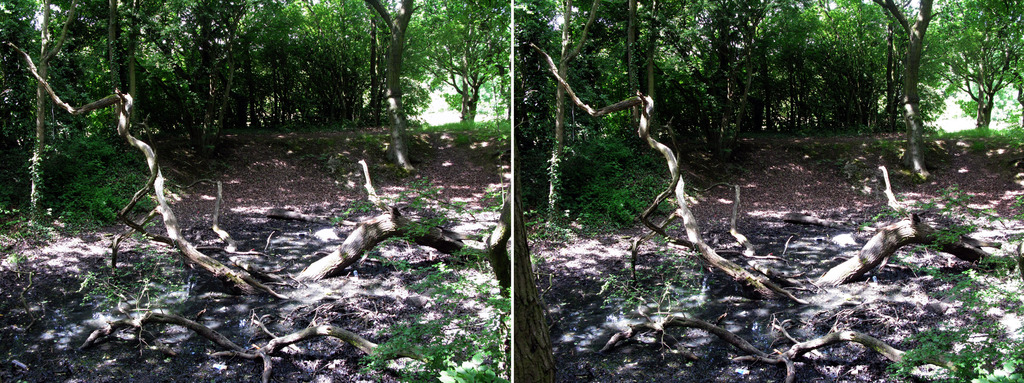
Looking again at them, the one of the rocks looks so different in 3D, and the one of the old hollow log is hard to make out in 2d. Stereoscopy helps make sense of some images, scientists and geologists use it regularly. The Apollo astronauts used same technique as I when photographing objects on the moon's surface.
_________________
Hero in the 'messin-with-cameras-for-the-hell-of-it department'. Official. |
|
| Back to top |
|
|
philslizzy
Joined: 07 Aug 2012
Posts: 4748
Location: Cheshire, England
|
| Posted: Wed Oct 29, 2014 10:23 pm Post subject: |
|
|
philslizzy wrote:
Some pics today taken at Dunham Massey


Thanks for looking
_________________
Hero in the 'messin-with-cameras-for-the-hell-of-it department'. Official. |
|
| Back to top |
|
|
|
|
|
You cannot post new topics in this forum
You cannot reply to topics in this forum
You cannot edit your posts in this forum
You cannot delete your posts in this forum
You cannot vote in polls in this forum
|